Posts Tagged ‘New York City’
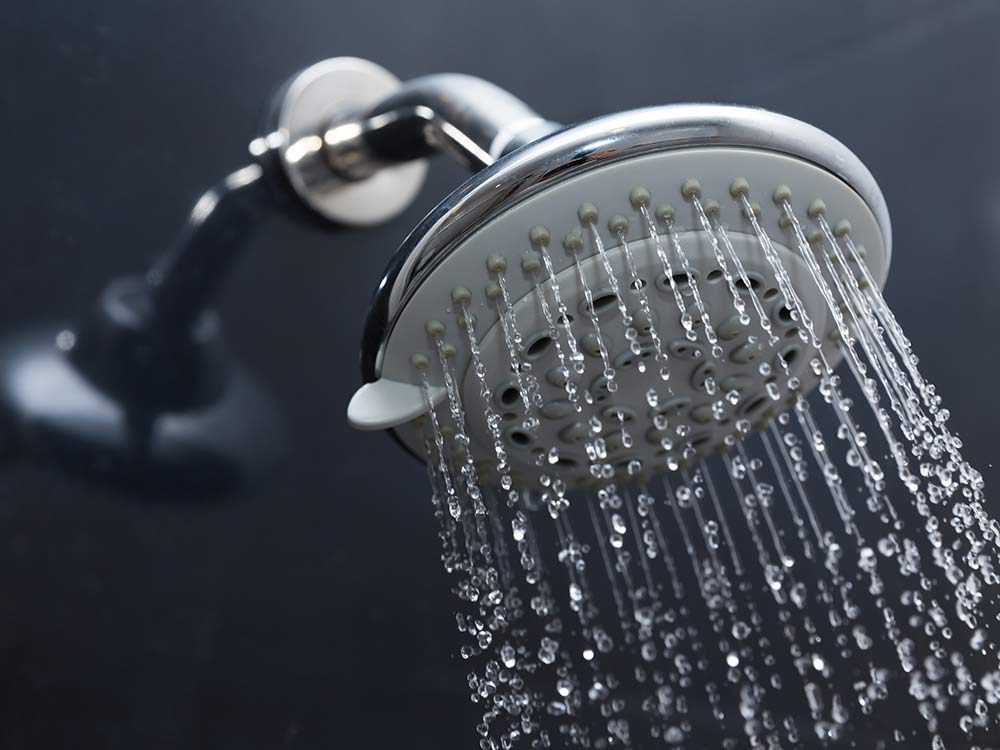
Mineral deposits can clog a showerhead and affect its pressure over time. To clean, fill a plastic bag with vinegar. Place the bag around the showerhead, submerging it in the liquid. Secure the bag to the neck of the showerhead with a twist tie and leave overnight. The vinegar will break down the buildup by morning.
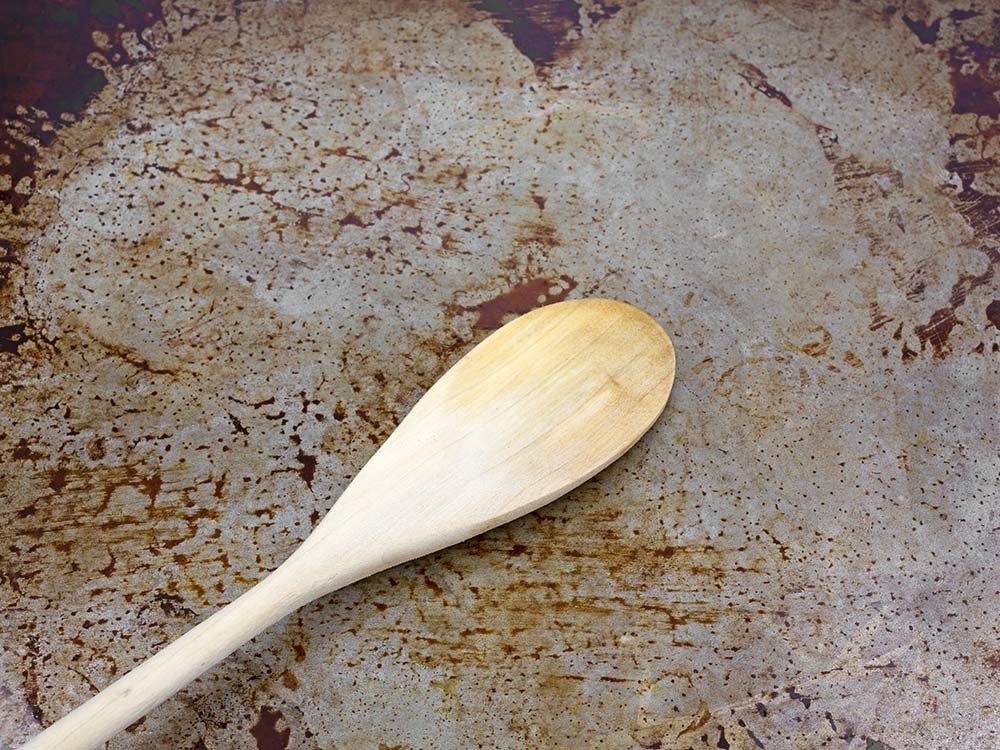
Remove stains on pots and pans
If a batch of cookies left your baking sheet gunky, let a dryer sheet clean it overnight. Place the sheet on the pan and fill with warm water. Cleaning agents in the dryer sheet will help loosen stuck-on grime and stains. In the morning, easily wipe off with a sponge.
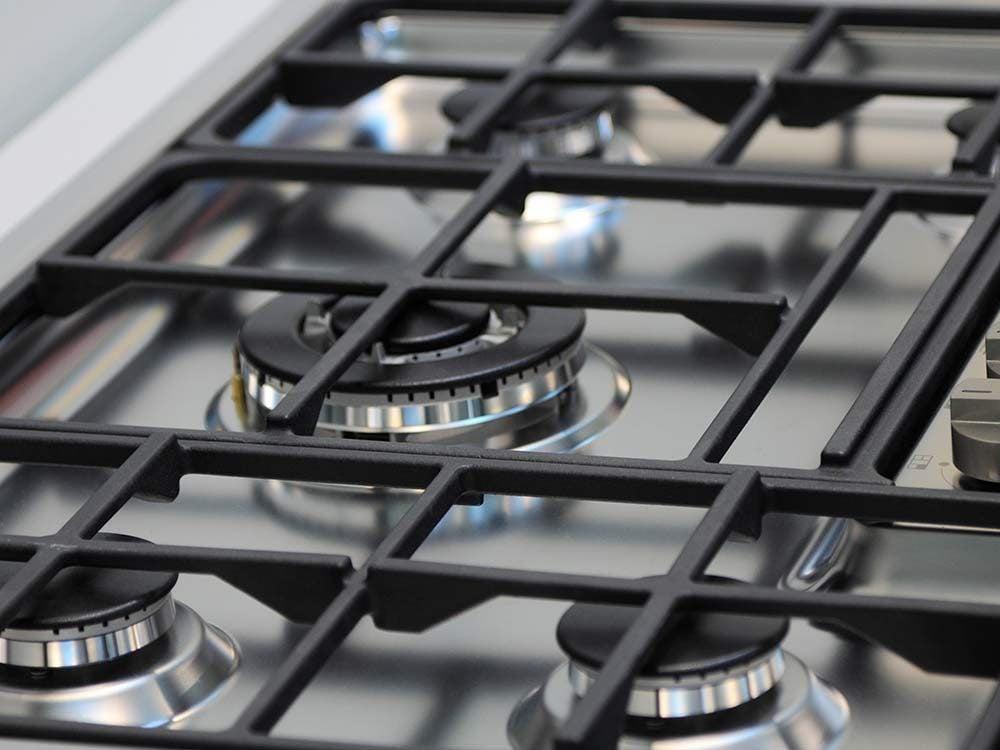
Polish stove grates
Cleaning greasy, food-splattered stove burners can be a tiresome chore. Before you go to bed, seal each burner in a large plastic bag with ¼ cup of ammonia. The overnight soak will make it easy to wipe off the surface with a sponge the following day.
Banish rust on tools
If your rusty tools have seen better days, fill a tray with Coca-Cola. Submerge the tools, allow to soak overnight, and scrub clean with a stiff brush in the morning. The soda’s phosphoric acid will help loosen the gunk.
Eliminate wet messes
If your sofa or carpet became the victim of an icky, wet mess (say, vomit or urine), mix a paste of baking soda and water to soak it up. Use a spoon to spread the paste over the soiled area. Allow to dry overnight, then vacuum in the morning.

Descale a kettle
Limescale can build up from calcium carbonate deposits in water, leading to an off-white, chalky deposit in your kettle. To clean, cut a lemon into large slices, place in the kettle, and add water. Bring to a boil, then take the kettle off the heat and leave overnight. The lemon’s citric acid will loosen the limescale. Toss the fruit and water mixture in the morning and rinse before using your newly cleaned kettle. Got other lemons lying around?
Clean bath toys
To make grubby rubber duckies, boats, and other bath toys new again, mix one gallon warm water with ¾ cup vinegar. Soak the toys overnight. Rinse thoroughly and allow to air dry.
Make diamonds sparkle
Quickly polish a diamond ring by filling a bottle cap with Windex. Soak the ring overnight and dry with a soft cloth in the morning to remove grime and add shine.
Remove red wine stains
If red wine marked up your favourite garment, sprinkle the stain with salt and cover with club soda. The salt absorbs the stain while the club soda’s carbonation and sodium helps lift it. Leave overnight before laundering.

BY KELSEY KLOSS, RD.COM
Posted in Products. People. Places.
Tags: Old Fashioned Mom People, Old Fashioned Mom Places, New York, Magazine Company, Old Fashioned Mom Coffee, Old Fashioned Mom Advice, Old Fashioned Mom, Global Company, High Society, 2018, Coffee Distributor, Hudson Valley, Luxury Living, Magazine, London, Old Fashioned Mom Travel, Old Fashioned Mom International Company, Old Fashioned Mom Real Estate, Old Fashioned Mom Dining, Old Fashioned Mom Daily News, Old Fashioned Mom Events, Top Percent, Wealthy, World, Summer, Old Fashioned Mom Things, Old Fashioned Mom Show, Michelle-Marie Heinemann, Palm Beach, Old Fashioned Mom Magazine, New York City

1. Fill Your Dishwasher—But Not with Dishes
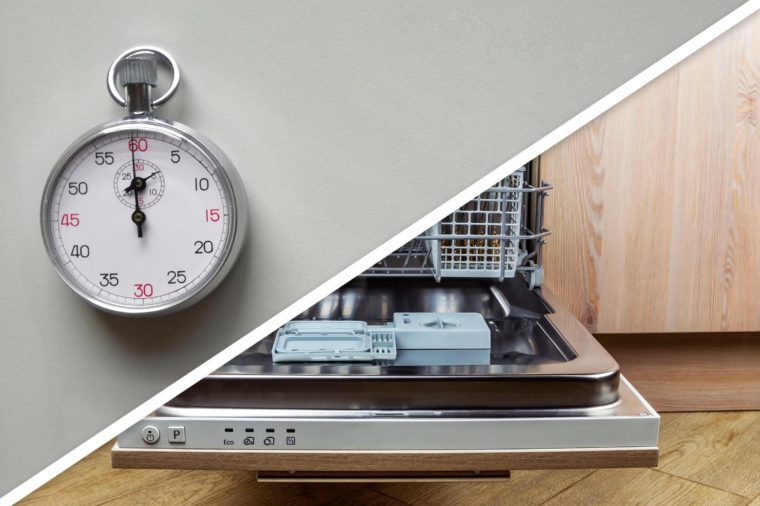
Got a minute? Go around to each room in your house and gather up items you probably never clean, such as plastic toys, hairbrushes, and even flip-flops. Believe it or not, all of these things are dishwasher safe. Just toss them in your trusty dishwasher and let it work its magic—no matter how busy you are.
Here are 11 brilliant cleaning shortcuts lazy people will appreciate.
2. Spiff Up Your Space with a Lint Roller
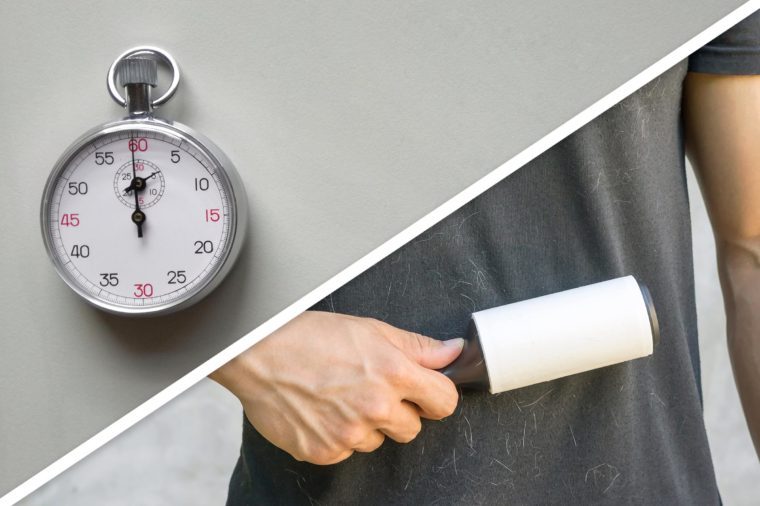
Between soccer games, dance lessons, and PTA meetings, it’s tough to give our homes the deep clean they deserve. If you’re tight on time, take a lap around your home with a lint roller and run it over everything in sight. These handy gadgets can remove dirt and crumbs from couches, lamp shades, and any other hard-to-reach spots.
Check out these fast tricks to clean your home while you sleep.
3. De-Stink Your Furniture
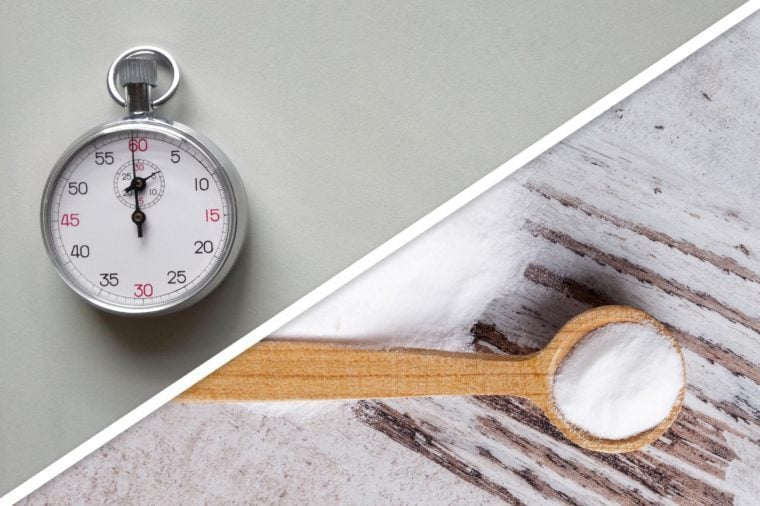
There are some household odours that even a heavy dose of Febreze can’t kick. Instead, sprinkle baking soda onto smelly carpets, upholstered furniture, or mattresses, and then leave it while you make dinner or fold laundry. Vacuum it up after 15 minutes, and your home will feel (and smell!) fresher almost immediately.
Find out the unexpected health benefits of spring cleaning!
4. Search Coat Pockets and Purses for Trash
You use your coats and purses every day, but they are probably one of the last things you regularly clean. While you’re sitting in traffic or waiting for the oven to preheat, toss out any gum wrappers, old receipts, and other junk that have piled up over the months.
These eight spring cleaning tips will make your life easier!
5. Refold Clothes in a Messy Drawer
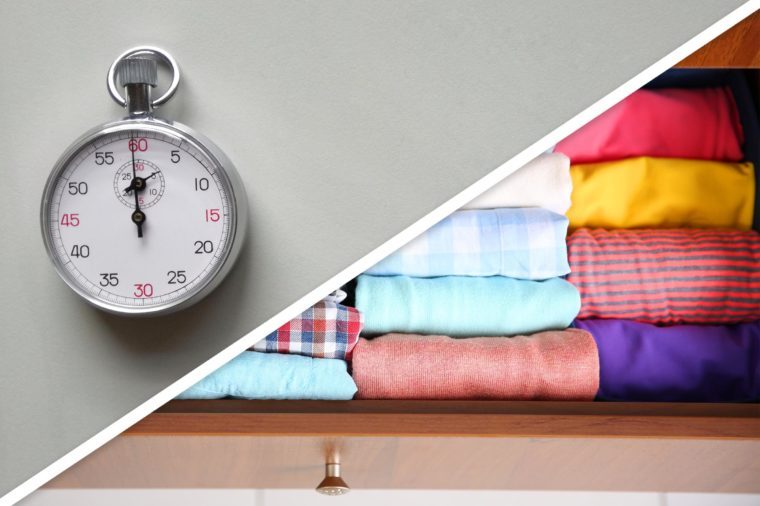
Reorganizing your entire dresser probably seems like a daunting chore. But if you break it down into smaller, more manageable tasks, you might be more likely to get it done. Start by choosing one cluttered drawer and refolding all of the clothes inside. It will only take a minute, but you’ll be one step closer to getting your home in tip-top shape.
You’ll want to steal these 16 expert-approved cleaning hacks!
6. Move Winter Coats to Off-Season Storage
No need to display bulky outerwear year-round. If the weather has recently warmed up, corral your winter coats and move them out of sight. You can box them up and put them in the attic, or simply hang them in the back of your closet. Either way, you’ll be thankful to have extra space for your spring and summer wardrobe.
Canada’s top organizers reveal how to declutter every room of your home.
7. Declog Your Showerhead
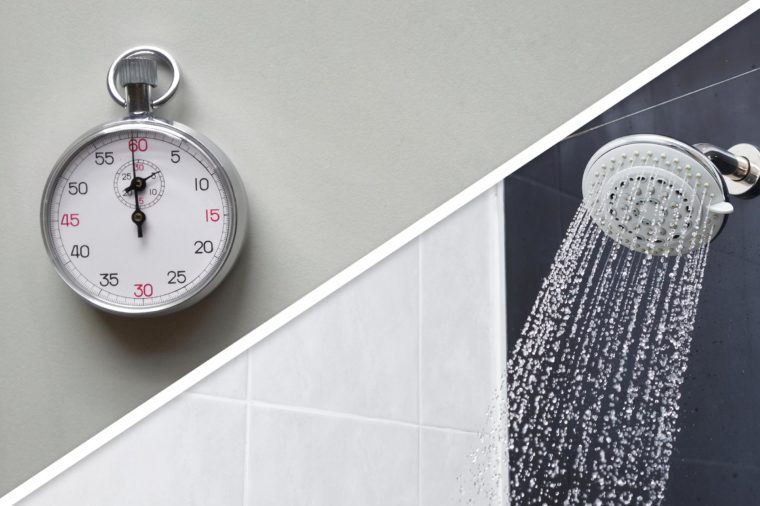
Has your shower’s water pressure seen better days? Here’s a handy hack: Fill a plastic bag with white vinegar, place it over the showerhead, and fasten it with a rubber band. Letting the bag soak overnight allows the vinegar to break down anything that blocks water flow. Your shower will work like new in no time (and you won’t have to lift a finger!)
Never, ever pour these 12 things down the drain!
8. Clean Your Car’s Grimy Cup Holders
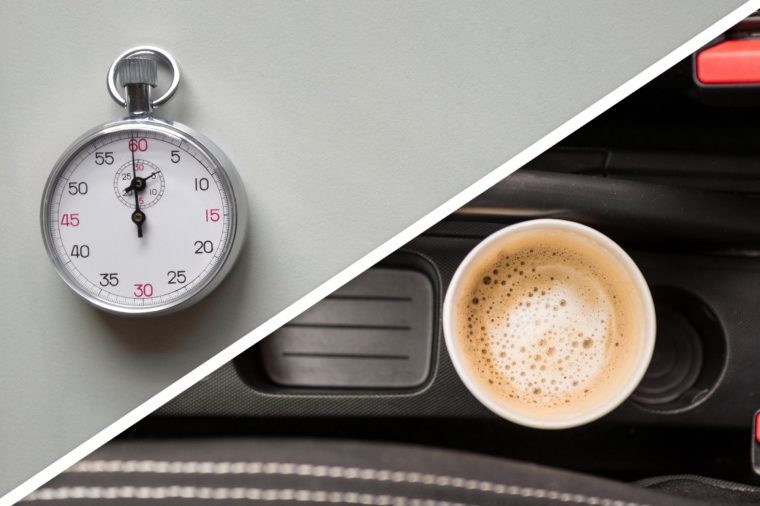
Say goodbye to the nasty layer of gunk inside your car’s cup holders. Months of soda spills and sweaty water bottles can be erased in one minute; just give each holder a quick scrub using Clorox wipes.
Automotive experts share 13 tips on how to keep your car clean.
9. Toss That Unsightly Stack of Magazines and Newspapers
Not only is that huge pile of magazines gathering layers upon layers of dust, but it’s also a serious eyesore. As you take out the trash one night, bring the stack with you and toss it in the recycling bin. Trust us, your home will thank you.
Try more tips to organize every room in your house.
10. Declutter Your Coffee Table
Another fast way to tidy up a messy space is to clean one central item in each room, such as your coffee table. You can stash remotes in a drawer, gather small items into a classy bowl, and neatly arrange the other decor.
Check out the six hidden strengths of being a messy person.
11. Sanitize Your Gadgets
Bad news: Your toilet isn’t the germiest thing in your house—your smartphone is. In fact, a 2013 study found that tablets have up to 600 units per swab of staphylococcus (commonly known as staph) and phones have up to 140 units, on average. The typical toilet seat, by comparison, has less than 20 units. All the more reason to spend a minute scrubbing your gadgets with an alcohol wipe. And if you have a few more seconds, wipe down other electronics like your TV remote and computer mouse, too.
Don’t miss these 10 bathroom cleaning tips and tricks!
12. Unsubscribe to Junk Emails
Spring cleaning calls for tidying up every aspect of your life, including your electronic one. Between meetings at work, quickly unsubscribe to any newsletters or junk mail that you have ignored for months. You will be way more productive once your inbox isn’t cluttered with spam.
Find out what to do when your phone falls in the toilet.
13. Wash Your Silverware Tray
You probably wash your forks and spoons every day. As for the tray that holds them? Not so much. That little bin can get grimy, so take out the dishes and give it a scrub. If you’re really short on time, simply toss it in the dishwasher and run a hot, soapy cycle.
Check out the seven kitchen items that are surprisingly germs.
14. Untangle Your Cords
Let’s be honest: No amount of fancy decor can hide that ugly, tangled ball of wires behind your TV or computer. Plus, it makes your space look sloppy. Take a minute to organize the cords, using some Velcro, zip-ties, or rubber bands to neatly wrap them up.
Here’s what you need to know about preventing 10 common hazards.
15. Freshen Up a Smelly Sink
It’s time to face that funky odor coming from your kitchen sink. To banish the smell in seconds, simply place a few lemon peels into the drain, turn on the garbage disposal, and run cold water from the tap. Voila! No pricey plumber required.
Check out these 10 tips for cleaning your microwave, stovetop and oven!
16. Dust a Fan
Your fan is a dust magnet—but don’t wait until you flip the switch to find out. Do a favor for your allergies by cleaning your fans before the weather gets too hot. And for a more efficient way to trap falling lint, try dusting each blade inside an old pillowcase.
Here are 12 tips for health-friendly spring cleaning.
17. Wipe Down Door Handles and Light Switches
Think about how many grubby hands have touched your home’s door handles and light switches. Like it or not, the spots that we clean the least can carry thousands of germs. Spend a minute wiping down the door handles and light switches in one room. For a particularly greasy spot, a damp rag dipped in dishwashing soap should do the trick.
18. Use a Tray to Store Odds and Ends
Tidying up a cluttered space doesn’t need to break the bank. Find a decorative tray at your local secondhand store, place it in a central area of your space, and fill it with random items that don’t already have a home, such as keys, sunglasses, or even mail.
Learn more genius decorating tips from Steven Sabados!
19. Make Your Bed
Because your bed is the focal point of your bedroom, it will set the tone for the rest of the space, minimalist Joshua Becker writes in The More of Less: Finding the Life You Want Under Everything You Own. So take one minute to make your bed; your mom would be proud.
Lighten your load by ditching these nine items for a fresh start in your home.
20. Create a Donation Spot
No need to hang on to a shirt that is too small or pants that are too big. Instead, carve out a small section in your home for storing items you plan to donate. It could be a bin, a shelf, or even a corner of a closet—anything that separates unwanted apparel until you can make a trip to Goodwill.
BY BROOKE NELSON, RD.COM
Posted in Products. People. Places.
Tags: Old Fashioned Mom People, Old Fashioned Mom International Company, Magazine Company, New York, Old Fashioned Mom Coffee, Old Fashioned Mom Advice, Old Fashioned Mom, Global Company, High Society, 2018, Coffee Distributor, Magazine, Luxury Living, Hudson Valley, London, Old Fashioned Mom Travel, Old Fashioned Mom Places, Old Fashioned Mom Dining, Old Fashioned Mom Daily News, Old Fashioned Mom Events, Old Fashioned Mom Real Estate, Top Percent, Summer, World, Wealthy, Old Fashioned Mom Things, Old Fashioned Mom Show, Michelle-Marie Heinemann, Palm Beach, Old Fashioned Mom Magazine, New York City
New Uses for Candy Canes: Make Candy Cane Vodka
Make your martini North Pole-style by mixing up some candy cane flavoured vodka. Just add a litre of vodka and seven crushed candy canes in a mason jar, shake, and store in your fridge for 48-hours. In a few days you’ll have a festive martini fit for Santa.

New Uses for Candy Canes: Make S’mores
Need a tasty Christmas dessert for your holiday party? Follow our irresistible Hershey’s Milk Chocolate Smores recipe, but sprinkle a tablespoon of crushed candy canes on the chocolate before melting. When the marshmallow, chocolate and candy canes mix, you’ll get a festive treat that’s sure to have your guests rocking around the Christmas tree.
New Uses for Candy Canes: Stir Sticks
Want to make your next beverage or hot chocolate extra-festive? Try a candy cane stir stick, and keep your beverages minty fresh all Christmas long.

New Uses for Candy Canes: Garnish Treats
Try adding crushed candy canes to vanilla ice cream, hot apple cider or warm cocoa for a fun Christmas twist.
New Uses for Candy Canes: Decorations
Candy canes aren’t just for decorating the tree! Take a clear vase or fish bowl, or even a Christmas stocking, and add in candy canes, a few pine cones and some mistletoe, and voila, you’ve got a brand new holiday centerpiece.
READER’S DIGEST CANADA
Posted in Products. People. Places.
Tags: Old Fashioned Mom People, Old Fashioned Mom International Company, Magazine Company, New York, Old Fashioned Mom Coffee, Old Fashioned Mom Advice, Old Fashioned Mom, Global Company, High Society, 2018, Coffee Distributor, Luxury Living, Magazine, Hudson Valley, London, Old Fashioned Mom Travel, Old Fashioned Mom Places, Old Fashioned Mom Real Estate, Old Fashioned Mom Dining, Old Fashioned Mom Daily News, Old Fashioned Mom Events, Top Percent, Summer, World, Wealthy, Old Fashioned Mom Things, Old Fashioned Mom Show, Michelle-Marie Heinemann, Palm Beach, Old Fashioned Mom Magazine, New York City

Ever notice that your phone dies faster in cold weather?
The cell phone’s job description has gotten a few pages longer in recent decades. Just 15 years ago, there would be only a handful of expectations for the device, namely, send and receive cellular calls and SMS messages.
The modern smartphone blows any old Nokia out of the water, but it still has a pretty major fatal flaw. When it gets a little too brisk outside, it shuts down entirely. But why? As LiveScience reports, it all comes down to chemical reactions within the battery.
If you were to crack open any given smartphone, you’d probably find a lithium-ion battery running the show. Inside of the battery, there are two poles, an anode and a cathode, and how much charge your phone has all depends on which side the ions reside. A fully charged battery will be jam-packed with ions on the anode end, while a dead battery will have all the ions deposited in the cathode end.
Your phone is powered as the individual ions travel in solution from one pole to the other, but a cold temperature doesn’t “drain” your battery, per se. If it were drained, the ions would have to go somewhere, but they actually stay put when it gets cold. The cold temperature causes chemical reactions that slow down the current. The only other time this smaller current is sent through the battery is when all the ions have been spent, so your phone mistakenly reads the slowdown as the cell being out of juice.
Now, how can you get yourself out of this battery bind? Dr. Stephen J. Harris, a chemist at the Lawrence Berkeley Lab, says whatever you do, don’t try and charge it. Your fully charged battery isn’t lacking ions, and the cold temperature isn’t allowing more ions to be pulled into the anode. They pass through the solution as solid lithium, which can really do some serious damage to the battery cell itself. (Believing these myths about charging your phone can damage your battery, too.)
The only way to get that battery back to its toasty current-catalyzing self is to let it return to its normal operating temperature. We recommend leaving it in your pocket or spending a few minutes inside away from the blistering cold.
Now that you know the dangers cold weather can post to your phone, read up on these 11 Things Highly Organized People Do On Their Smartphone.
BY SAM BENSON SMITH, RD.COM
Posted in Products. People. Places.
Tags: Old Fashioned Mom People, Old Fashioned Mom Places, Magazine Company, Old Fashioned Mom Coffee, Old Fashioned Mom Advice, Old Fashioned Mom, New York, Magazine, High Society, Global Company, 2018, Coffee Distributor, Luxury Living, Hudson Valley, London, Old Fashioned Mom Travel, Old Fashioned Mom Real Estate, Old Fashioned Mom International Company, Old Fashioned Mom Daily News, Old Fashioned Mom Dining, Old Fashioned Mom Events, Wealthy, Top Percent, Summer, World, Old Fashioned Mom Things, Old Fashioned Mom Show, Michelle-Marie Heinemann, Palm Beach, Old Fashioned Mom Magazine, New York City

PHOTO: JINNING LI/SHUTTERSTOCK
Outlet-free chargers
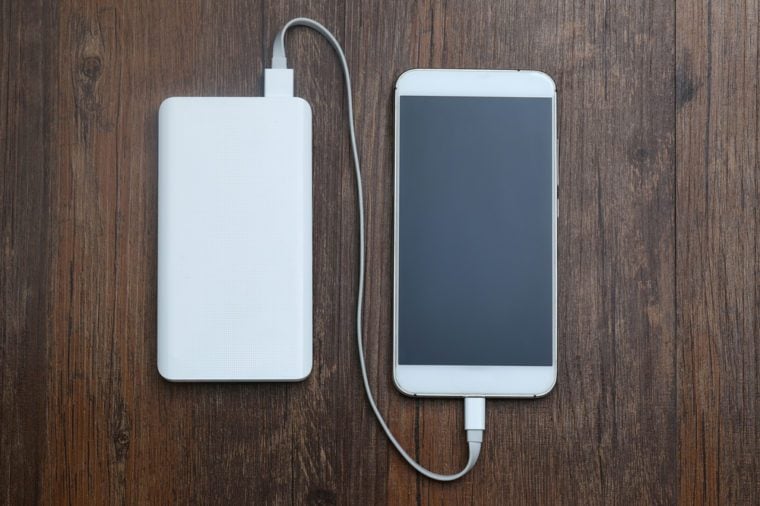
Smartphones and laptops will still work when the power is out—as long as you’re prepared. “The Internet can be surprisingly robust after an event, but keeping batteries charged is where most people break down,” says Steven J. Jensen, a member of the American Red Cross Scientific Advisory Council and advisor of emergency management at California State University at Long Beach. Having a juiced-up portable battery or small generator will keep you in touch with loved ones and with any emergency updates.
Here are 11 phone battery myths you really have to stop believing.
Cordless radio
Gathering around the radio might seem like a thing of the past, but it could prove vital in an emergency situation. “It allows you to get in touch with what’s going on locally,” says Jensen. “That’s important to be able to make good decisions about what happens next.” You won’t miss any important messages warning you not to leave—or to get out fast. Make sure you have a battery-powered or hand-cranked radio so it can work when the power is out.
Learn how to manage these 10 everyday emergencies.
Medications
“Sometimes, the way medications are dispersed now, we have just a very small supply available,” says Jensen. “In a disaster, it might be hard to replenish those supplies.” Talk to your doctor about writing a larger prescription so you have a couple weeks work on hand if you can’t reach the pharmacy.
These 17 common medication mistakes could be making you sick.
PHOTO: LUCIE LANG/SHUTTERSTOCK
Lantern
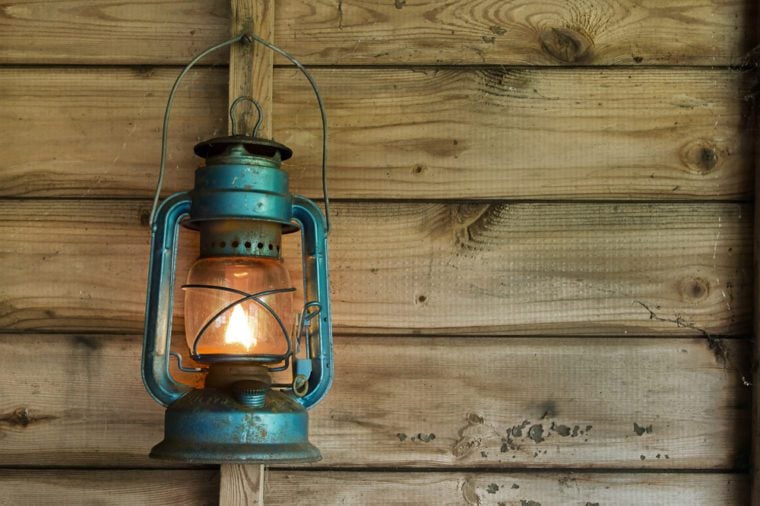
Handheld flashlights are convenient to carry and store, but their beams won’t light up a room the way your lamps do. In addition to battery-powered flashlights, pick up a lantern, which can brighten up a larger amount of space.
Make sure you know these 20 fixes for life-threatening problems and daily hassles.
PHOTO: OLEKSII FEDORENKO/SHUTTERSTOCK
Batteries
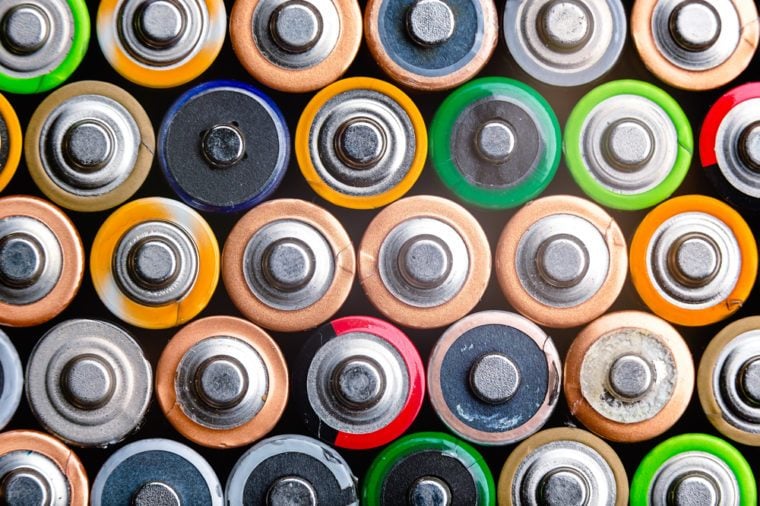
If you’ve been using your phone as a flashlight and haven’t touched an actual torch in years, don’t be surprised if the batteries in your backups have worn out or corroded. A pack of extra batteries never hurts.
Just avoid these 13 things you should never do during a power outage.
Nonperishable food
Stocking up on food is a no-brainer if you know you won’t be able to get to a grocery store, but you might be surprised by just how much food to keep on hand. The Red Cross recommends keeping two weeks worth of food available in case you’re unexpectedly stuck at home, or enough to last three days if you’re evacuating. You don’t just have to stick to sad cans of beans though. Get creative and stick with foods you actually want to eat. It’s surprising how much peanut butter or beef jerky could lift your spirits when you’re facing a crisis.
PHOTO: SARAH MARCHANT/SHUTTERSTOCK
Pet food
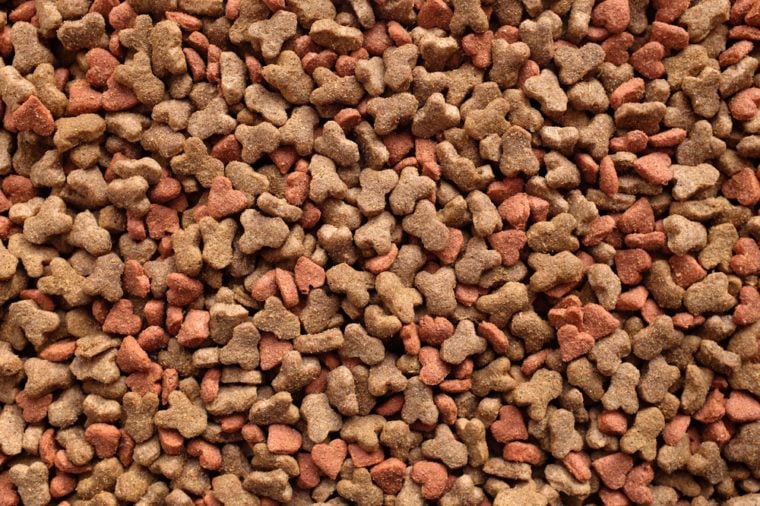
Don’t forget your furry friends when you’re stocking up on food. Keep at least two weeks worth of dry food on hand so your pets can stay healthy and safe, but don’t bother shelling out on anything fancy. “It doesn’t have to be the highest standard, but if you can keep some food that’s going to keep pets healthy and vibrant, that’s good,” says Jensen.
Here are 10 secrets your dog’s tail is trying to tell you.
Extra propane
If your home’s electricity or gas isn’t working, the oven and microwave could be out of the question—but that doesn’t mean you’re stuck with cold meals. Keep extra propane on hand so you can fire up a BBQ or camping stove.
Water
H2O seems like a given, but if anything goes wrong with your local water system, you’ll need to have backup. As a rule of thumb, make sure you have a gallon per person per day, ideally enough to last two weeks. If you don’t want to leave jugs of water sitting around all the time, fill clean, empty soda bottles or a large water dispenser when there’s a storm coming.
Cash
Don’t assume you can rely on plastic during an emergency. Card readers might not work, and ATMs could run out of money during a natural disaster, so keeping backup bills on hand could be a lifesaver. Talk to your family about how much you can afford to keep out of the bank and where the safest place in your home for it is.
Tool kit
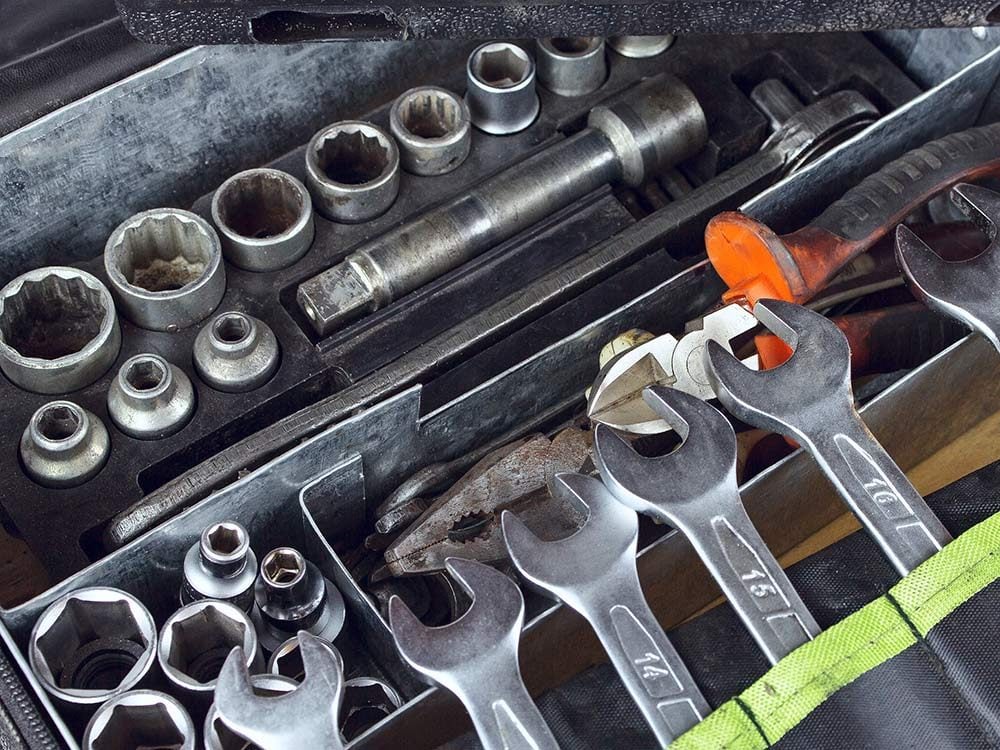
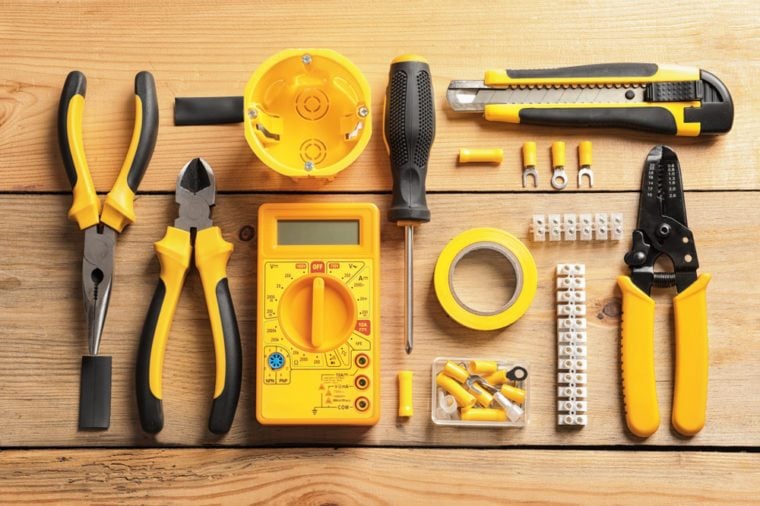
Even if you’re not used to making your own repairs, a toolbox could be a vital resource during an emergency situation. “It gives you a lot of latitude to be able to adapt and fix things and be somewhat independent if no help is available,” says Jensen. A basic toolkit with items such as a wrench, screwdrivers, and a hammer can help you fight back when your home and supplies are under stress.
No car mechanic should be without these 20 essential tools.
Copies of important documents
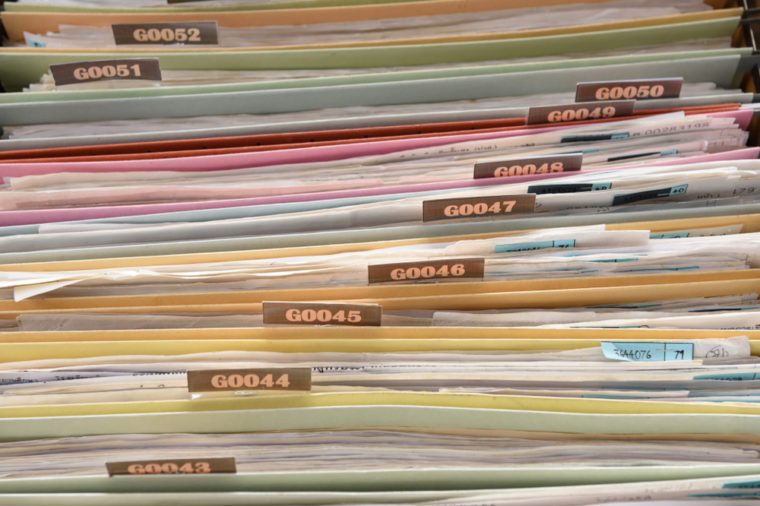
It’s always a good idea to keep original copies of important documents like home ownership papers or insurance information, but keep a backup on hand too. “It’s surprising how important that can be,” says Jensen. Leave hard copies in a safe space (away from the originals), or save them digitally in a password-protected file in the cloud.
First aid kit
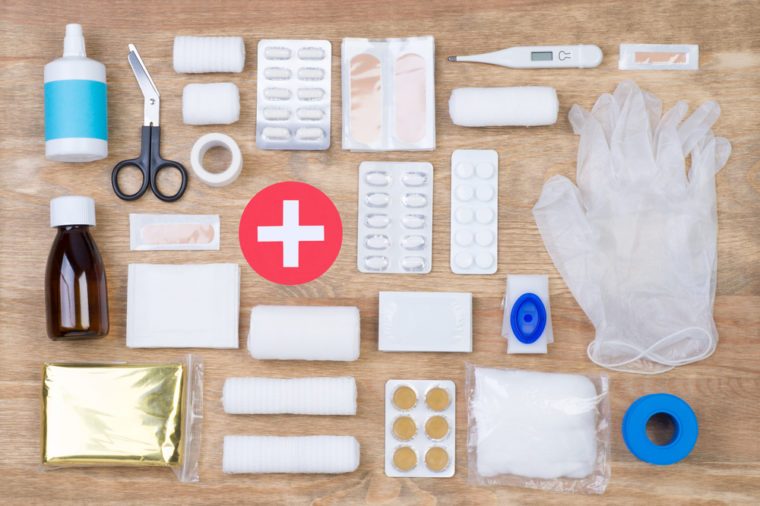
“A well-stocked first aid kit is critically important,” says Jensen. The Red Cross recommends keeping bandages, an instant ice pack, antiseptic wipes, scissors, and more.
These are the items that should be in every first aid kit.
Just-for-fun items
When you’re rushing to pack your bags for an evacuation, a few nonessentials can actually be some of the best things for your mental wellbeing. “We need to find ways of comforting ourselves,” says Jensen. “Relax and take some time to realize it’s going to be OK.” He suggests packing a book, a child’s favorite stuffed animal, or playing cards. Letting yourself relax a bit will help normalize the situation and take your mind off the stress.
BY MARISSA LALIBERTE, RD.COM
Posted in Advice
Tags: Old Fashioned Mom People, Old Fashioned Mom International Company, Magazine Company, Old Fashioned Mom Coffee, Old Fashioned Mom Advice, New York, Old Fashioned Mom, Magazine, Global Company, High Society, Coffee Distributor, 2018, Luxury Living, Hudson Valley, London, Old Fashioned Mom Travel, Old Fashioned Mom Real Estate, Old Fashioned Mom Places, Old Fashioned Mom Daily News, Old Fashioned Mom Dining, Old Fashioned Mom Events, Top Percent, Summer, World, Wealthy, Old Fashioned Mom Show, Old Fashioned Mom Things, Michelle-Marie Heinemann, Palm Beach, Old Fashioned Mom Magazine, New York City

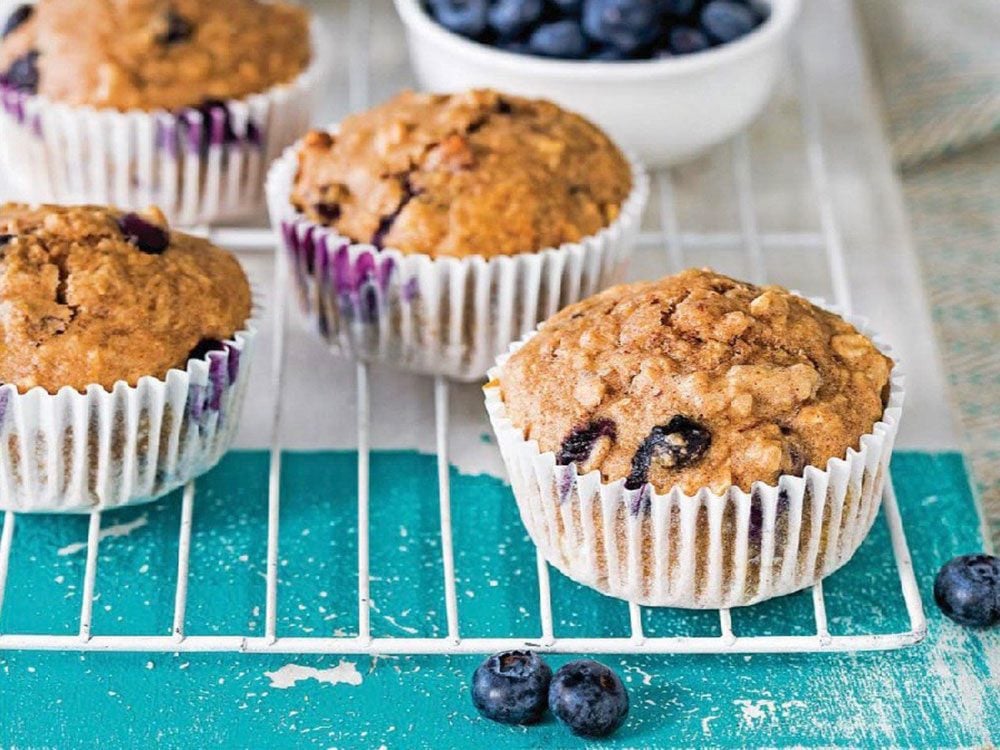
Blueberry and Oat Breakfast Muffins
Instructions
- Preheat the oven to 180°C. Line a 12-hole standard muffin tin with paper cases.
- Sift the flour, sugar and cinnamon into a large mixing bowl. Tip the husks from the sieve into the bowl. Stir in the oats and make a well in the centre.
- Use a fork to whisk the milk, oil, eggs and vanilla in a bowl. Add to the dry ingredients along with the mashed bananas, and fold together until just combined. Gently fold in the pecans and blueberries.
- Divide the batter among the muffin cases. Bake the muffins for 20 minutes, until risen, golden and springy to a gentle touch. Serve warm or at room temperature.
Recipe Notes
Each serving provides 930 kJ, 222 kcal, 6 g protein, 10 g fat (1 g saturated fat), 28 g carbohydrate (10 g sugars), 4 g fibre and 154 mg sodium.
READER’S DIGEST BRAIN POWER COOKBOOK
Posted in Recipes
Tags: Old Fashioned Mom People, London, Muffins, New York, Magazine Company, Old Fashioned Mom Advice, Old Fashioned Mom, Global Company, High Society, 2018, Coffee Distributor, Luxury Living, Magazine, Old Fashioned Mom International Company, Hudson Valley, Old Fashioned Mom Travel, Old Fashioned Mom Show, Old Fashioned Mom Real Estate, Old Fashioned Mom Places, Old Fashioned Mom Dining, Old Fashioned Mom Daily News, Old Fashioned Mom Coffee, Old Fashioned Mom Events, Top Percent, Wealthy, Summer, World, Old Fashioned Mom Things, Michelle-Marie Heinemann, Palm Beach, Old Fashioned Mom Magazine, New York City

Mini Salmon Breakfast Quiches
Instructions
- Preheat the oven to 180°C (350°F). Spray a 12-hole standard muffin tin with olive oil.
- Use a rolling pin to flatten out the bread slice, then use a 10 cm (4 inch) cutter to cut a round from each slice. Press the bread rounds into the muffin tin and lightly spray with olive oil. Bake for 10 minutes, until the bread cases are very lightly browned and slightly dried out. Transfer to a wire rack to cool.
- Return the bread cases to the muffin tin. Combine the salmon and herbs, then divide the mixture among the bread cases. Carefully pour the eggs into the bread cases over the salmon and sprinkle with the parmesan.
- Bake the quiches for 12-15 minutes, until set and golden brown. Serve warm or at room temperature.
READER’S DIGEST BRAIN POWER COOKBOOK
Posted in Recipes
Tags: Old Fashioned Mom People, Old Fashioned Mom Real Estate, Magazine Company, Mini Quiches, World, Old Fashioned Mom Advice, Old Fashioned Mom, New York, Global Company, High Society, 2018, Coffee Distributor, Luxury Living, Magazine, Hudson Valley, London, Old Fashioned Mom Coffee, Old Fashioned Mom Places, Old Fashioned Mom Daily News, Old Fashioned Mom International Company, Old Fashioned Mom Events, Old Fashioned Mom Travel, Old Fashioned Mom Dining, Top Percent, Wealthy, Old Fashioned Mom Show, Old Fashioned Mom Things, Summer, Salmon Mini Quiches, Michelle-Marie Heinemann, Palm Beach, Old Fashioned Mom Magazine, New York City

Spinach and Feta Omelettes
| Servings |
Prep Time |
Cook Time |
| 4people |
10minutes |
10minutes |
Instructions
- Heat 1 teaspoon of the oil in a 26 cm (10-inch) non-stick frying pan over medium heat. Pour in one-quarter of the eggs and swirl to make an even layer.
- Use a spatula to draw the egg into the centre of the pan from the side as it begins to set. After about 1 minute the egg will be set around the side and underneath but moist on top. Sprinkle with the spinach and feta. Fold one-third of the omelette towards the centre, then fold over again to enclose the filling.
- Slide the omelette onto a plate and serve immediately with the tomatoes, seasoned with freshly ground black pepper. Repeat to make three more omelettes.
Recipe Notes
If you prefer, cook the tomatoes in a little oil in a frying pan over medium heat for about 5 minutes, until the skins just start to split. Keep them warm while you cook the omelettes.
READER’S DIGEST BRAIN POWER COOKBOOK
Posted in Recipes
Tags: 2018, Old Fashioned Mom People, Magazine Company, Old Fashioned Mom Advice, Old Fashioned Mom, New York, Global Company, High Society, Coffee Distributor, Luxury Living, Magazine, Old Fashioned Mom Coffee, Hudson Valley, London, Summer, Old Fashioned Mom Travel, Old Fashioned Mom Real Estate, Old Fashioned Mom Places, Old Fashioned Mom Show, Old Fashioned Mom Daily News, Old Fashioned Mom International Company, Old Fashioned Mom Events, Old Fashioned Mom Dining, Top Percent, World, Wealthy, Old Fashioned Mom Things, Michelle-Marie Heinemann, Palm Beach, Old Fashioned Mom Magazine, New York City
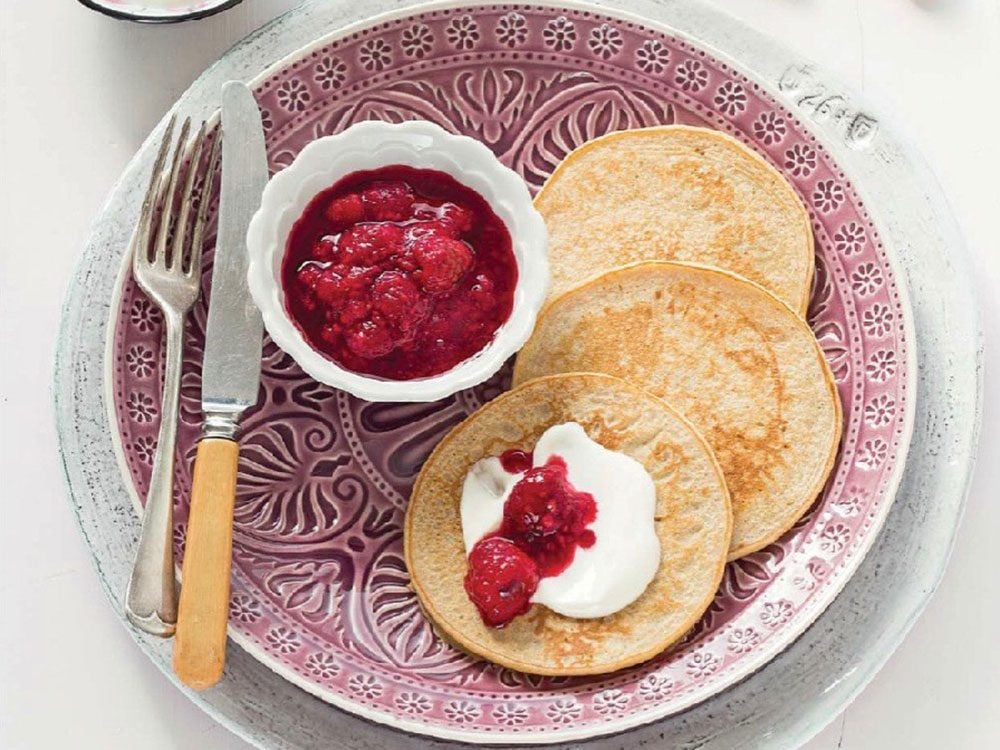
Quinoa Pancakes with Raspberry Compote
| Servings |
Prep Time |
Cook Time |
| 12pancakes |
25minutes |
20minutes |
Instructions
- To make the compote, put the raspberries and sugar in a small saucepan. Gently stir over low heat until the sugar has dissolved and the mixture is heated through.
- Sift the flour, baking powder, sugar and cinnamon into a bowl and make a well in the centre. Whisk the buttermilk, eggs and vanilla together. Pour the mixture into the well in the dry ingredients and stir to combine.
- Lightly grease a large heavy-based frying pan and heat over medium-low heat. For each pancake, drop 2 slightly heaped tablespoons of batter into the pan and spread to a neat 10 cm (4 inch) round. Repeat with more batter, depending on the size of your pan.
- Cook the pancakes for about 2 minutes, until golden brown underneath, then turn over and cook the other side for 1-2 minutes, until golden. Remove from the pan and keep warm while you cook the remaining batter.
- Serve three pancakes for each person, with the yogurt and raspberry compote.
Recipe Notes
To keep the pancakes warm, place them on a baking tray in a very low oven, loosely covered with foil.
READER’S DIGEST BRAIN POWER COOKBOOK
Posted in Recipes
Tags: Old Fashioned Mom People, Old Fashioned Mom Real Estate, Magazine Company, Old Fashioned Mom Advice, Old Fashioned Mom, New York, Global Company, 2018, Coffee Distributor, High Society, Magazine, Luxury Living, London, Hudson Valley, Old Fashioned Mom Daily News, Old Fashioned Mom Coffee, Old Fashioned Mom Places, Old Fashioned Mom International Company, Old Fashioned Mom Events, Old Fashioned Mom Dining, Top Percent, World, Wealthy, Summer, Old Fashioned Mom Things, Old Fashioned Mom Show, Old Fashioned Mom Travel, Michelle-Marie Heinemann, Palm Beach, Old Fashioned Mom Magazine, New York City

Grilled Toulouse Sausage BBQ Pizza
| Servings |
Prep Time |
Cook Time |
| 4people |
15minutes |
35minutes |
Instructions
BBQ Pizza
- Pre-heat BBQ to high heat. Place the Toulouse sausages on the grill and cook for 8 minutes, flip and cook on the other side for another 5-6 minutes. Remove from heat and allow to rest for 10 minutes. Slice into 1/2-inch rounds.
- Cut the pizza dough ball into 2 equal pieces. Lightly flour the countertop and flatten one of the dough balls by hand. Use a rolling pin to roll the dough into a 12-16 inch round, rotating and stretching the dough as you go. Transfer the dough to a lightly floured pizza peel (or rimless baking sheet) and stretch to re-shape if necessary.
- Oil the BBQ grill grates and decrease the heat to medium.
- Brush the dough with 1 to 2 teaspoons of olive oil and flip onto the hot grill, oiled side down. Close the lid and cook until the bottom of crust is golden brown, approximately one to two minutes.
- Brush the raw side of the dough with 1 to 2 teaspoons olive oil, then immediately flip using the peel (or rimless baking sheet). Spread three tablespoons of artichoke tapenade onto the dough, then top with grated feta and mozzarella, sliced Toulouse sausage and torn basil.
- Close the lid and cook until the bottom of crust is golden browned and cheese has melted, about two to four minutes.
- Using the peel (or rimless baking sheet), remove the pizza to a cooling rack and let rest for 3 minutes. Top with baby arugula, drizzle with two tablespoon olive oil. Slice into desired size.
Artichoke Tapenade
- Place the artichoke hearts, garlic, cayenne powder, olives, capers, oil, lemon juice and sea salt in a food processor and puree until smooth. Add the cheese and puree for another 15 seconds. Set aside.
Recipe Notes
Store extra artichoke tapenade in a resealable container in the fridge for up to a month.
BY CHEF ANDREA NICHOLSON FOR DUBRETON CERTIFIED HUMANE® AND ORGANIC PORK
Posted in Recipes
Tags: Old Fashioned Mom People, Old Fashioned Mom Real Estate, Magazine Company, Old Fashioned Mom Advice, Old Fashioned Mom, New York, Magazine, Global Company, High Society, Coffee Distributor, Luxury Living, London, Hudson Valley, Old Fashioned Mom Coffee, Old Fashioned Mom Travel, Summer, Old Fashioned Mom Places, Old Fashioned Mom Daily News, 2018, Old Fashioned Mom International Company, Old Fashioned Mom Events, Old Fashioned Mom Dining, Old Fashioned Mom Show, Top Percent, World, Wealthy, Old Fashioned Mom Things, Michelle-Marie Heinemann, Palm Beach, Old Fashioned Mom Magazine, New York City