Posts Tagged ‘New York City’

Grow Your Own Healing Garden
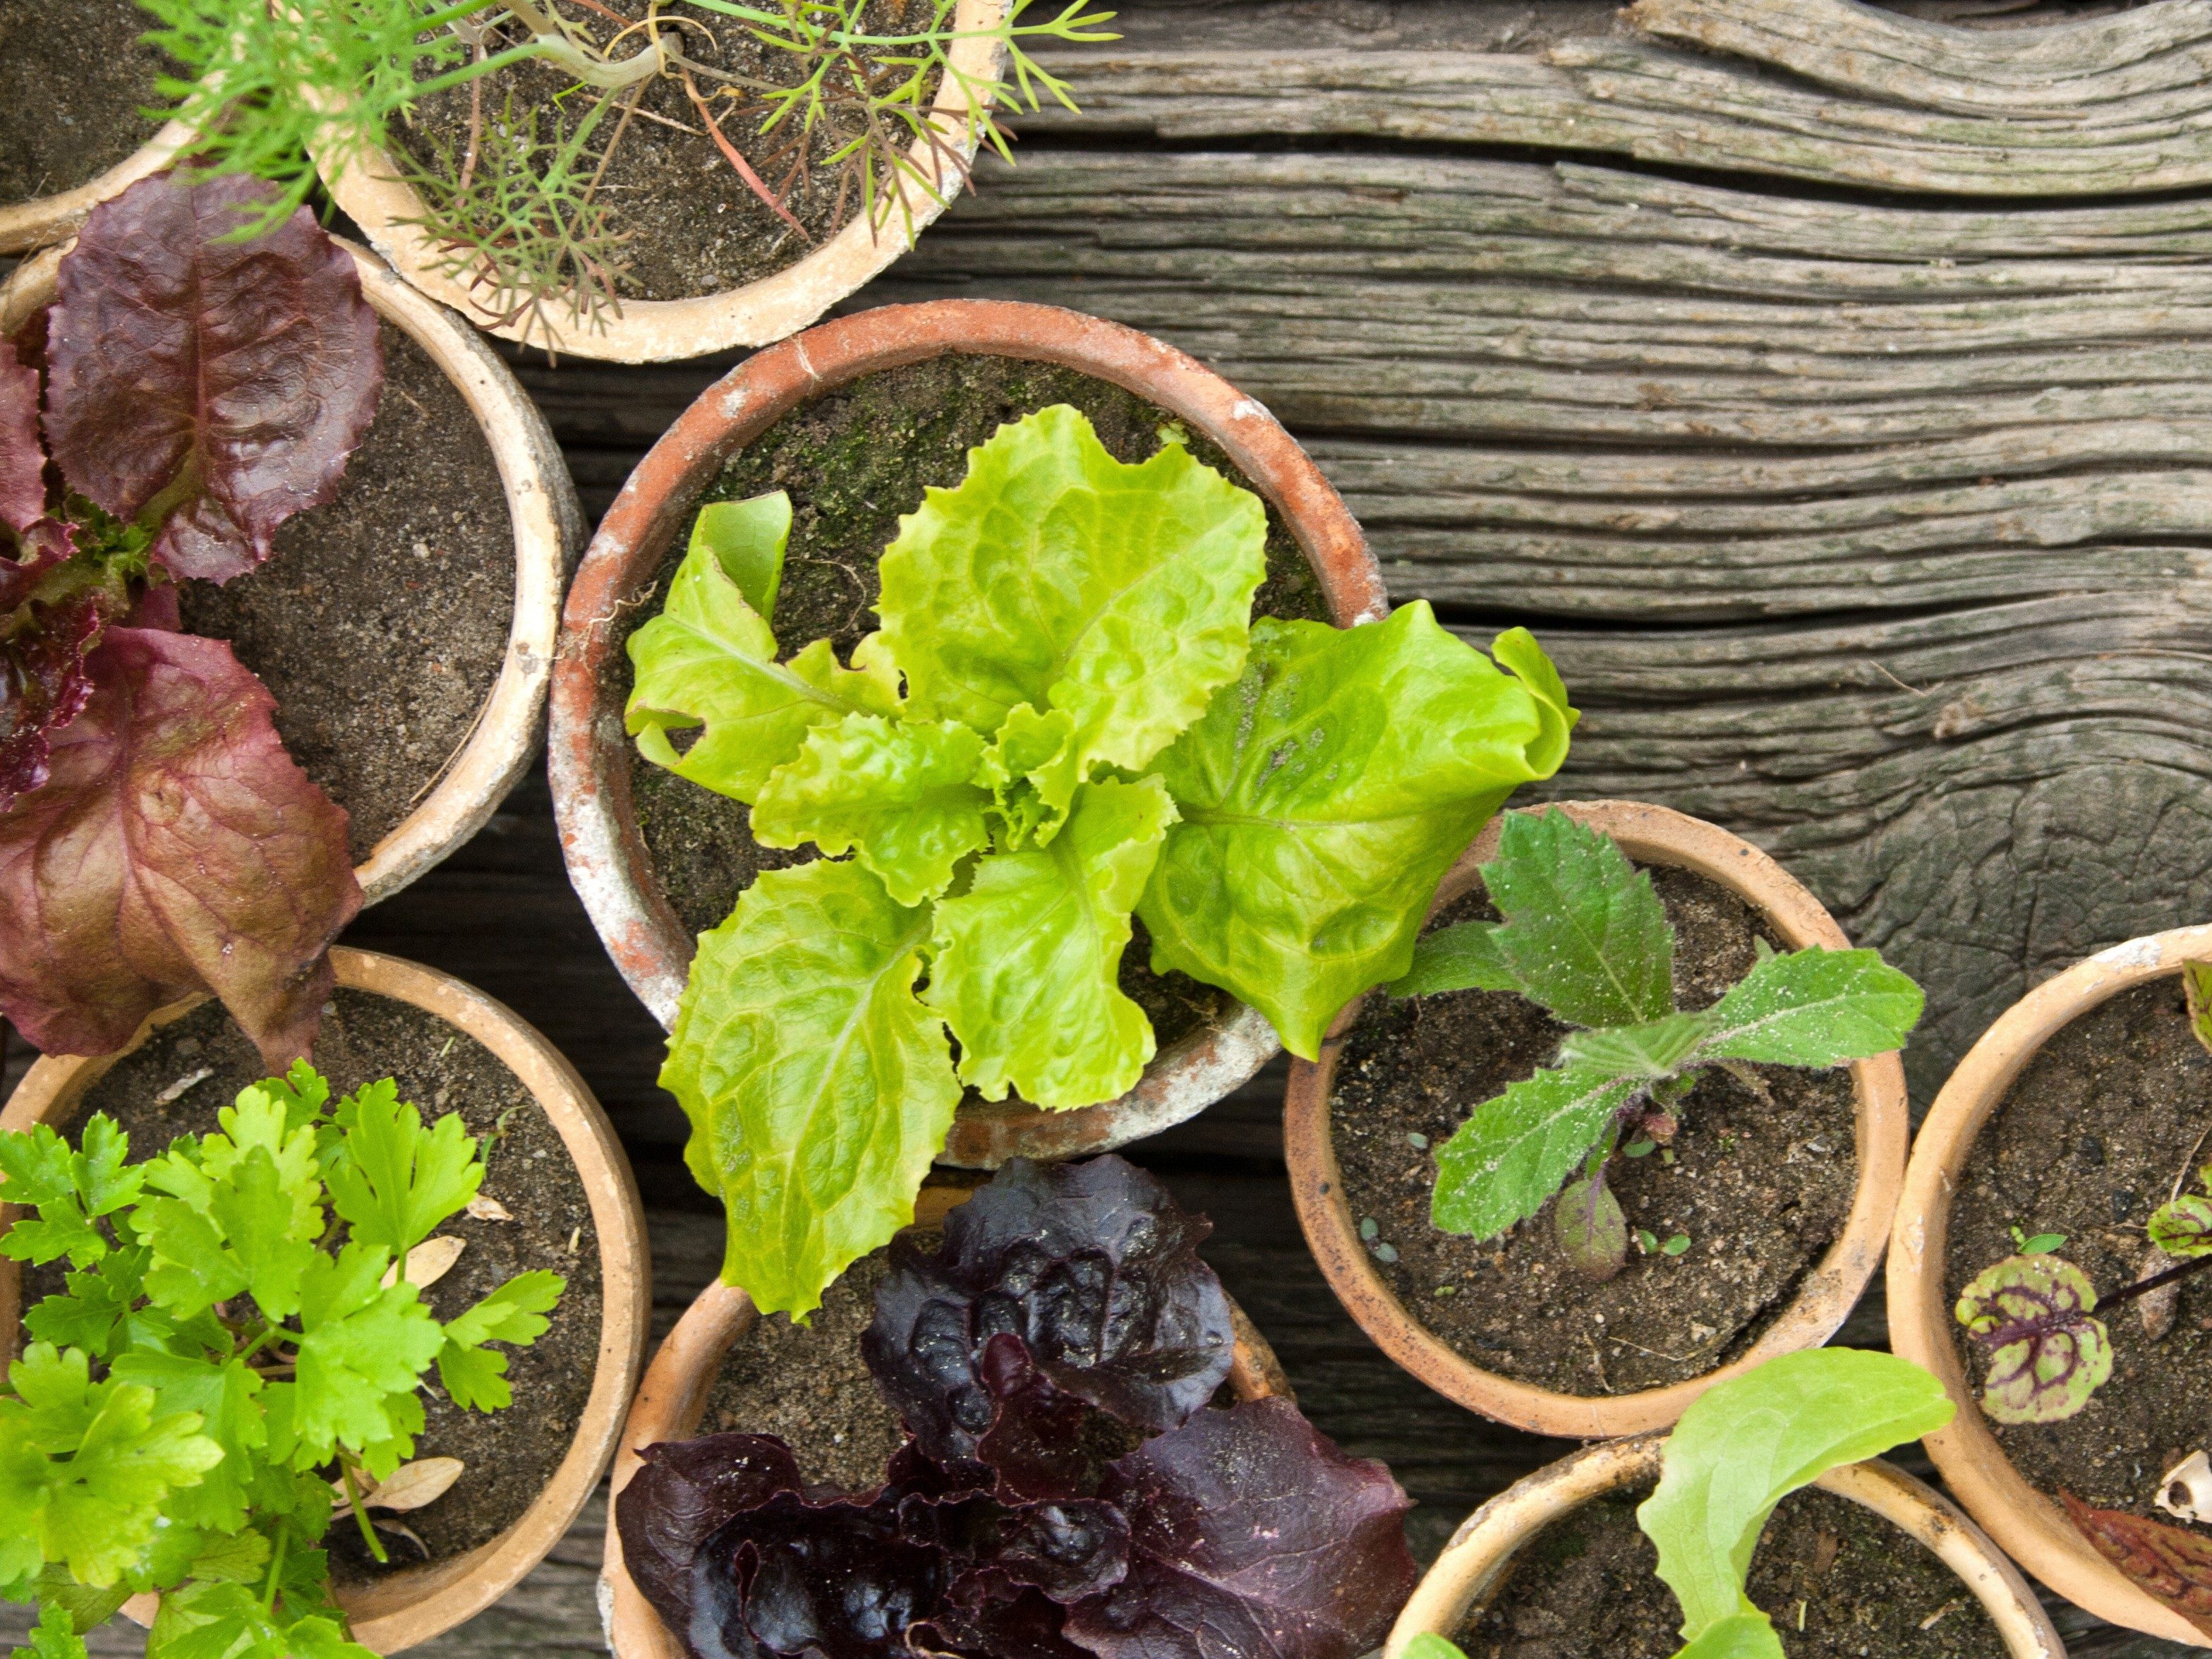
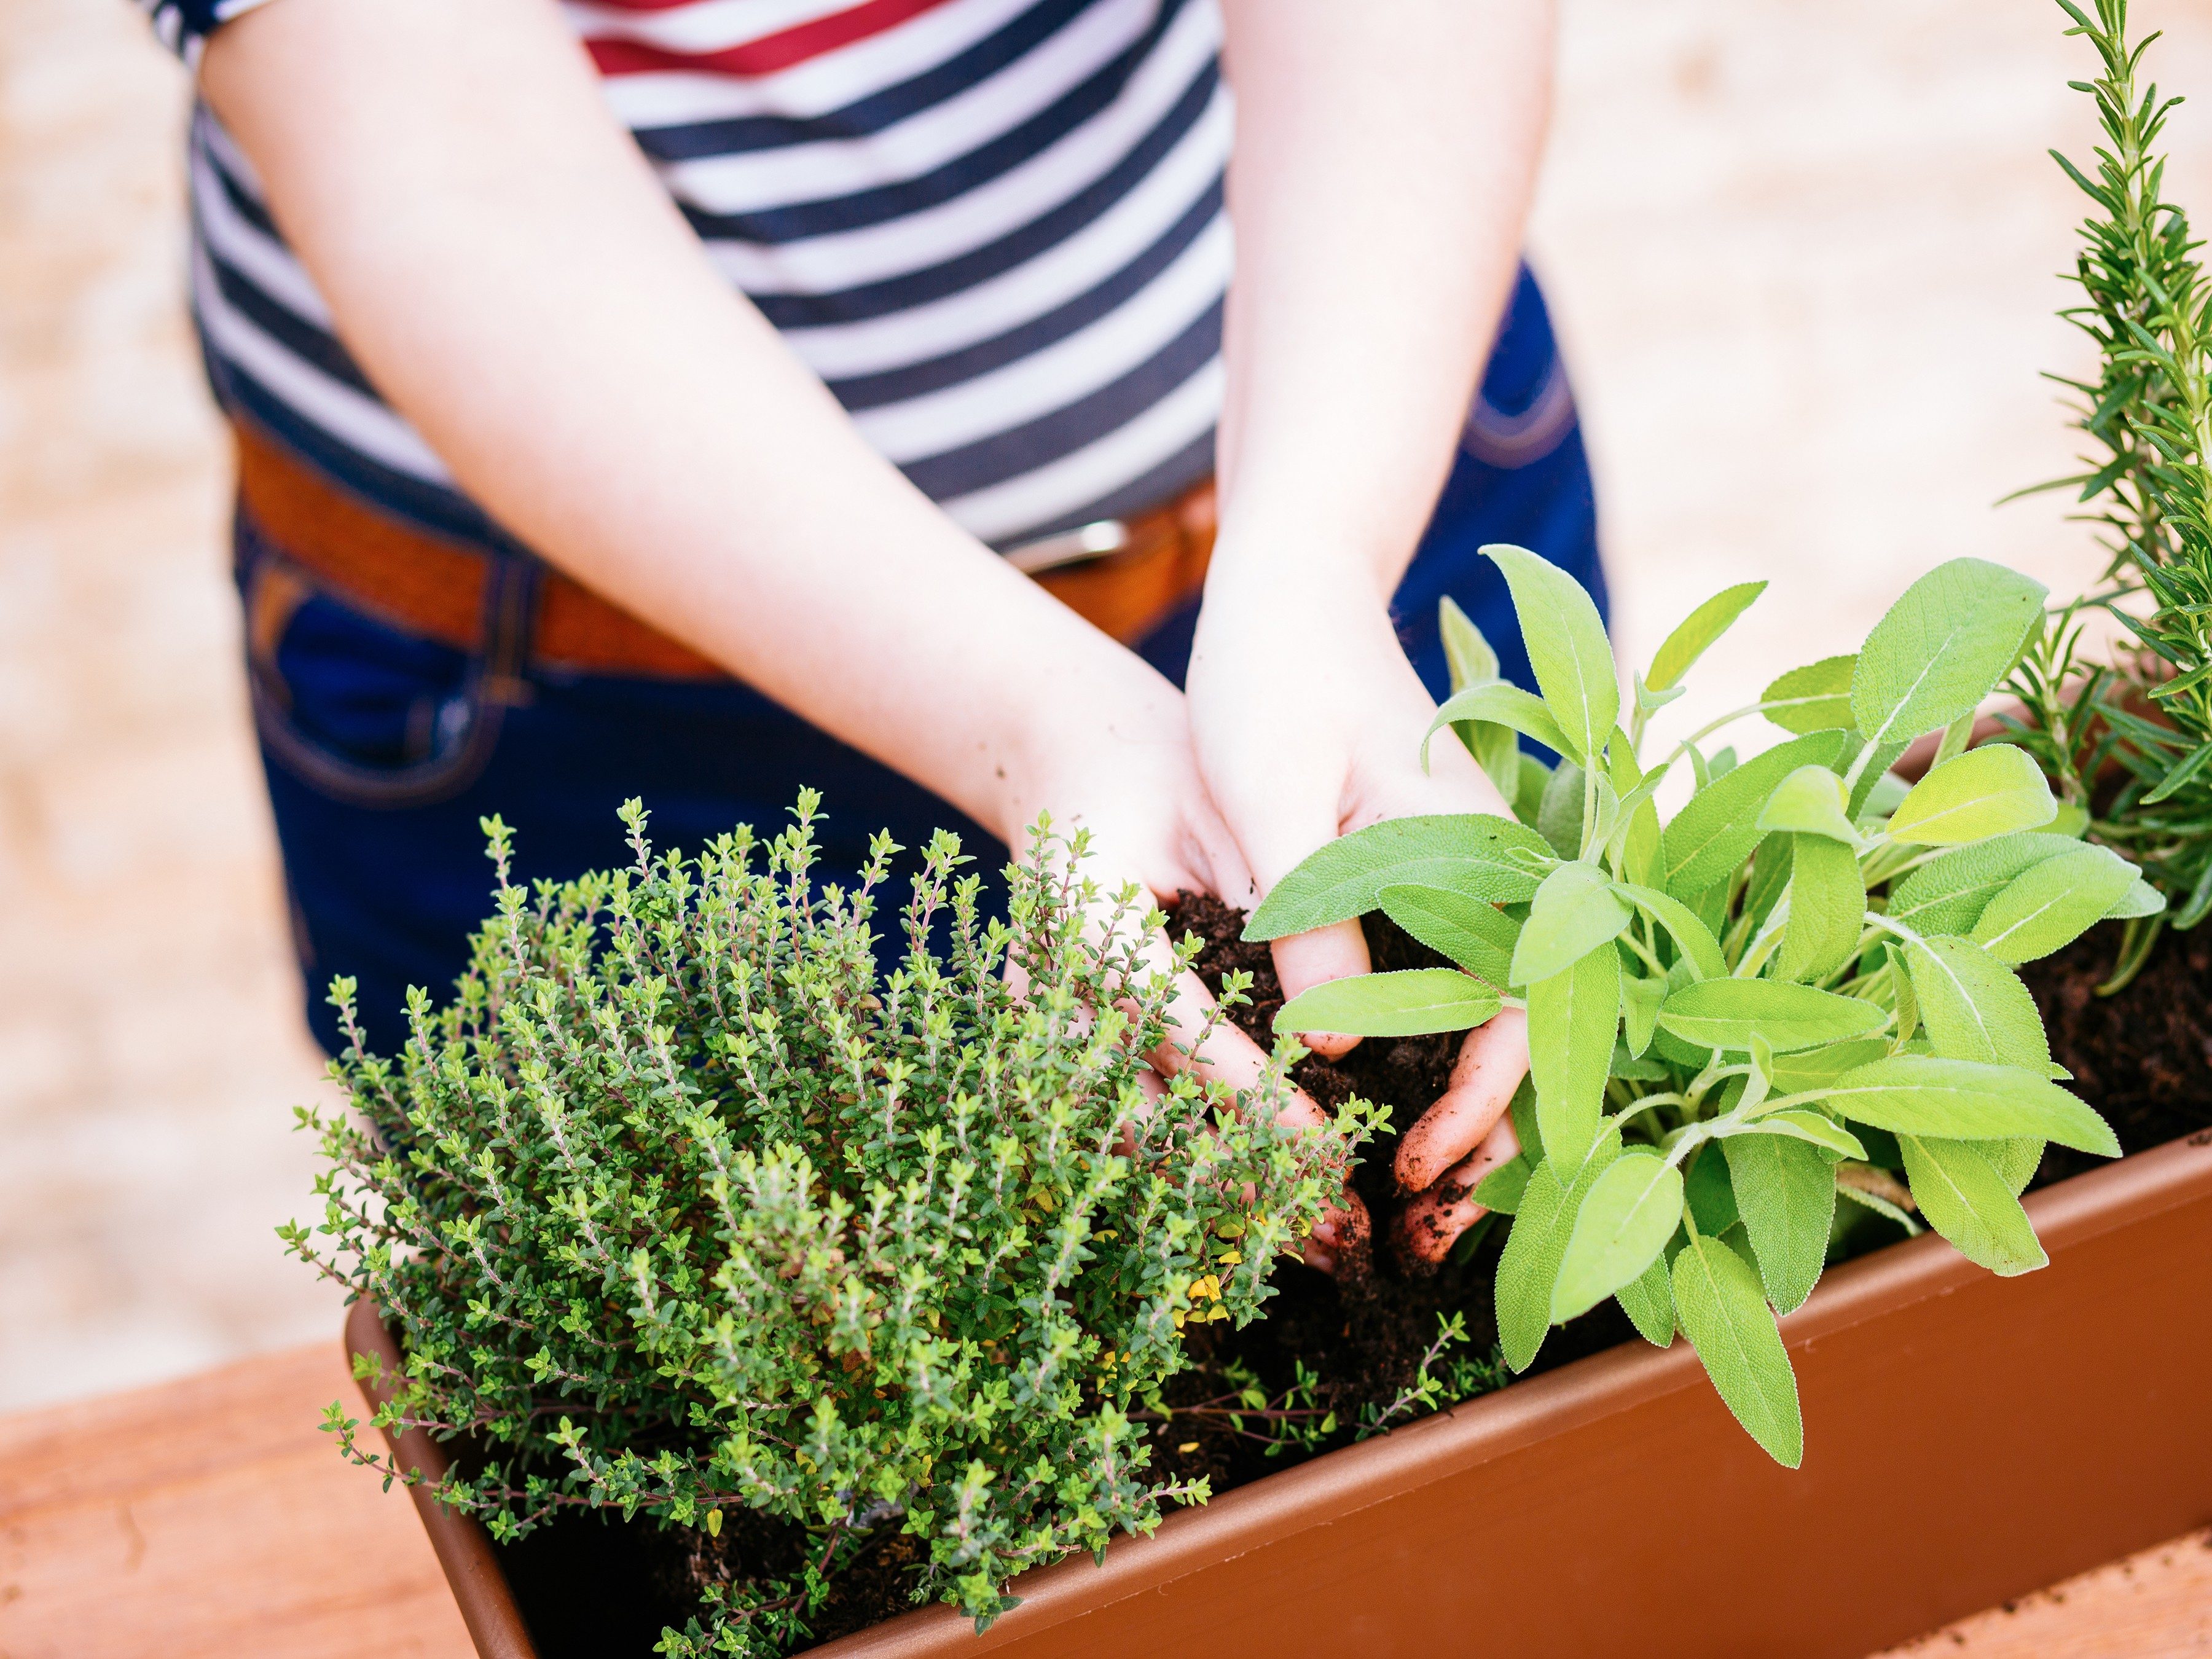
Physic (or physick) was the name given to gardens of healing plants grown by physicians and monks in ancient times and by home gardeners well into the nineteenth century. Why not plant your own healing garden with some of these herbs? By investing a little sweat and the cost of the seeds, you can grow your own ingredients for infusions, teas, and balms. Just choose a sunny spot with rich soil for your healing garden. Perennial plants will grow from season to season, while annuals must be reseeded or transplanted.
1. Sage
Sage is a perennial. Sage’s genus name, Salvia, means “to heal,” reflecting its early use as a medicinal (not culinary) herb.
Medicinal uses of sage: Mouth and throat inflammations.
2. Chamomile
Chamomile is an annual. Use chamomile flower heads for infusions and salves.
Medicinal uses of chamomile: Indigestion, anxiety, skin inflammations.
3. Basil
Basil is an annual. Harvest the young leaves of what’s called “the king of herbs” as needed.
Medicinal uses of basil: Flatulence, lack of appetite, cuts and scrapes.
4. Feverfew
Feverfew is a perennial. Use leaves and flowers for teas; chew leaves to ease headache pain.
Medicinal uses of feverfew: Headaches (including migraines), arthritis, skin conditions.
5. Lemon Balm
Lemon balm is a perennial. A relative of mint, lemon balm is a versatile medicinal herb.
Medicinal uses of lemon balm: Anxiety, insomnia, wounds, herpes, insect bites, flatulence, upset stomach.
6. Parsley
Parsley is a biennial. Like its curly cousin P. crispum, this herb is loaded with nutrients.
Medicinal uses for parsley: Flatulence, bad breath.
7. St. John’s Wort
St. John’s Wort is a perennial. The glossy leaves and yellow flowers are this herb’s active parts.
Medicinal uses of St. John’s Wort: Mild to moderate depression. (Talk to your doctor first.)
8. Thyme
Thyme is a perennial. The active principle in thyme, thymol, is a strong antiseptic.
Medicinal uses of thyme: Coughs, congestion, indigestion, gas.
FROM BAKING SODA, BANANA PEELS, BABY OIL AND BEYOND
Posted in Products. People. Places.
Tags: Old Fashioned Mom International Company, Old Fashioned Mom People, Magazine Company, World, Old Fashioned Mom Advice, Old Fashioned Mom, New York, Magazine, Global Company, 2018, Coffee Distributor, London, Luxury Living, High Society, Hudson Valley, Old Fashioned Mom Travel, Old Fashioned Mom Places, Old Fashioned Mom Daily News, Old Fashioned Mom Coffee, Old Fashioned Mom Events, Old Fashioned Mom Dining, Old Fashioned Mom Real Estate, Top Percent, Summer, Wealthy, Old Fashioned Mom Show, Old Fashioned Mom Things, Michelle-Marie Heinemann, Palm Beach, Old Fashioned Mom Magazine, New York City

1. Give Birds A Place To Stay
The best gardens for birds are the densest ones, so embrace nature’s mess! Plant at different heights to create layers and lure a variety of winged visitors; tangles of vines, hedges and trees will appeal to shelter seekers. To up the ante, invest in a birdhouse. Make sure it’s well ventilated, and that the perch isn’t located under the entrance hole (it will help protect eggs from intruders). Fill the birdhouse with bits of cotton, wool, lint and feathers to kick-start the nesting process.
(Humans like high-thread-count bedding, and so do birds!)
2. Give Birds A Place To Bathe
The most sought-after tubs aren’t of the claw-foot variety: they’re shallow, with rocks or pieces of driftwood acting as safe landing strips, and sloping sides so the chirpers can wade. Place birdbaths in open areas of the garden to allow birds to spot wily neighbourhood felines before they get too close. And be a good host-scrub the facilities down with a strong-bristled brush (but no chemicals) and replace the water once a week.
3. Give Birds A Place To Eat
When stocking up for your flock, pick food that will appeal to a large cross-section of birds. Black oil sunflower seeds are a favourite
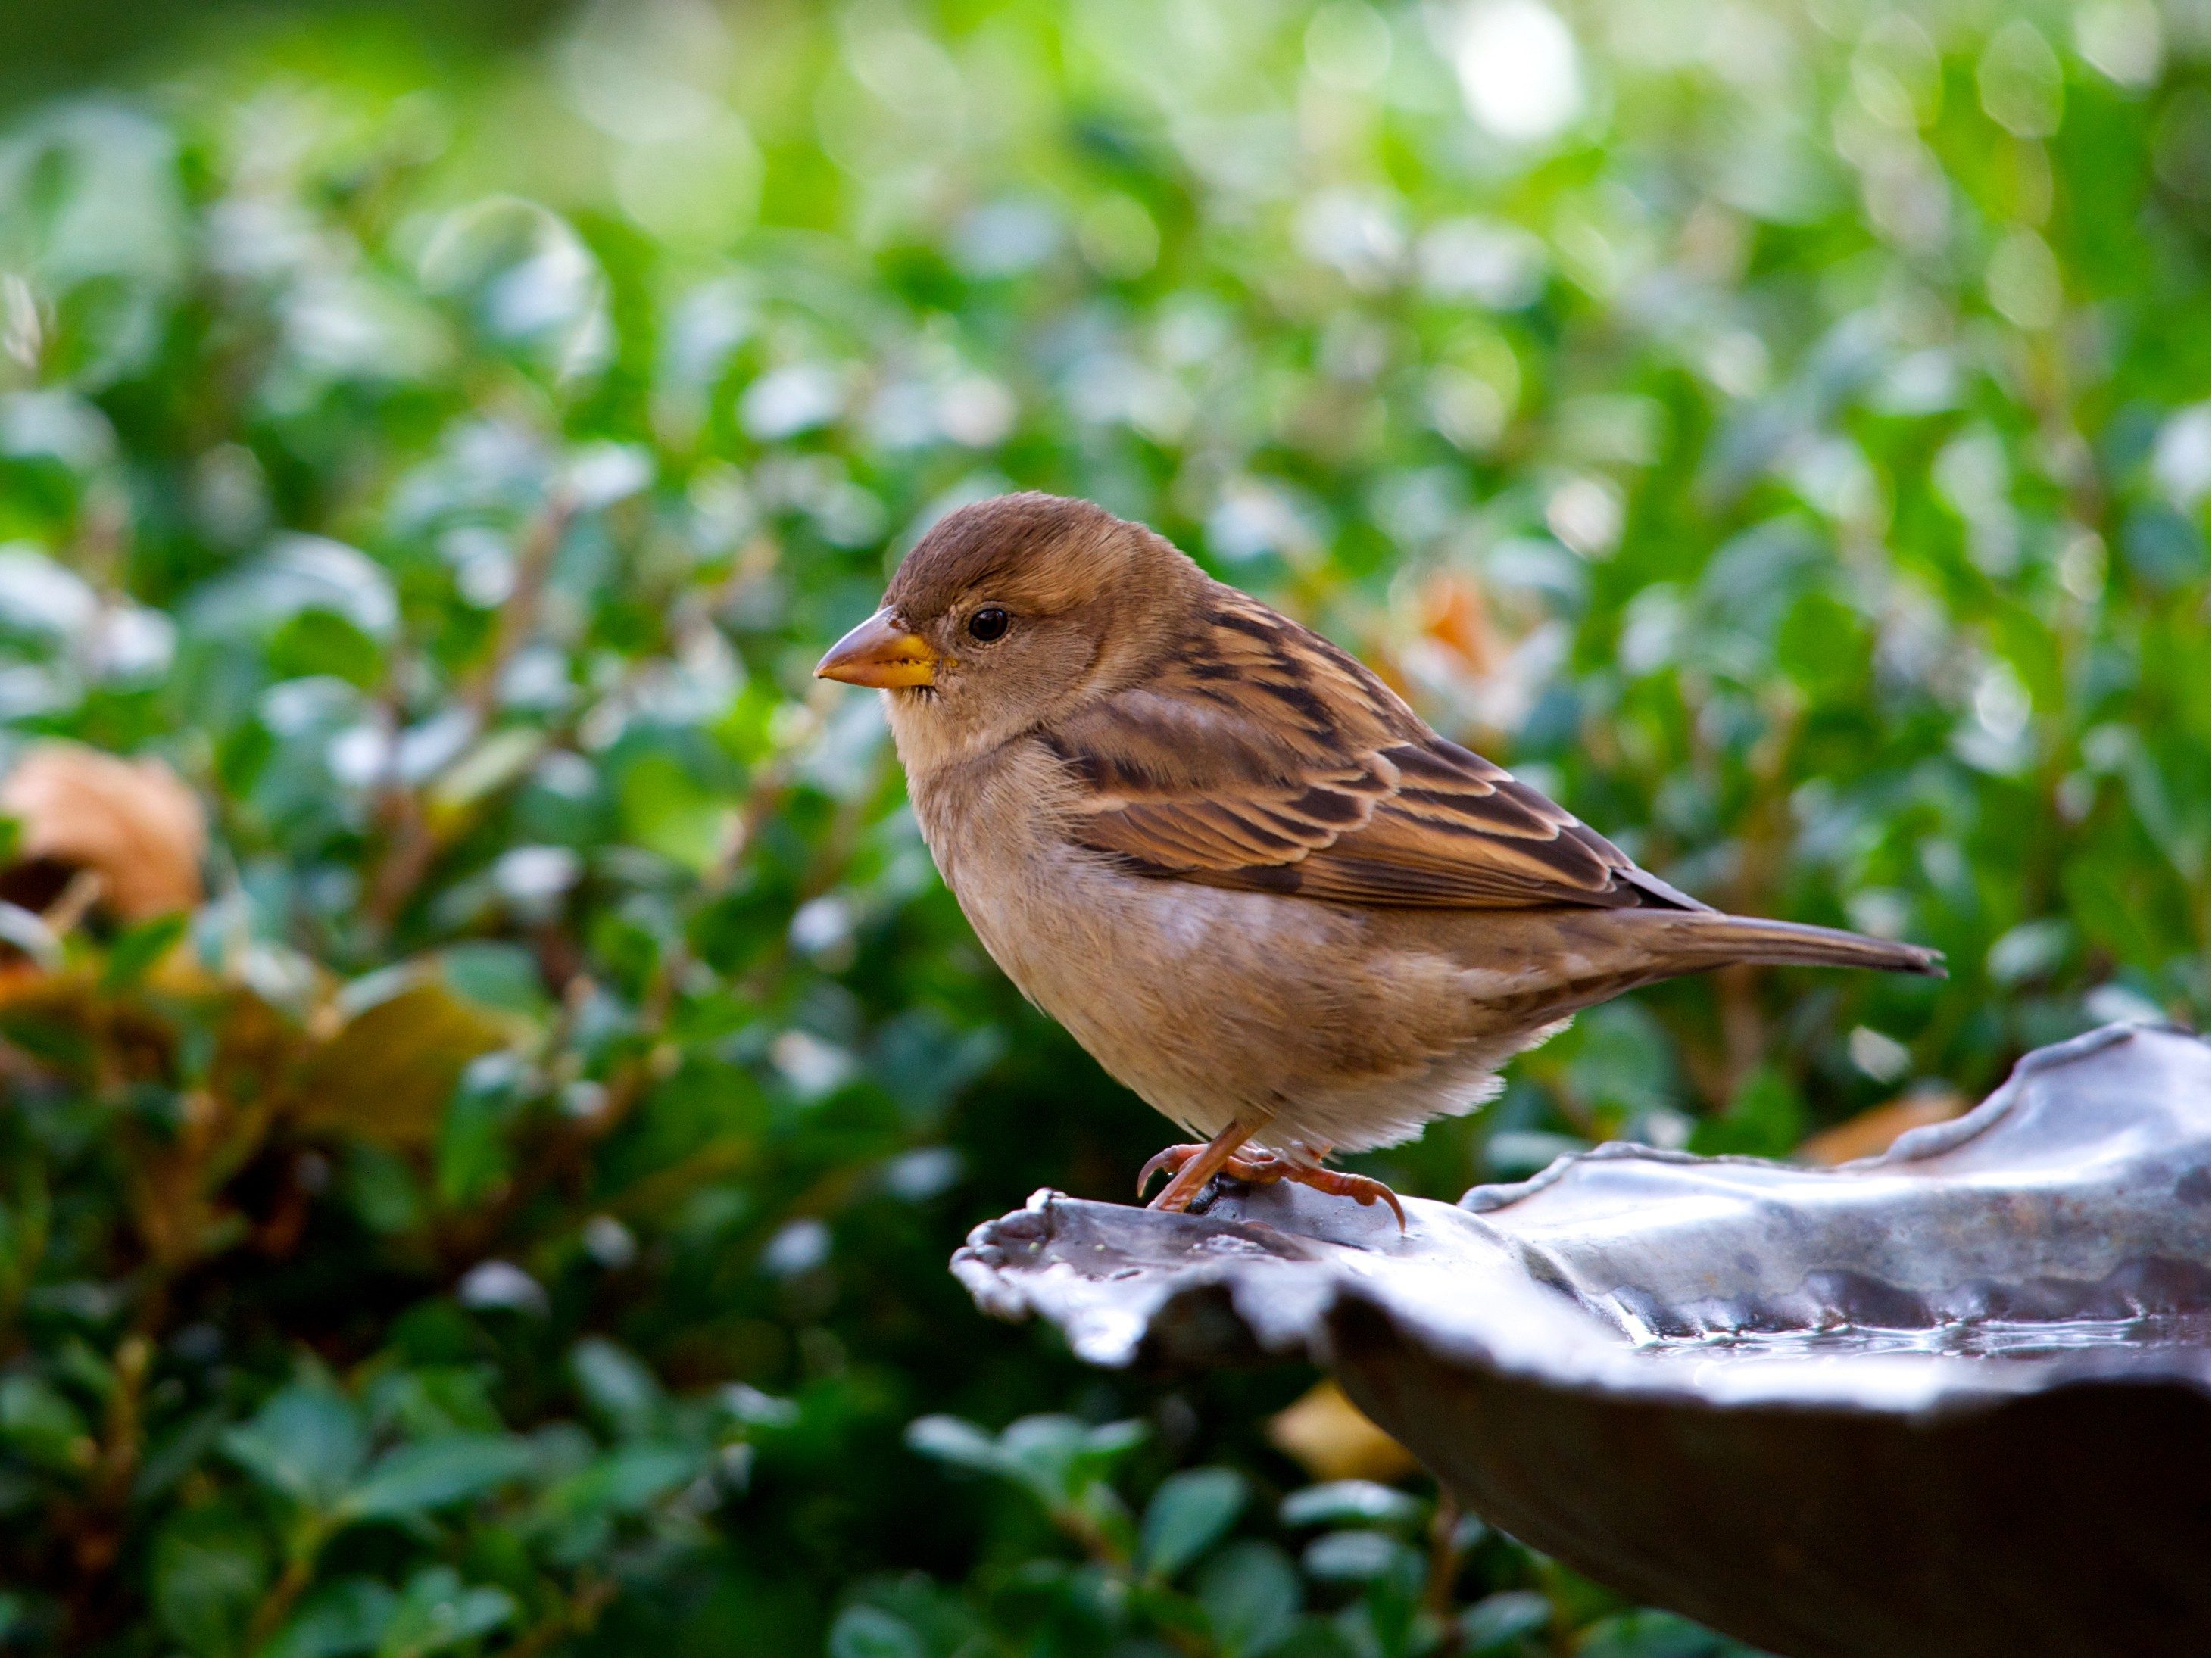
of cardinals, blue jays, chickadees, nuthatches and some woodpeckers. White millet will attract sparrows, buntings, doves and blackbirds; while niger thistle is catnip for finches. Avoid mixes that feature fillers such as red millet and milo near the top of their ingredients lists. Keep seeds fresh by storing them in a cool, dry place, and don’t hoard-they will spoil. Remember that presentation really is everything. Being able to see the food will attract hungry throngs enticed by the sight of others chowing down (everyone loves a trendy eatery). Make sure your feeder accommodates about a dozen birds.
4. Know Your Audience
Find out what the birds you want to attract are attracted to themselves. Here are a few favourites:
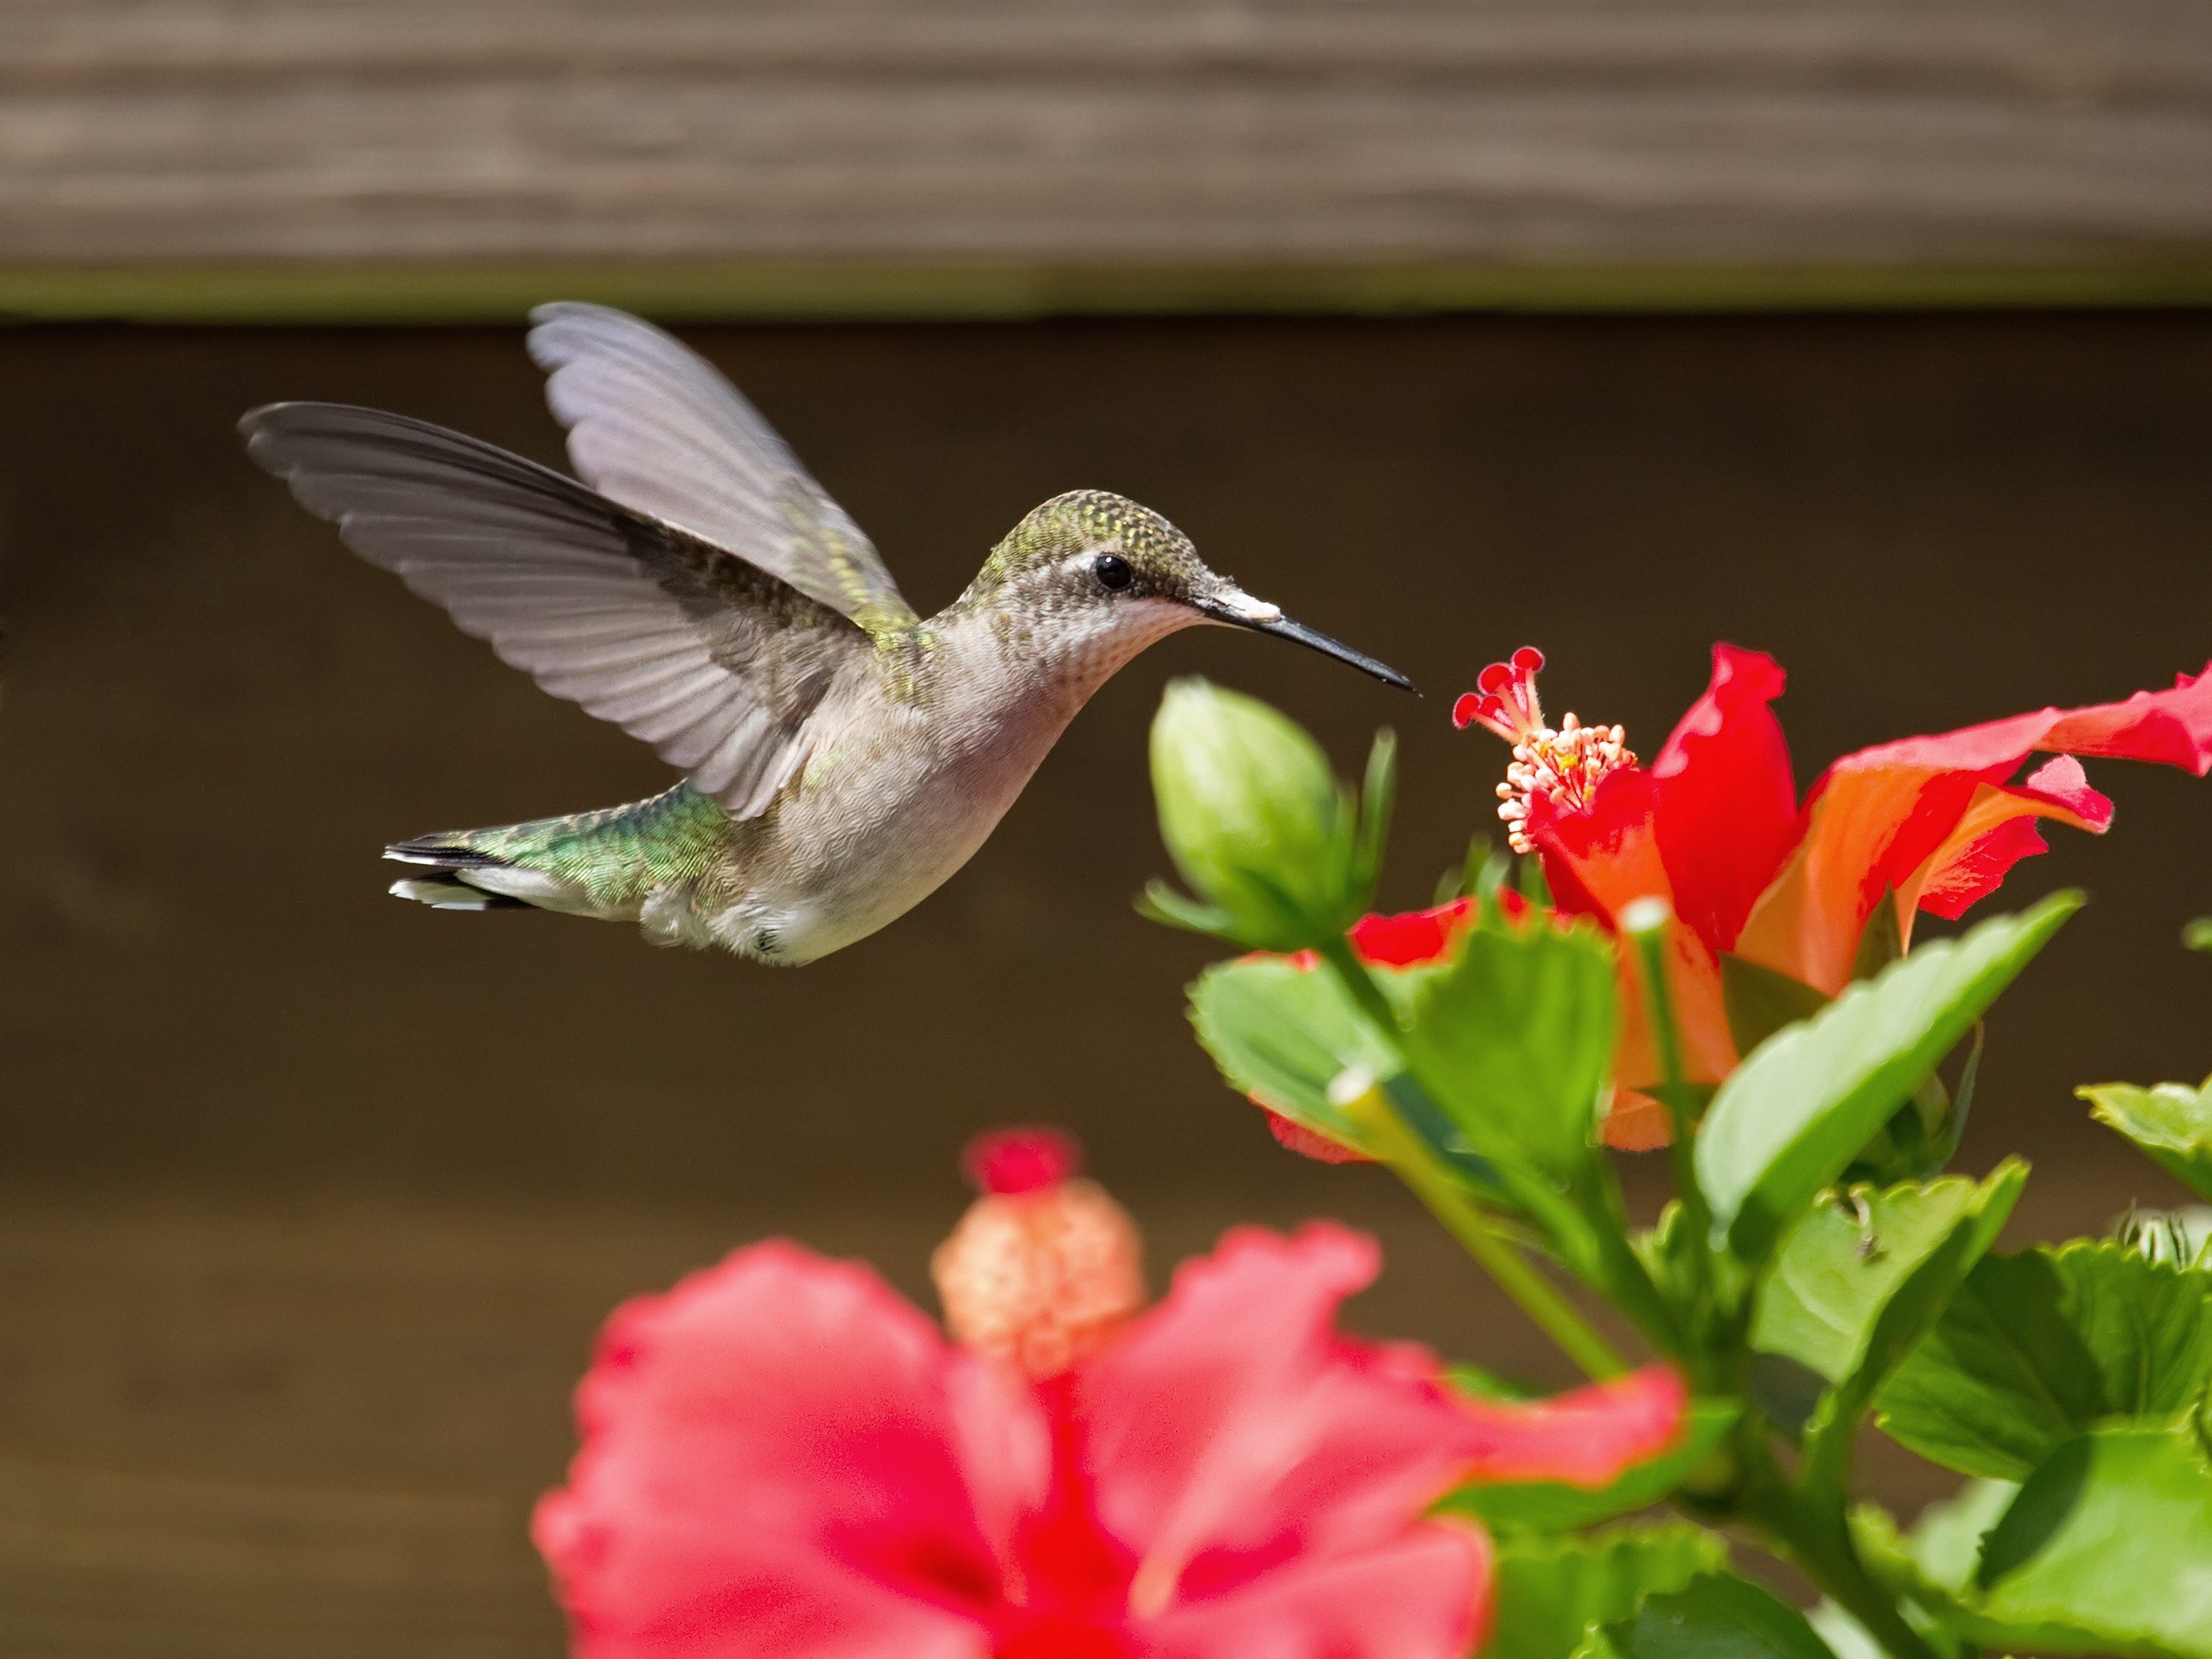
▪ Hummingbirds – honeysuckle, bleeding hearts, blue irises and
red flowering currants.
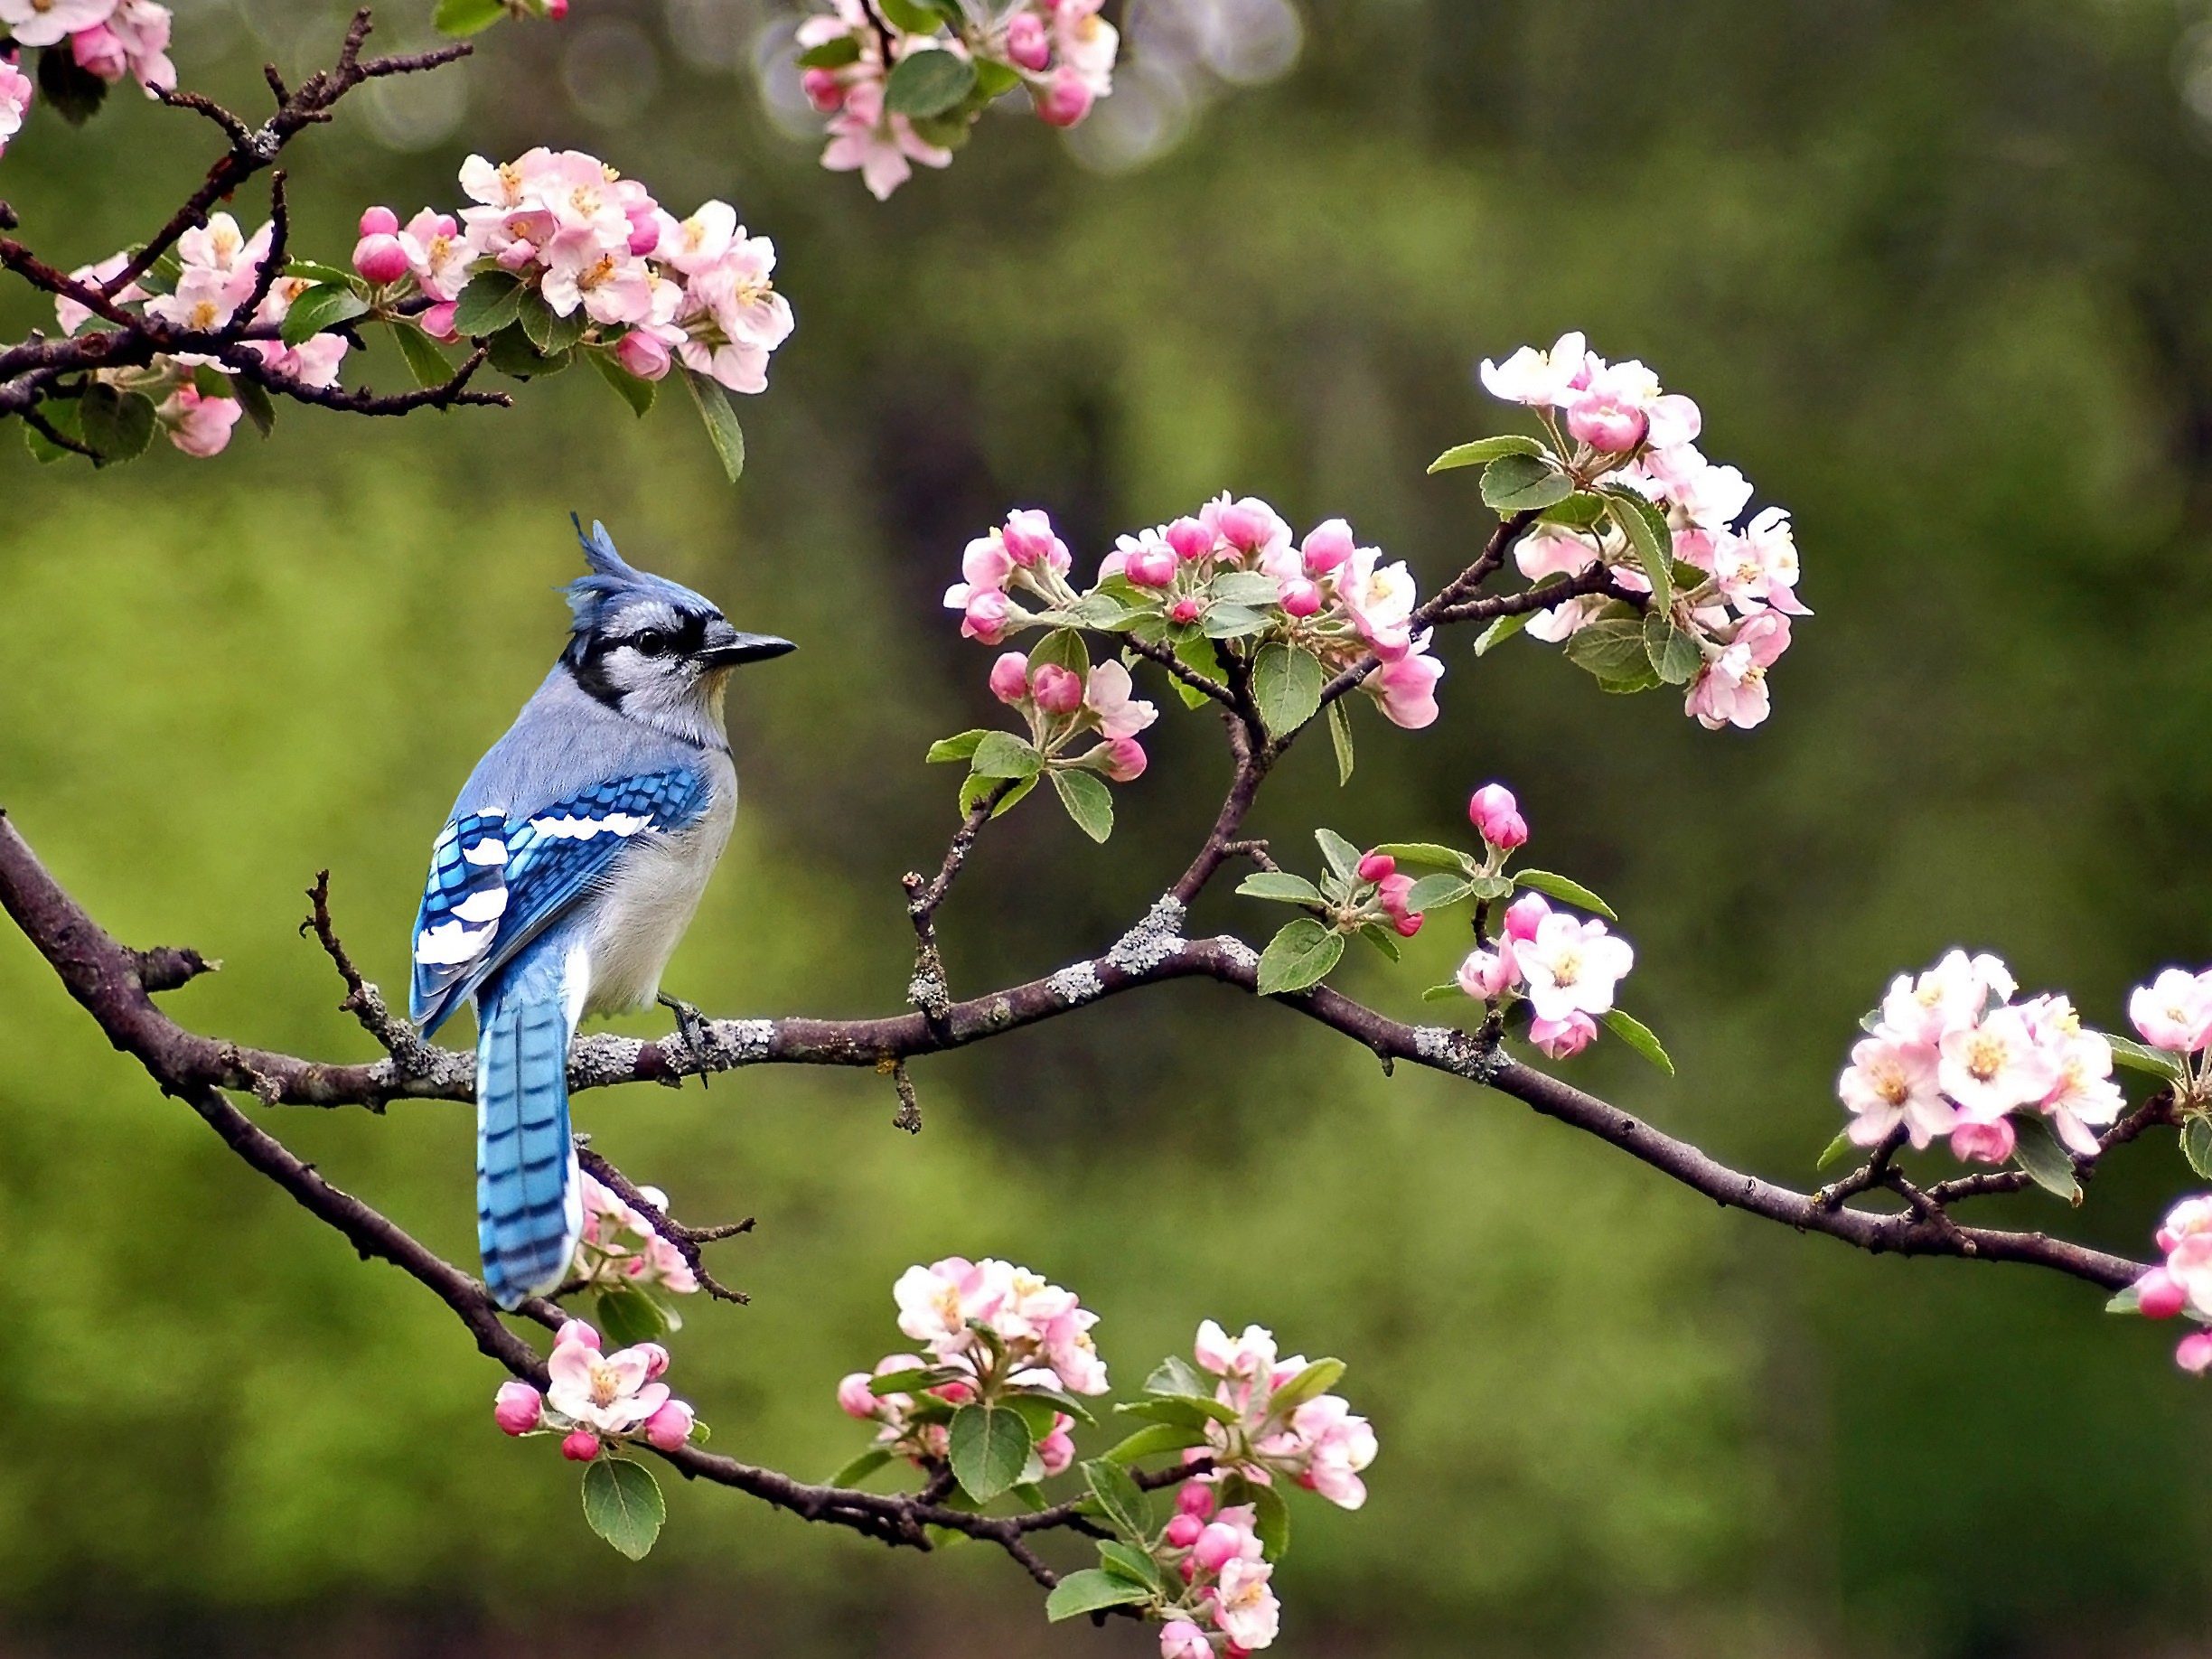
▪ Blue jays – cherries and berries of all kinds, if you’re willing to share. Pine trees are tops, as they offer shelter from the wind.
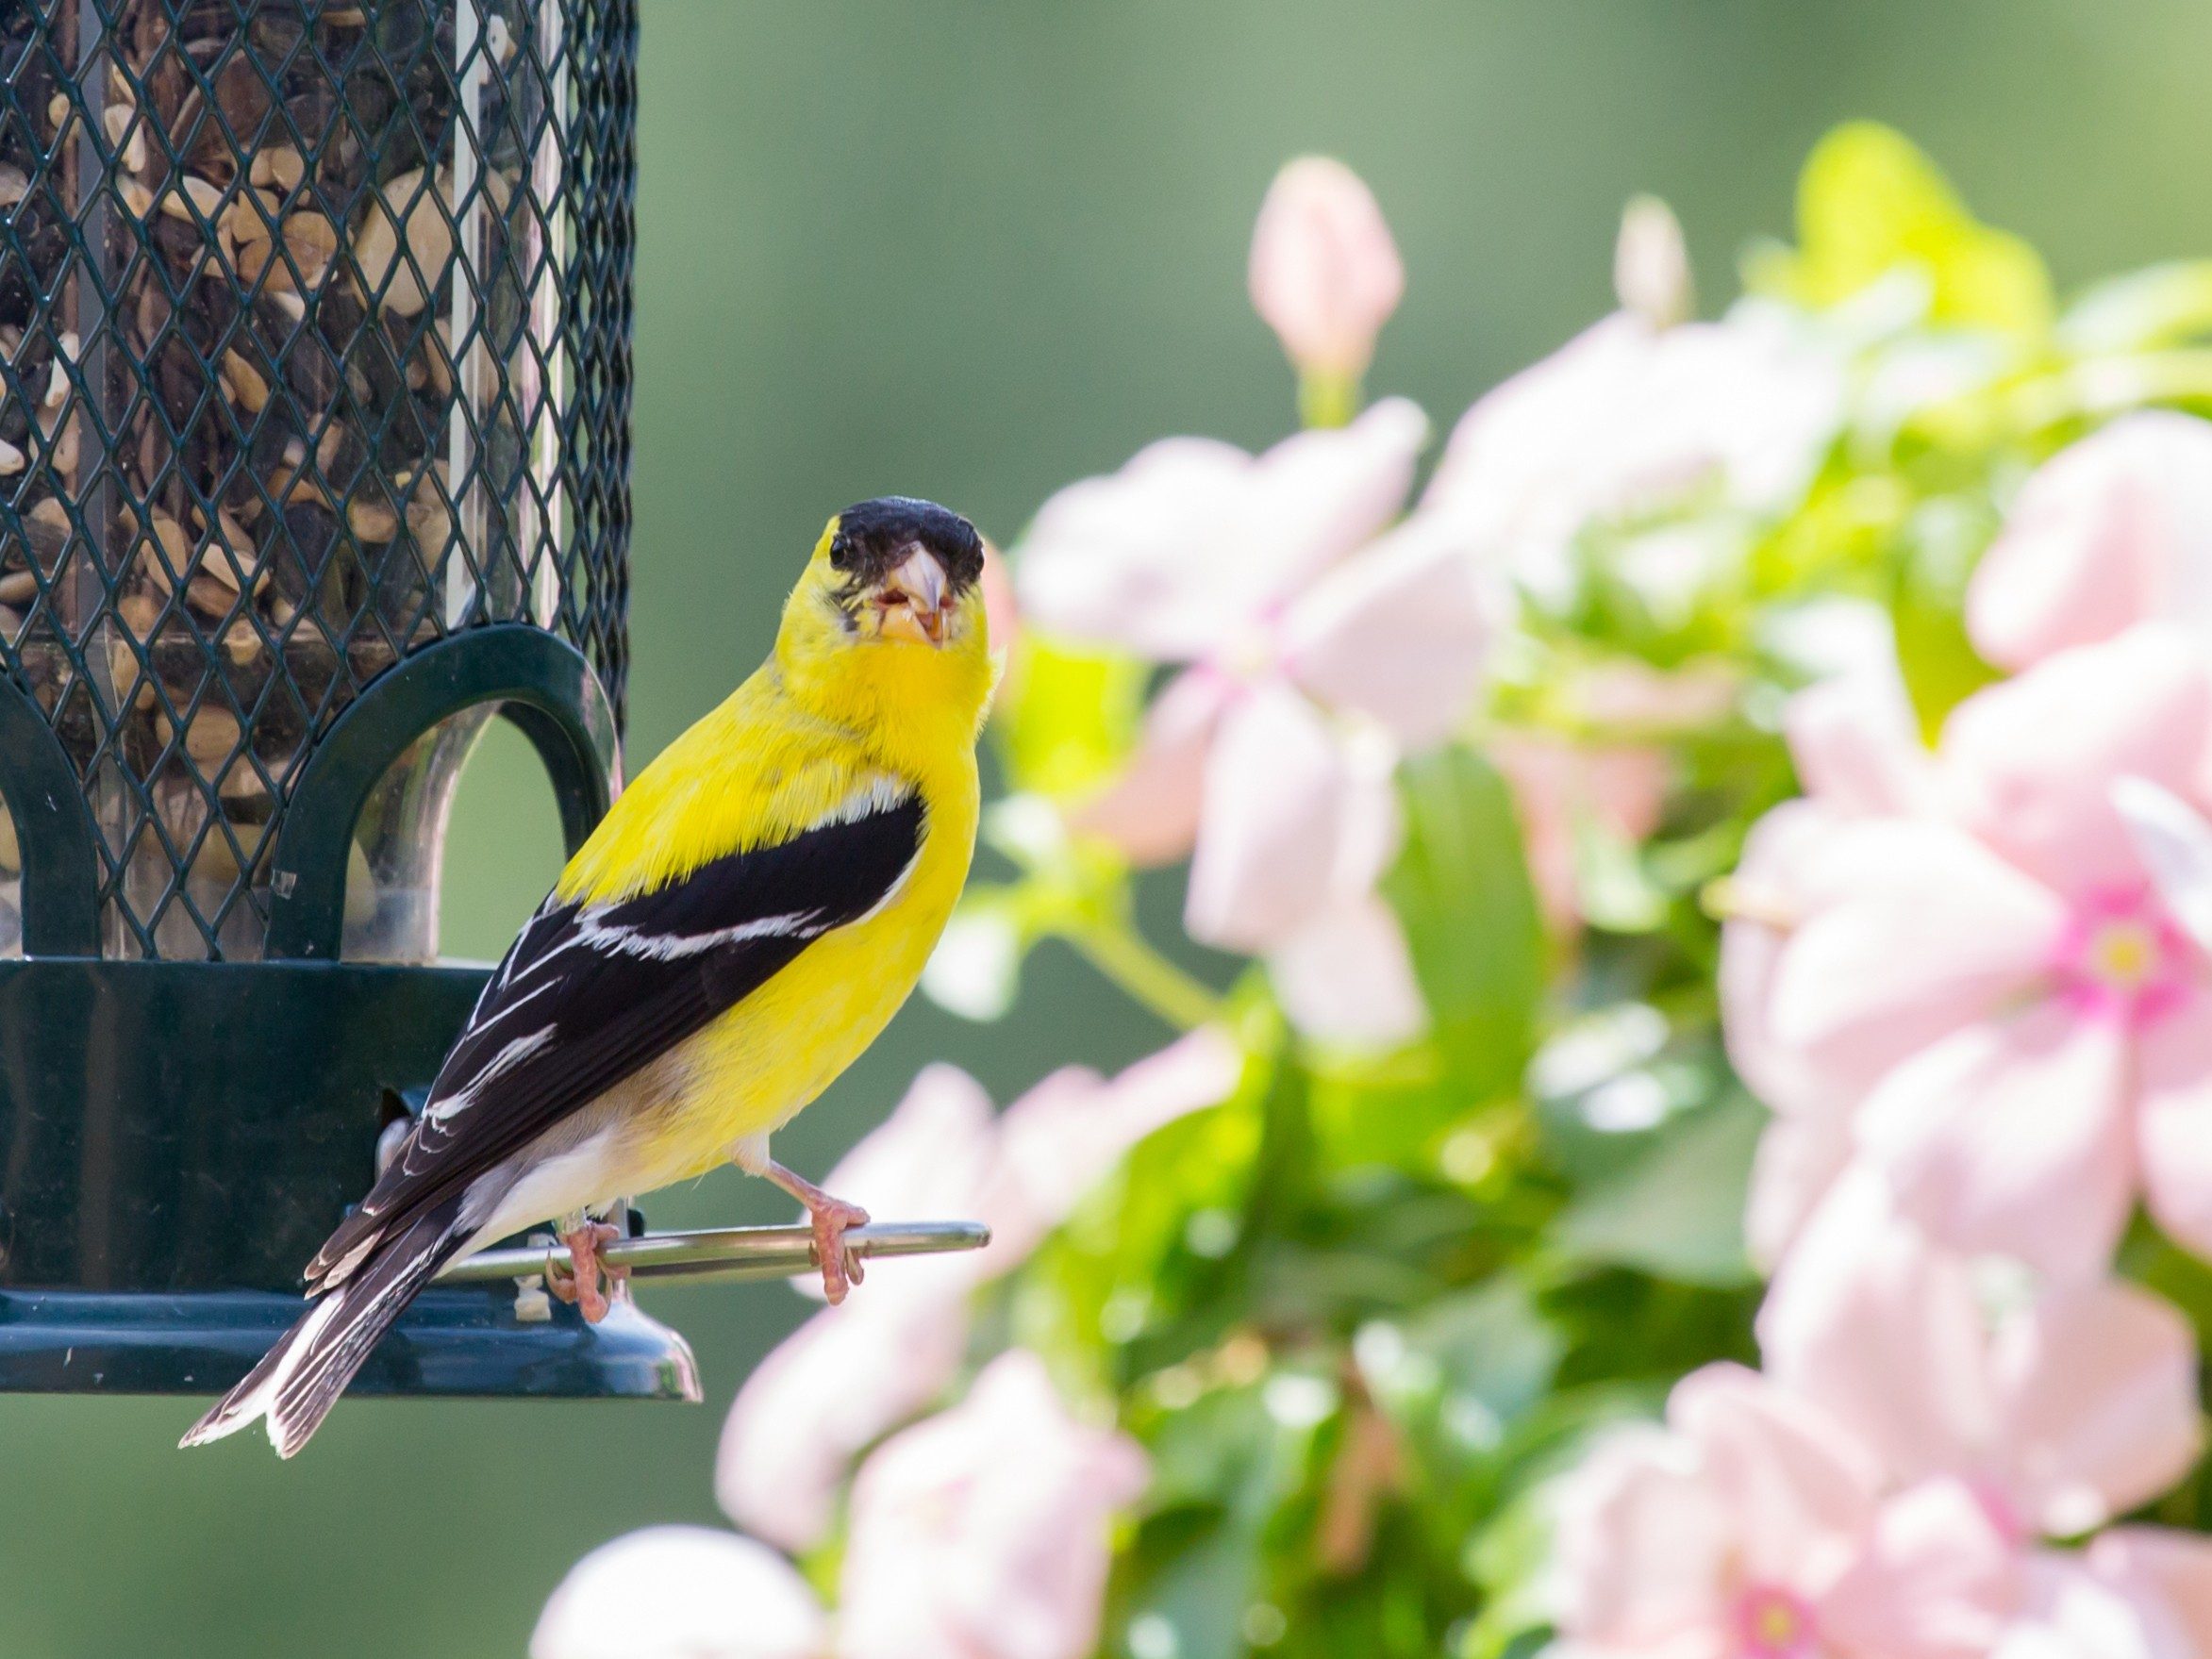
▪ Finches – sunflowers, goldenrods and dandelions, so think before
you weed.
▪ Cardinals – shrubs and climbing roses for nesting; and pines, spruce trees and evergreens for roosting.
BY KATHERINE LAIDLAW
Posted in Advice
Tags: Old Fashioned Mom People, Old Fashioned Mom International Company, Magazine Company, Old Fashioned Mom Advice, Old Fashioned Mom, New York, Global Company, 2018, Coffee Distributor, London, Luxury Living, Magazine, High Society, Hudson Valley, Old Fashioned Mom Travel, Summer, Old Fashioned Mom Real Estate, Old Fashioned Mom Places, Old Fashioned Mom Daily News, Old Fashioned Mom Coffee, Old Fashioned Mom Events, Old Fashioned Mom Dining, Top Percent, World, Wealthy, Old Fashioned Mom Things, Old Fashioned Mom Show, Michelle-Marie Heinemann, Palm Beach, Old Fashioned Mom Magazine, New York City

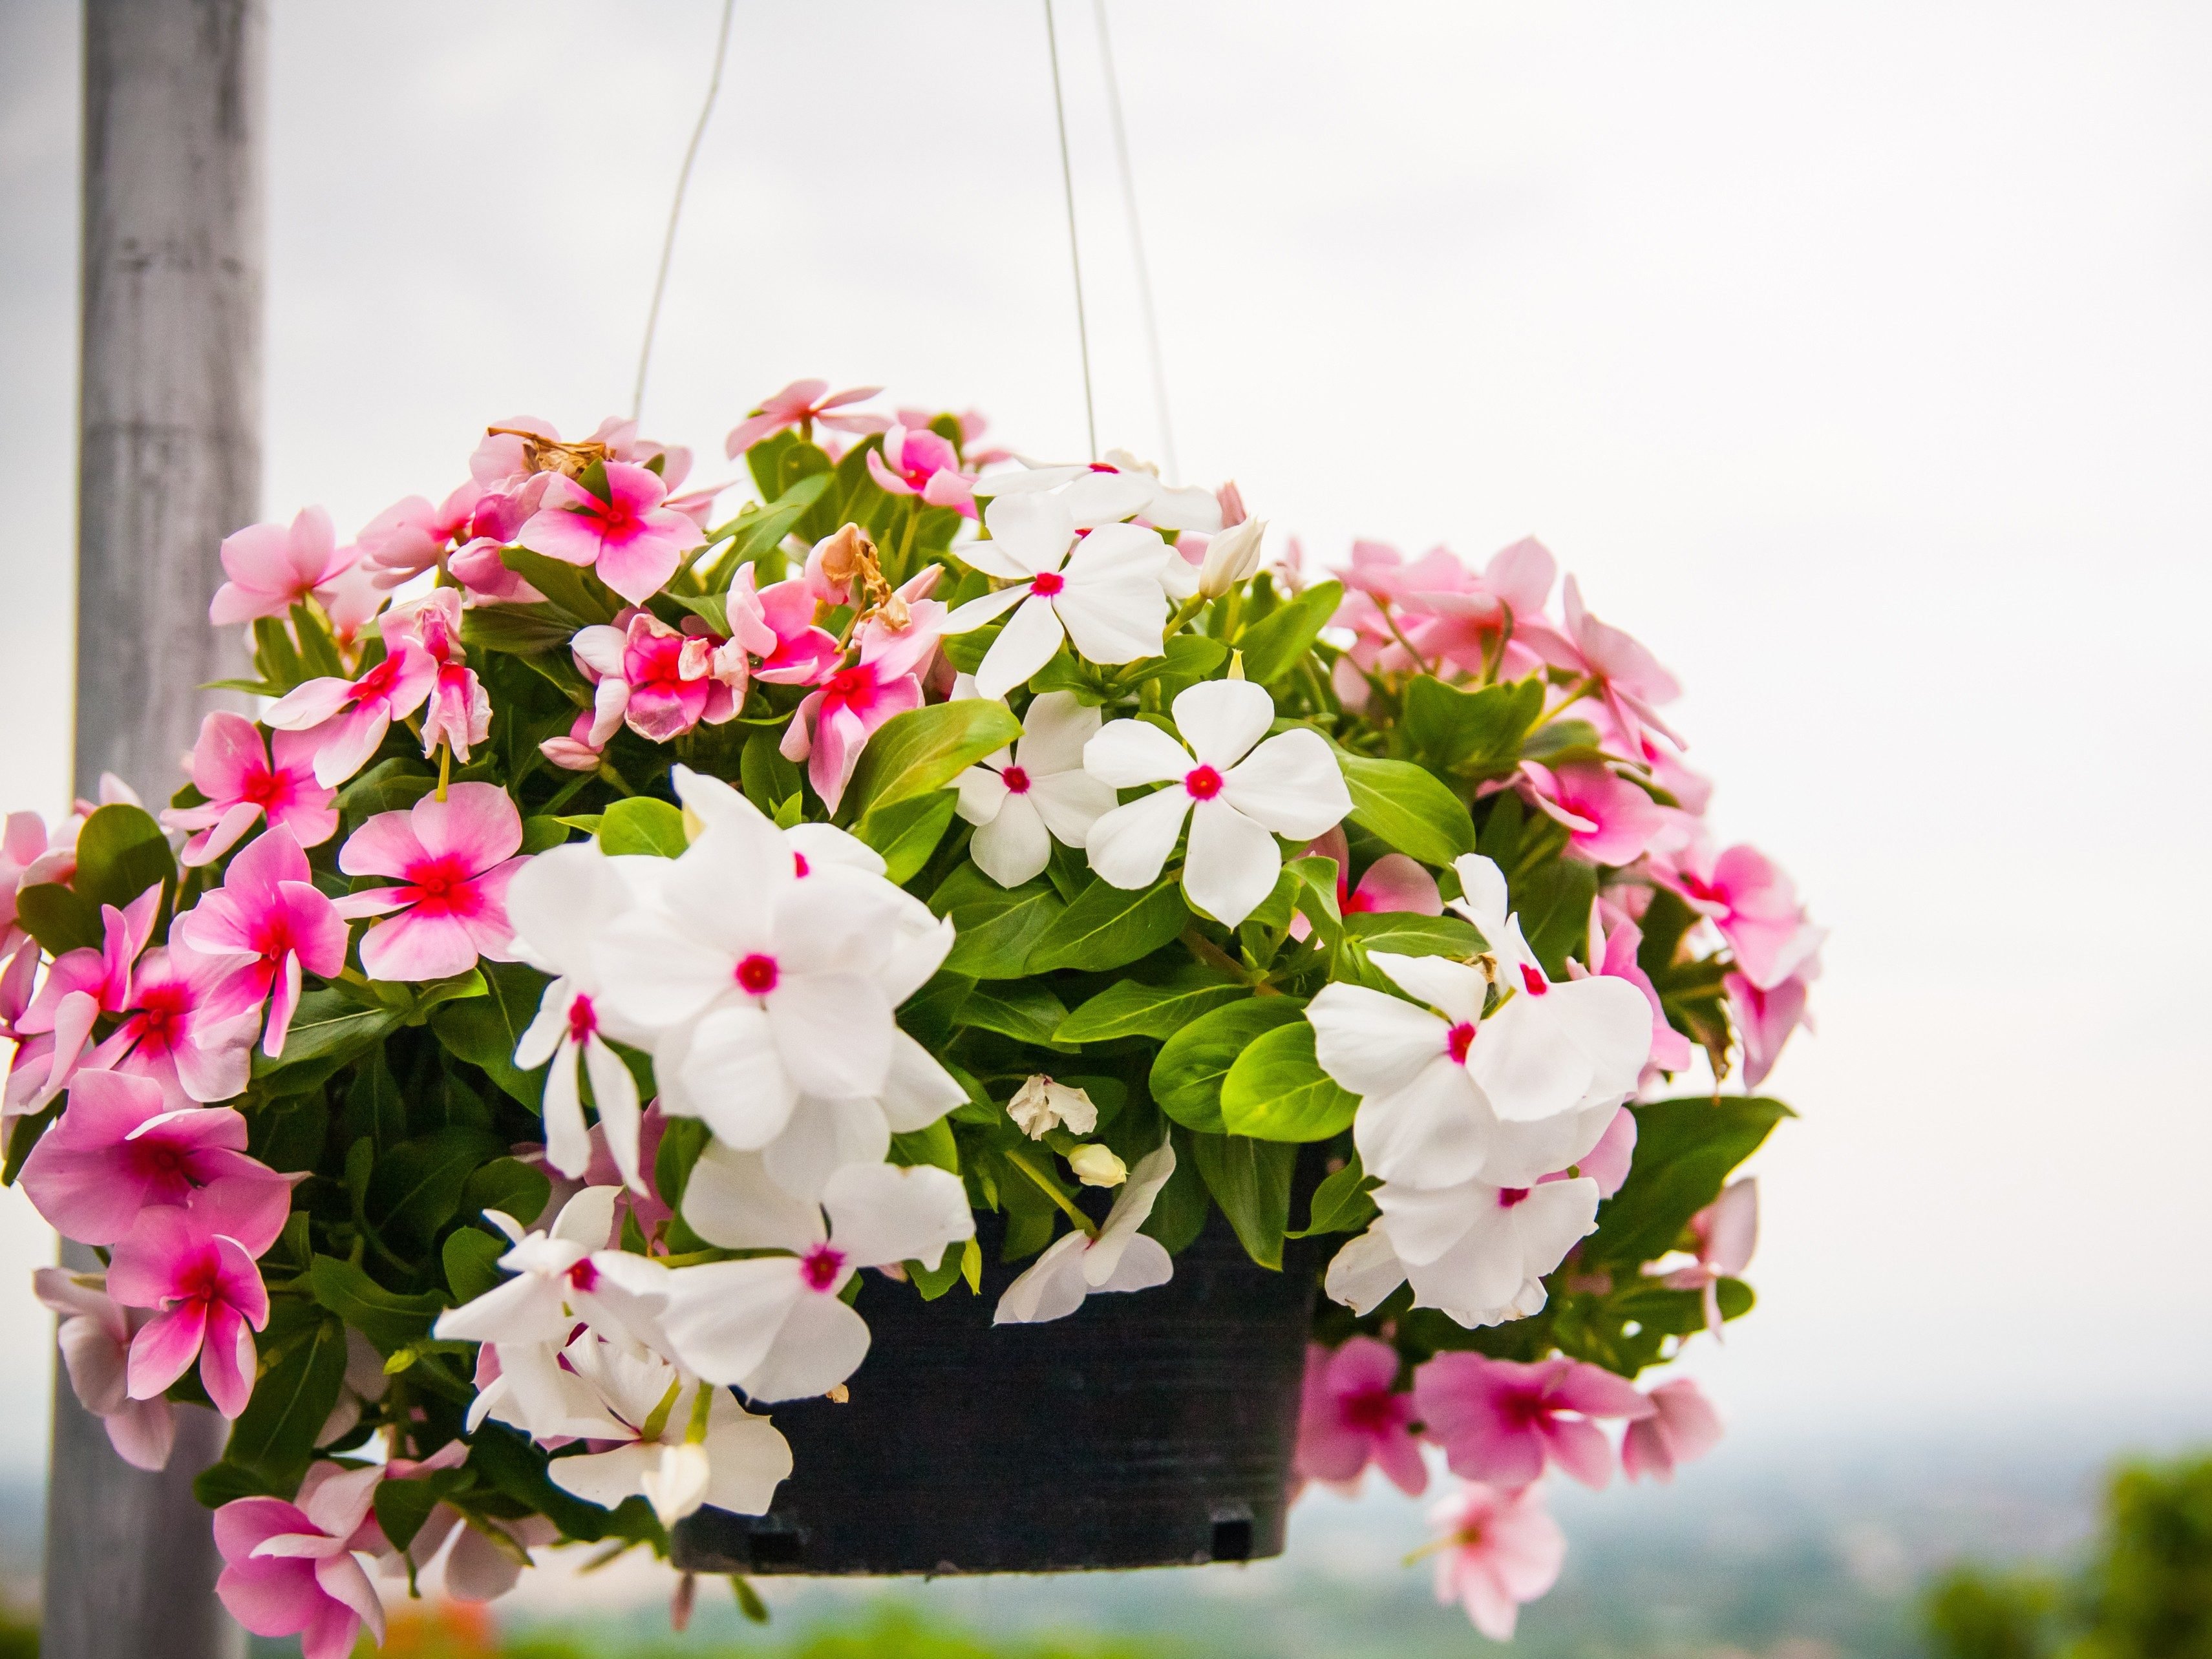
1. Grow Your Plants in Containers
Even if you have a backyard, you might not have enough room for a garden. Growing plants in containers and hanging baskets is the perfect solution for any porch, patio or balcony that’s seriously strapped for space.
2. Give Your Plants Space
Use big enough containers that your plants will have plenty of room to grow. Ask your local nursery how much soil each plant will need. Although scientists have developed vegetables that don’t require as much growing space, some still need a lot of soil. For example, you would need at least a 19-litre container for a single tomato plant.
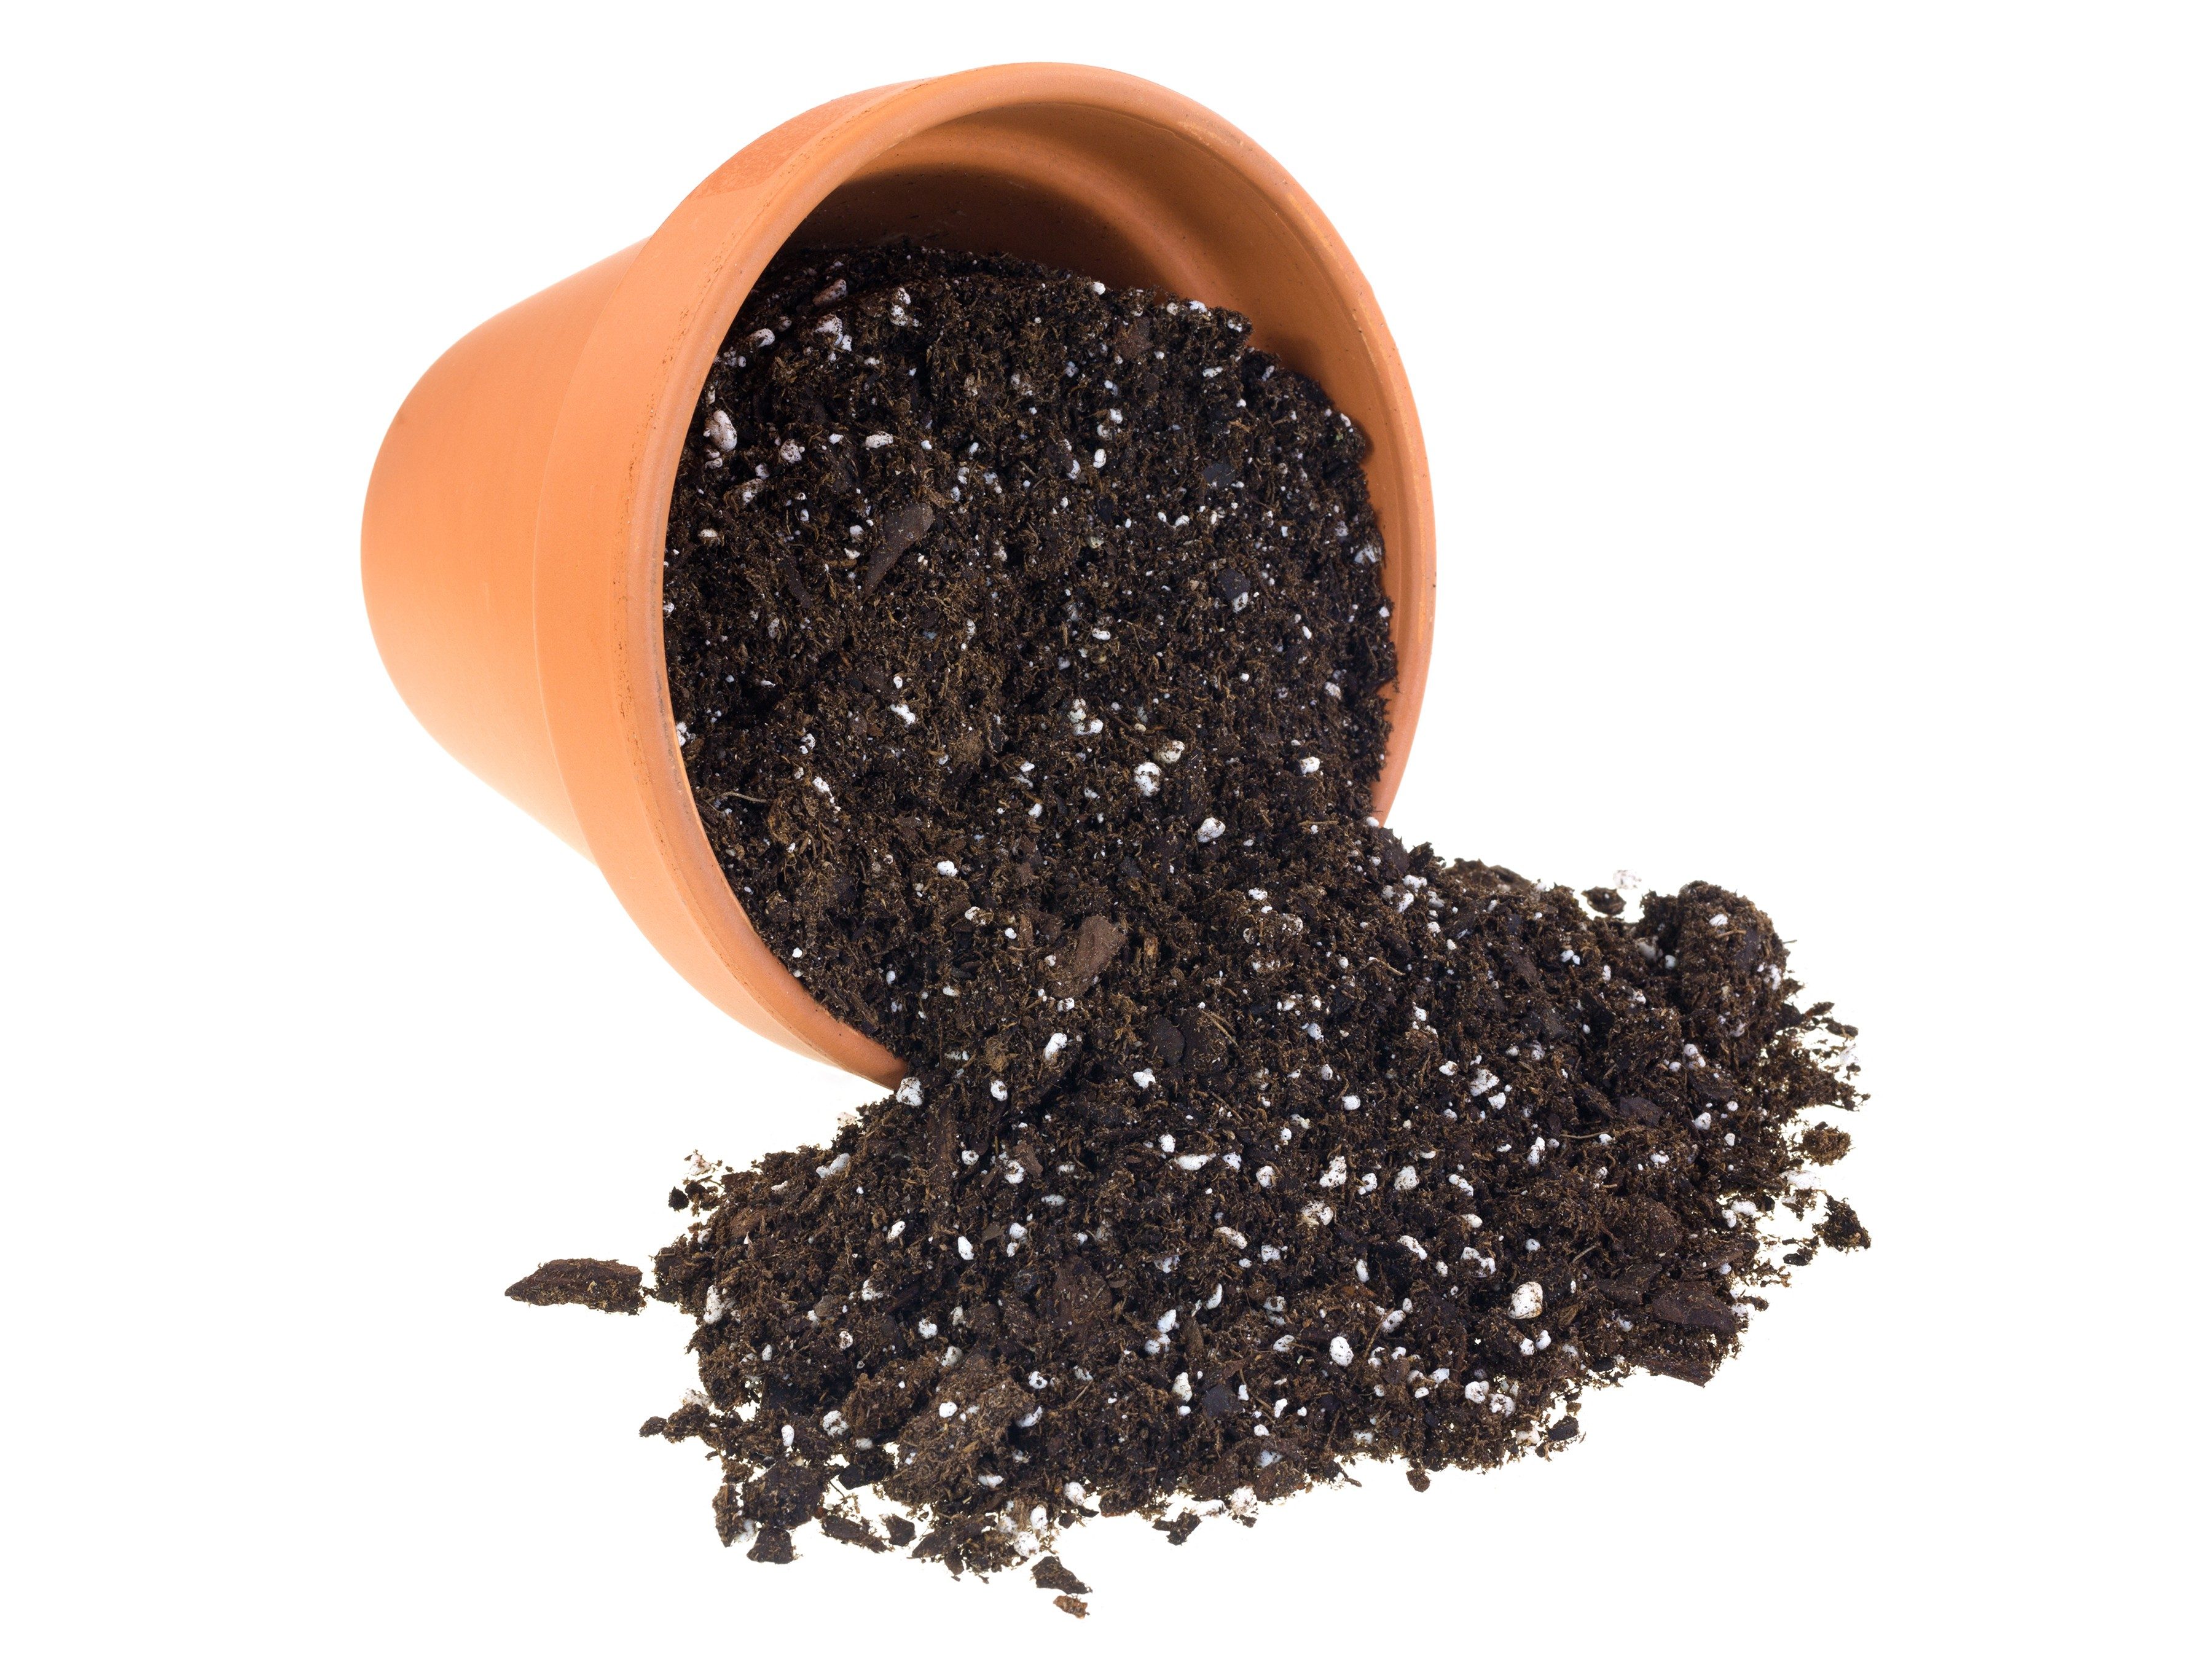
3. Stick To Potting Soil
Use potting soil in your containers rather than soil from the ground. Potting soil is lighter, drains better, and is sterilized to kill weed seeds and diseases that could hurt your plants.
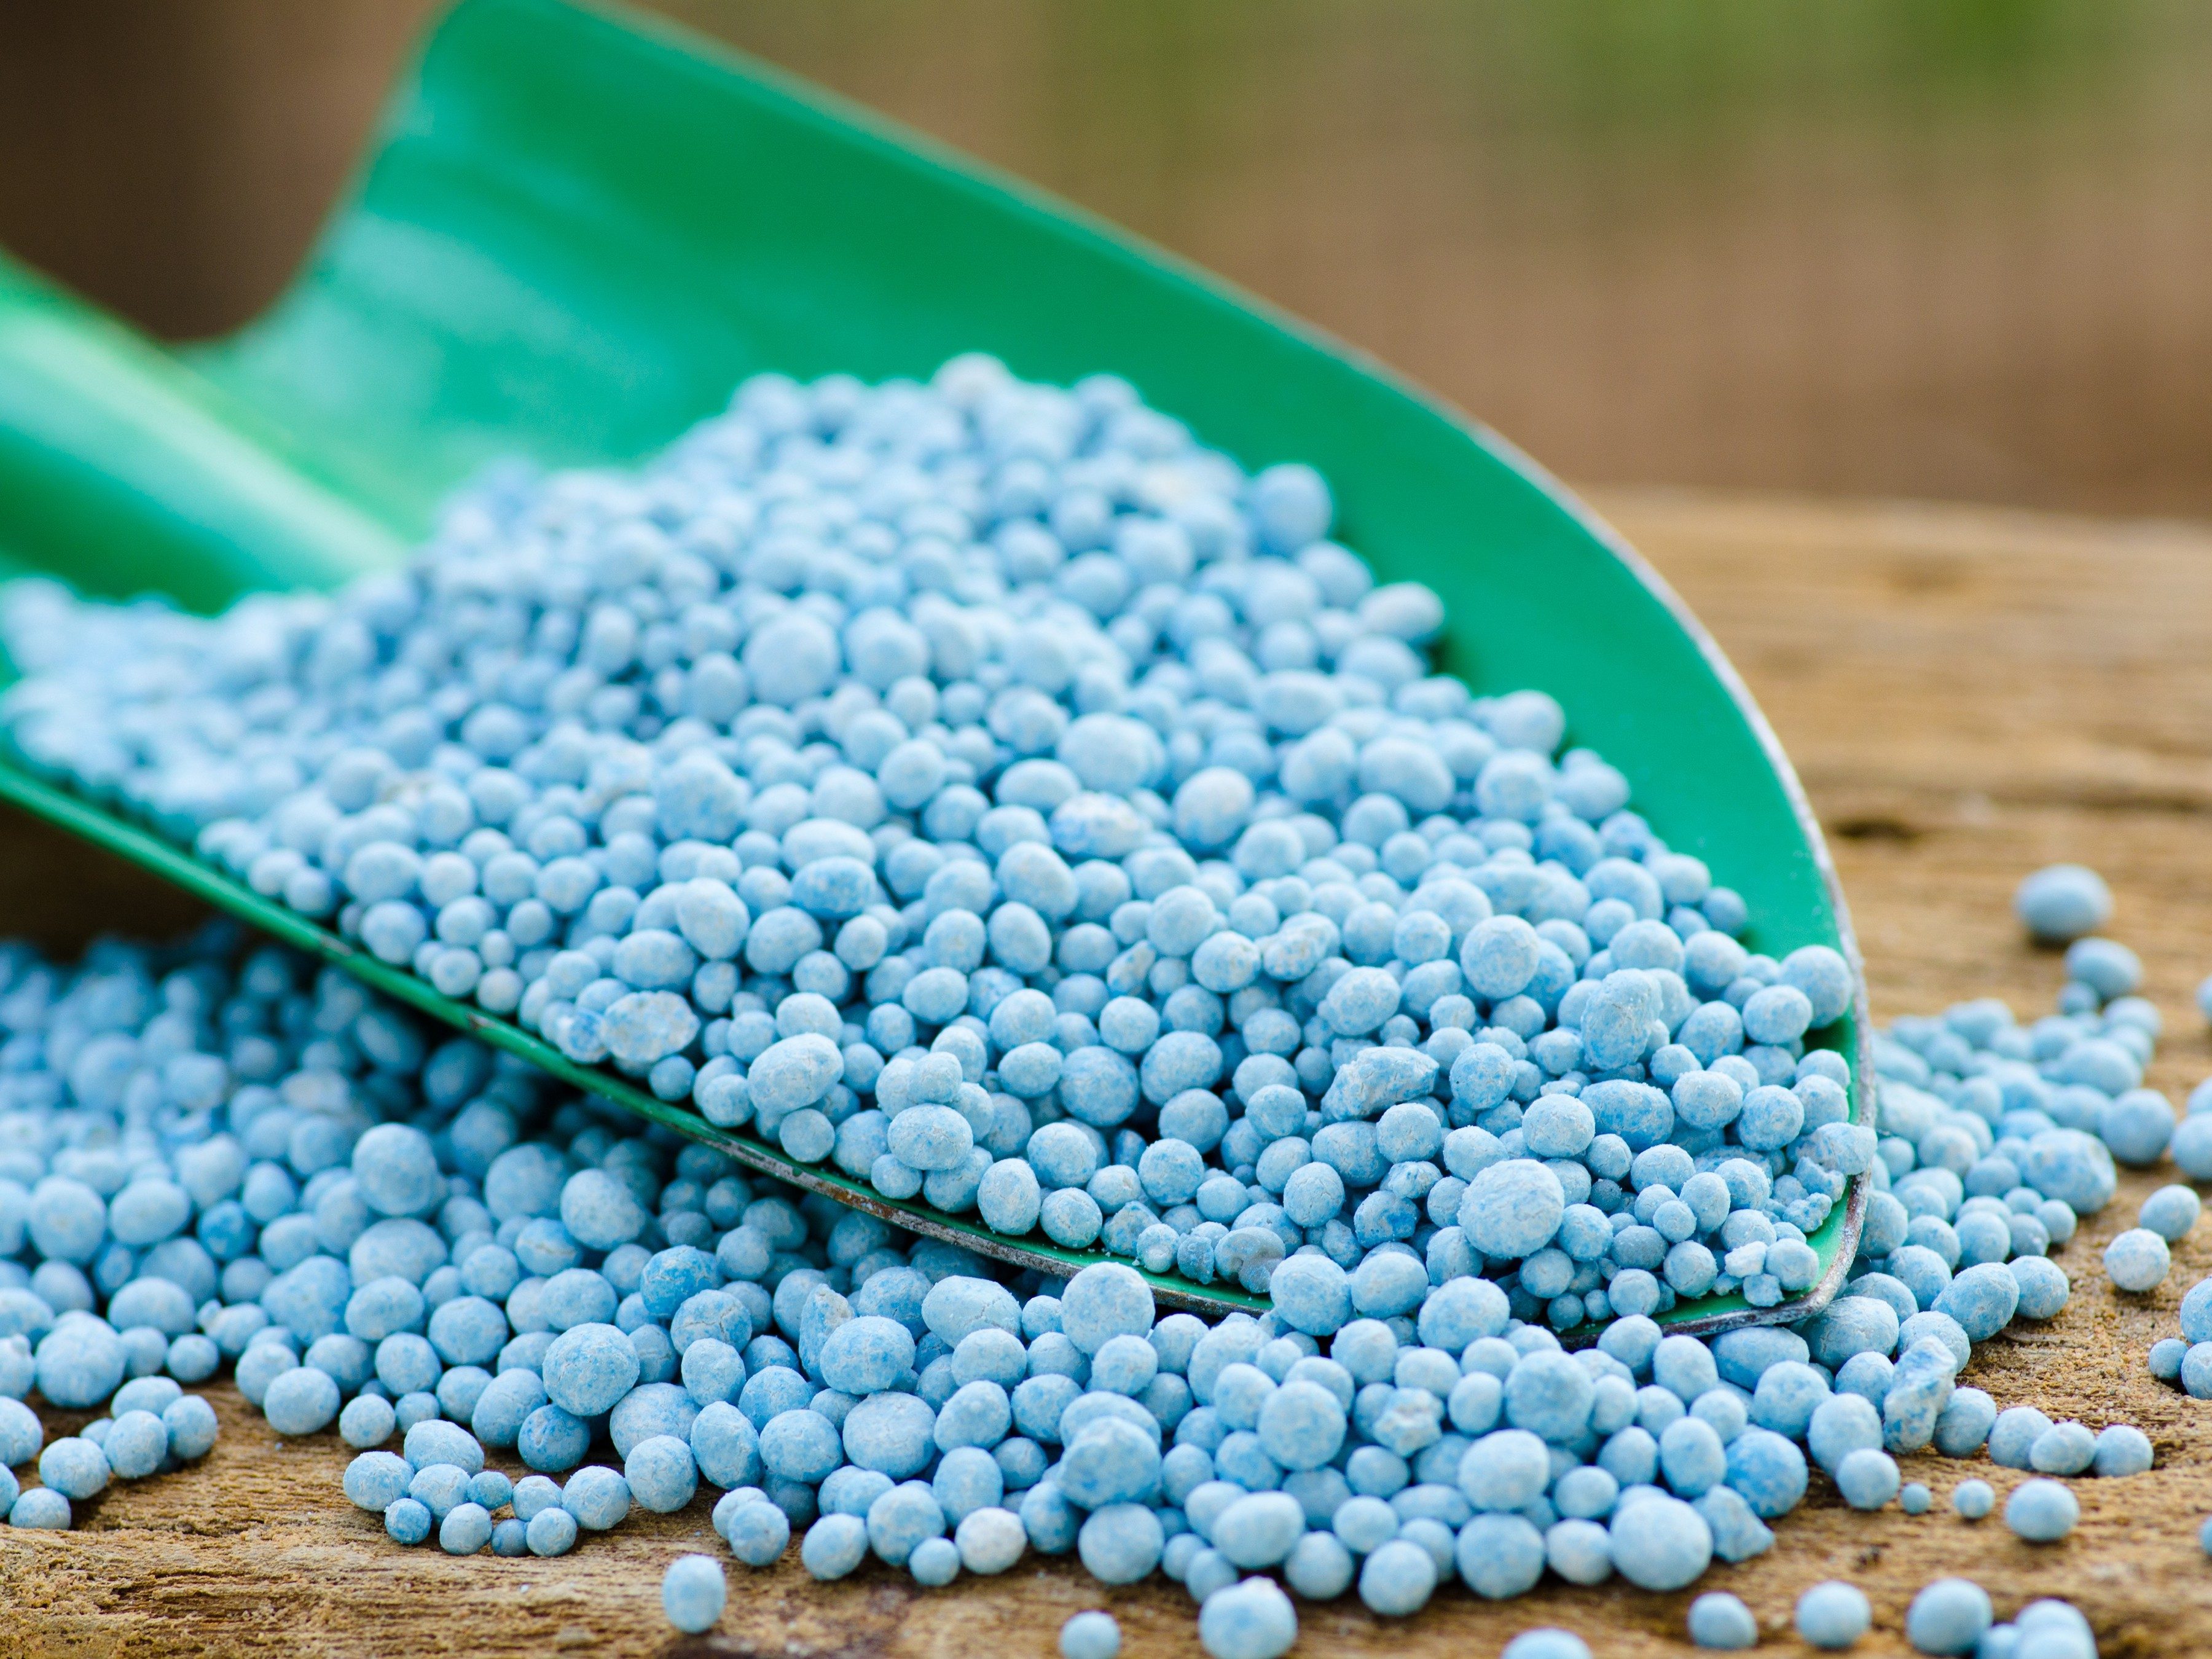
4. Find the Right Fertilizer
Use a slow-release fertilizer in pellet form. Since you need to water container plants frequently, a regular fertilizer would tend to wash right out of the soil. But in pellet form, one application will release the plant food slowly and last for several months.
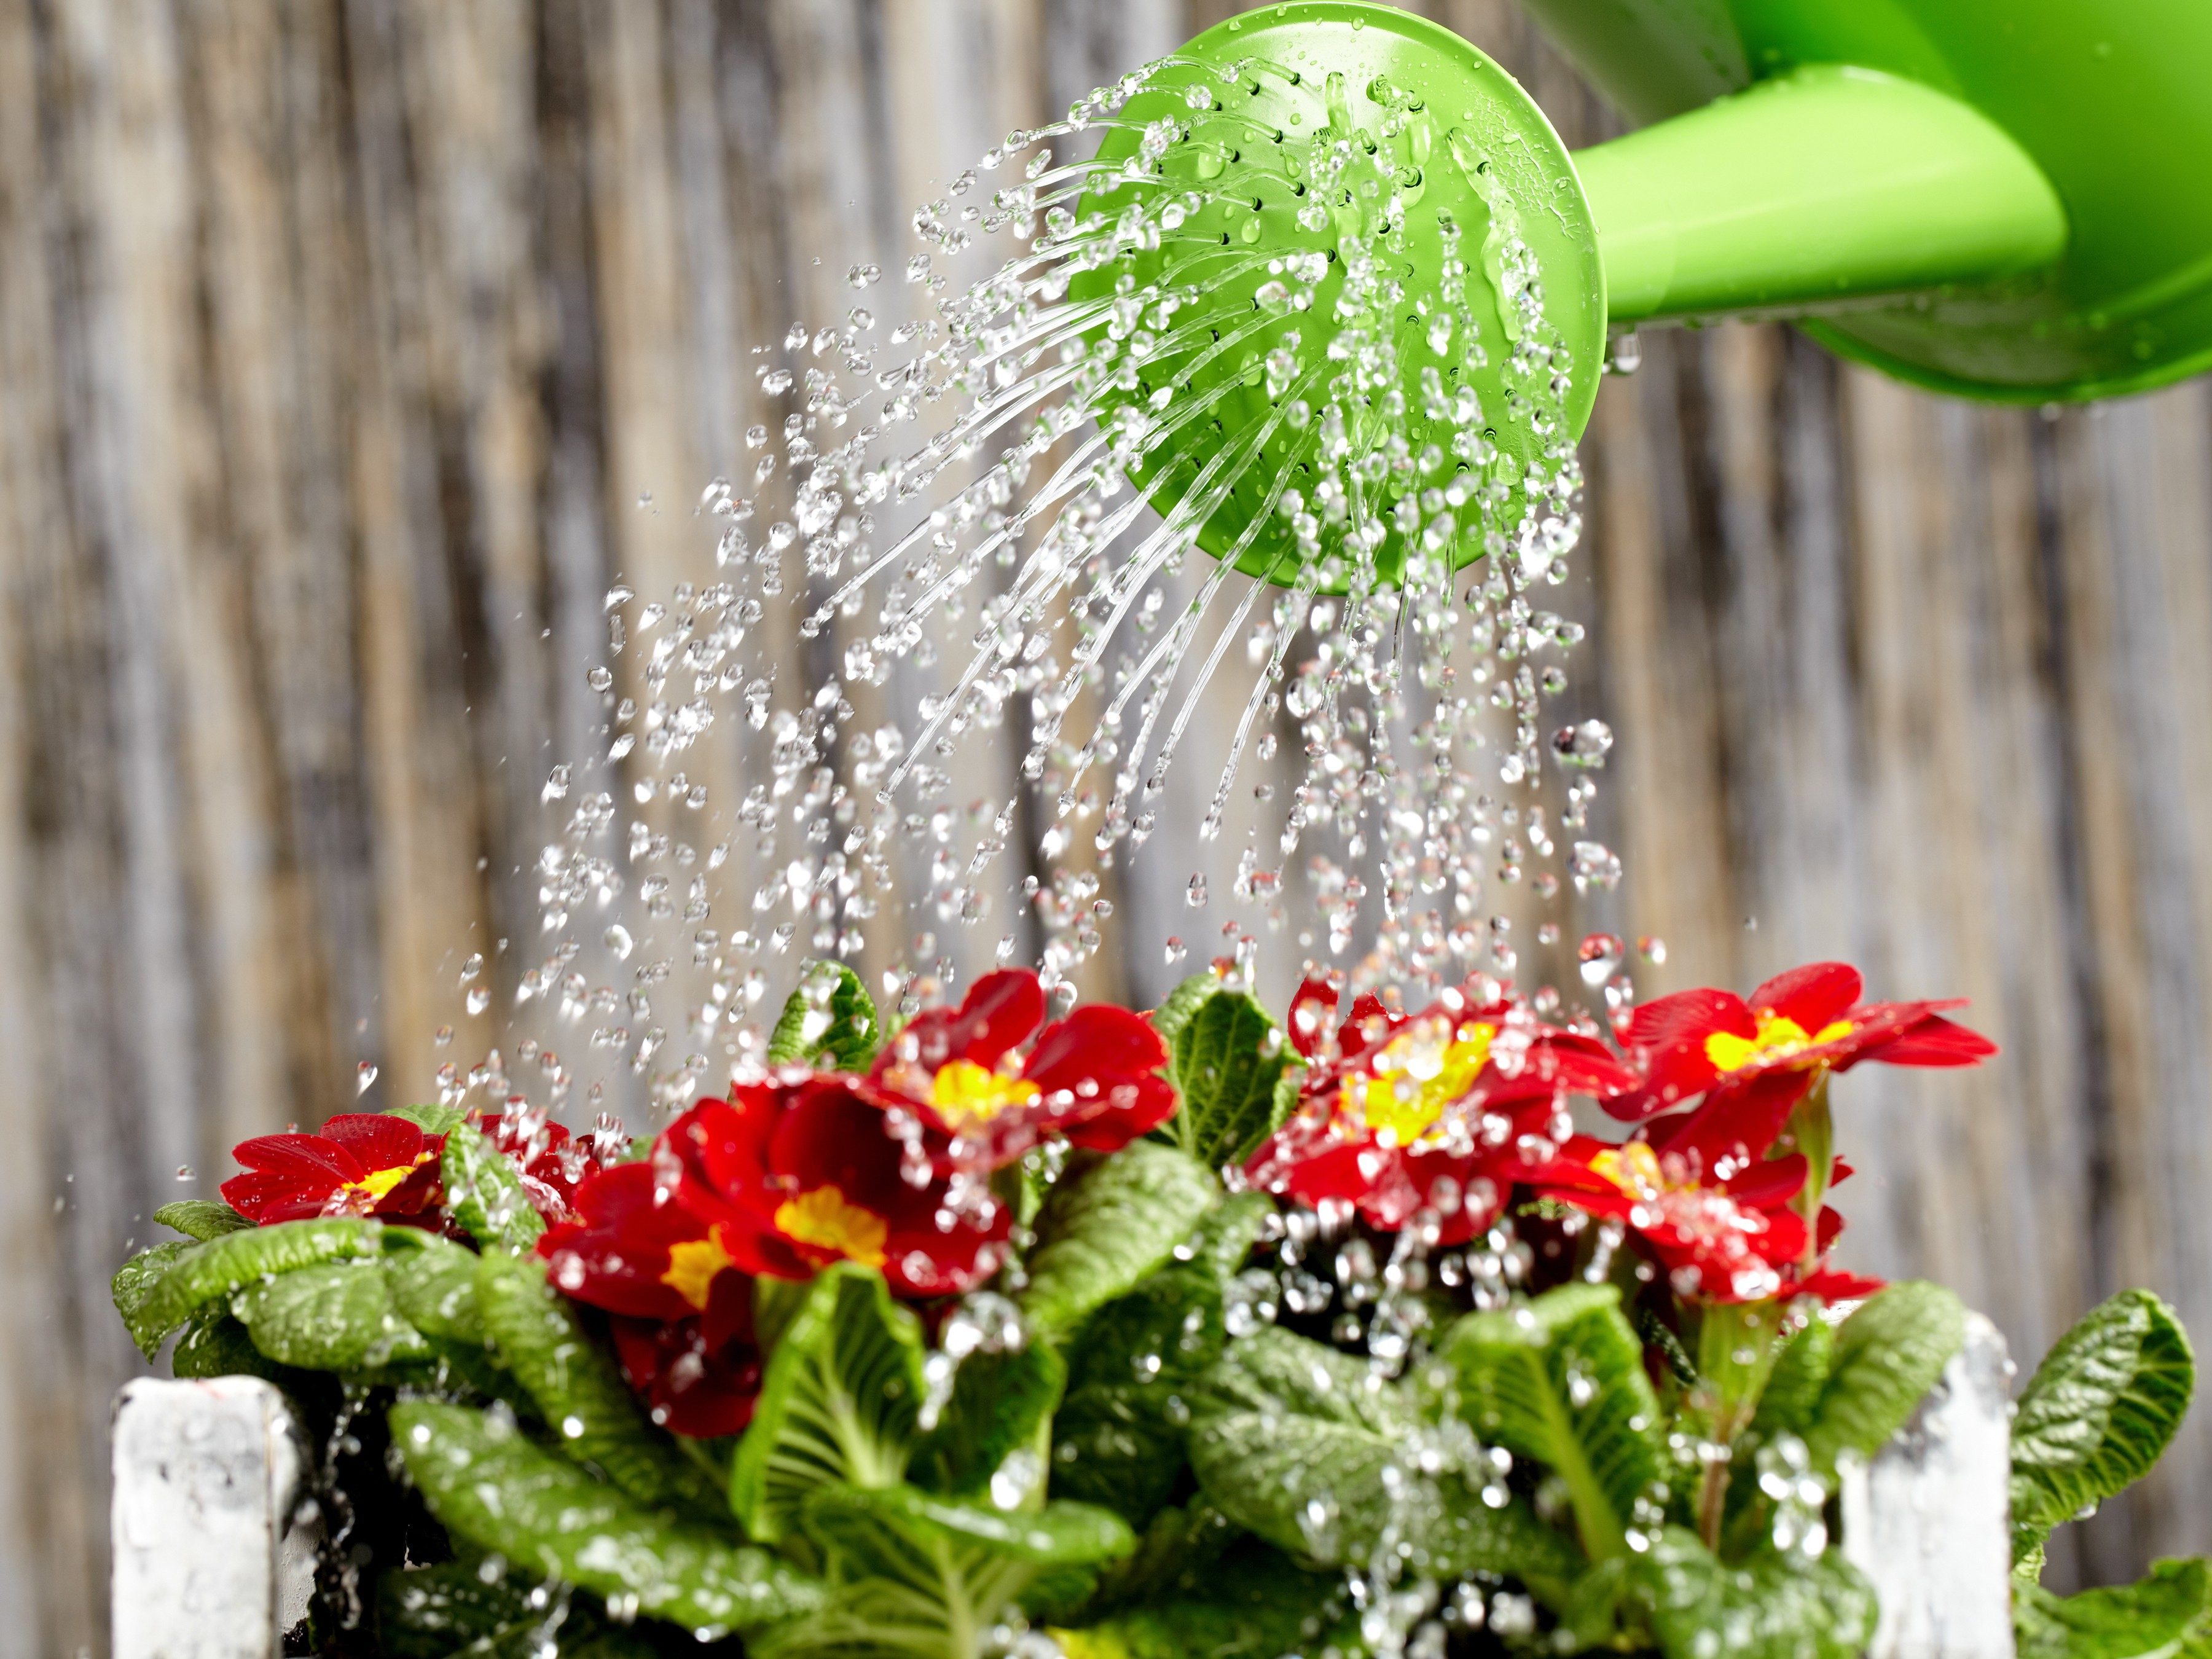
5. Don’t Drown Your Plants
Don’t over-water your plants. Make sure that you thoroughly soak the entire container each time you water, but pour away any extra water that fills the saucer underneath the container. Making the plant sit in water encourages root rot. Since the signs of rot include wilting, many people think that the plant needs more water, which does even more damage. If you’re not sure whether the wilting is from too much or too little water, gently pull the plant up out of the container. If the roots are brown and slimy, it’s root rot. Water it less.
On the other hand, exposed balconies in high-rises can get extremely hot and dry from sunlight reflected off other structures. Under these conditions, you may need to water your plants every day.
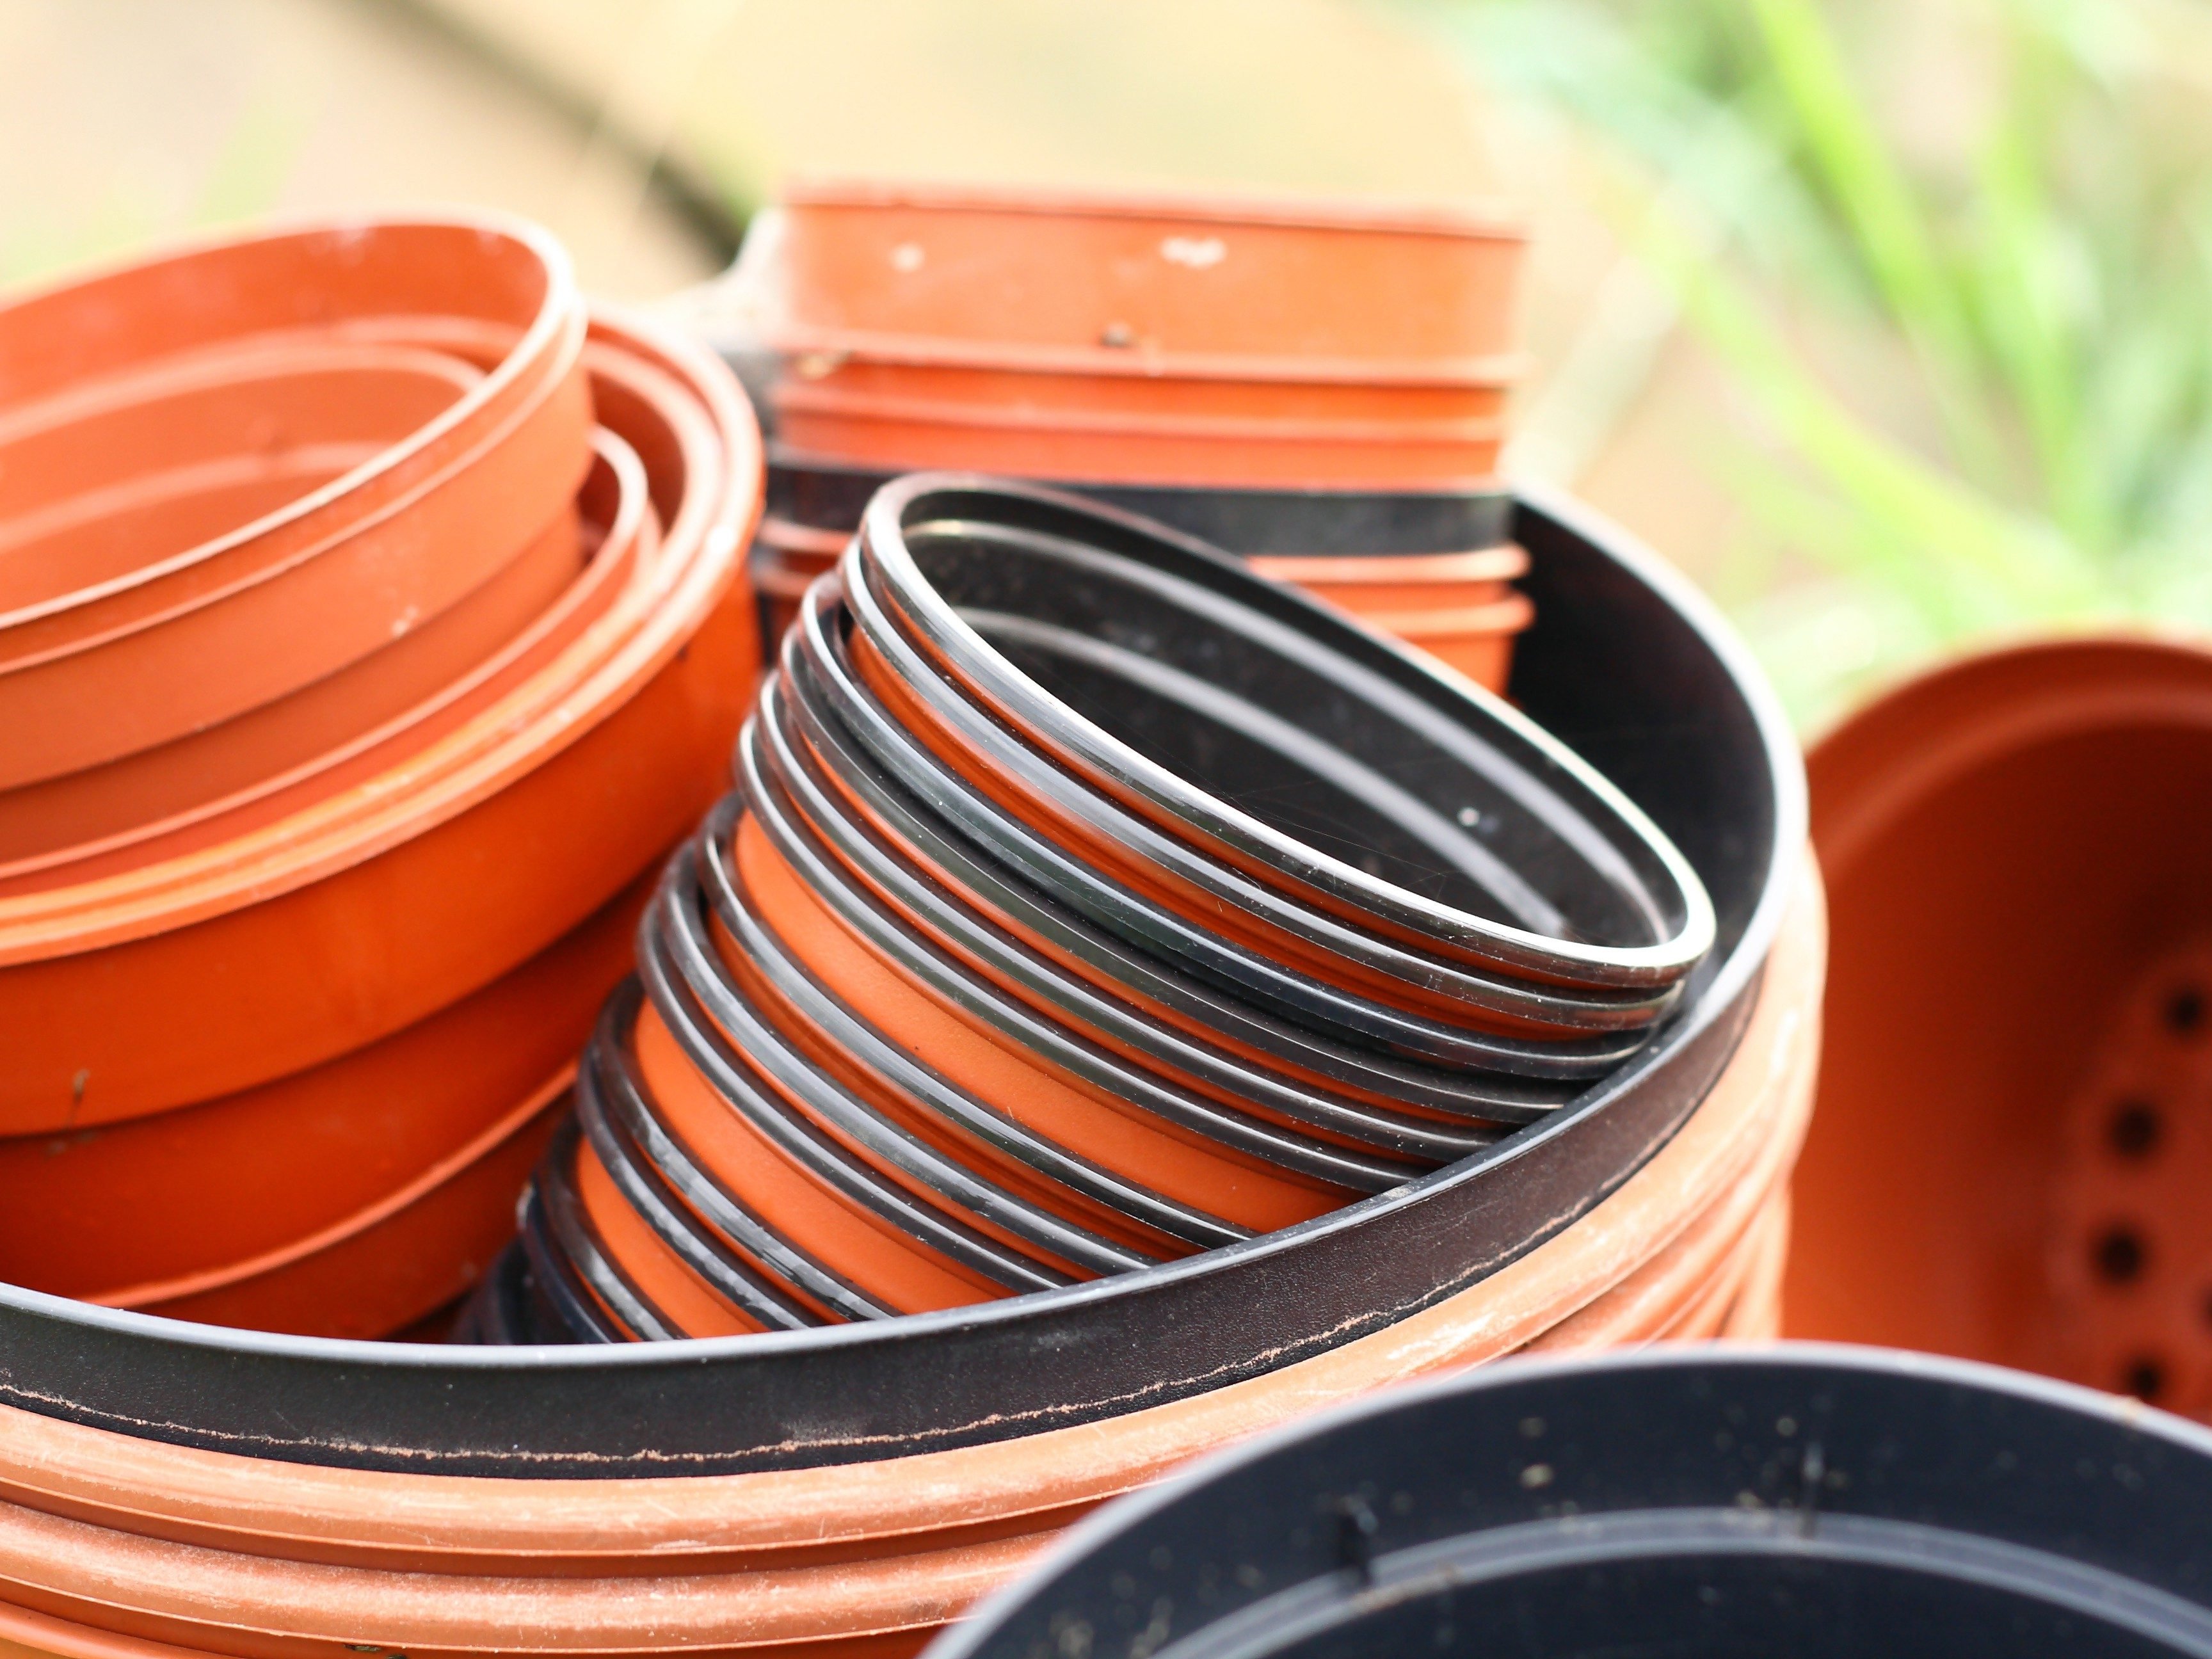
6. Pick Plastic Plant Pots
Use plastic plant pots rather than clay pots. Plants in plastic dry out less quickly because the pots aren’t porous like clay ones. Put 5 centimetres of an organic mulch on top of the soil in the container to reduce water evaporation from the soil.
7. Hang Smart
When you’re planning for hanging baskets, consider how you’re going to water them. Can you safely stand on a step stool and water with a watering can? Will you get tired of taking the basket down to water it frequently?
8. Add Water-Releasing Crystals
If you travel a lot and worry about the health of your plants while you’re away, a fast, affordable, and practical solution is to stock up on little crystals that soak up and then gradually release water. Specific brands include Water Crystals and WaterSmart Crystals, which are sold by garden centres. When you add water to these polymer granules, they absorb many times their weight in water. By mixing them in with the soil in your plants’ containers and then watering, the crystals soak up and then slowly release the water to keep your plants watered while you’re gone.
Be sure to follow directions on the label, because putting more crystals in a container is not necessarily better. Since they expand when wet, too many crystals can swell up and damage your plant or even push it out of the pot.
READER’S DIGEST CANADA
Posted in Advice
Tags: Old Fashioned Mom International Company, Old Fashioned Mom Places, Magazine Company, Old Fashioned Mom Advice, New York, Magazine, Old Fashioned Mom, Global Company, 2018, Coffee Distributor, London, Luxury Living, High Society, Hudson Valley, Old Fashioned Mom Travel, Old Fashioned Mom Show, Old Fashioned Mom People, Old Fashioned Mom Events, Old Fashioned Mom Real Estate, Old Fashioned Mom Coffee, Old Fashioned Mom Daily News, Old Fashioned Mom Dining, Top Percent, World, Wealthy, Summer, Old Fashioned Mom Things, Michelle-Marie Heinemann, Palm Beach, Old Fashioned Mom Magazine, New York City

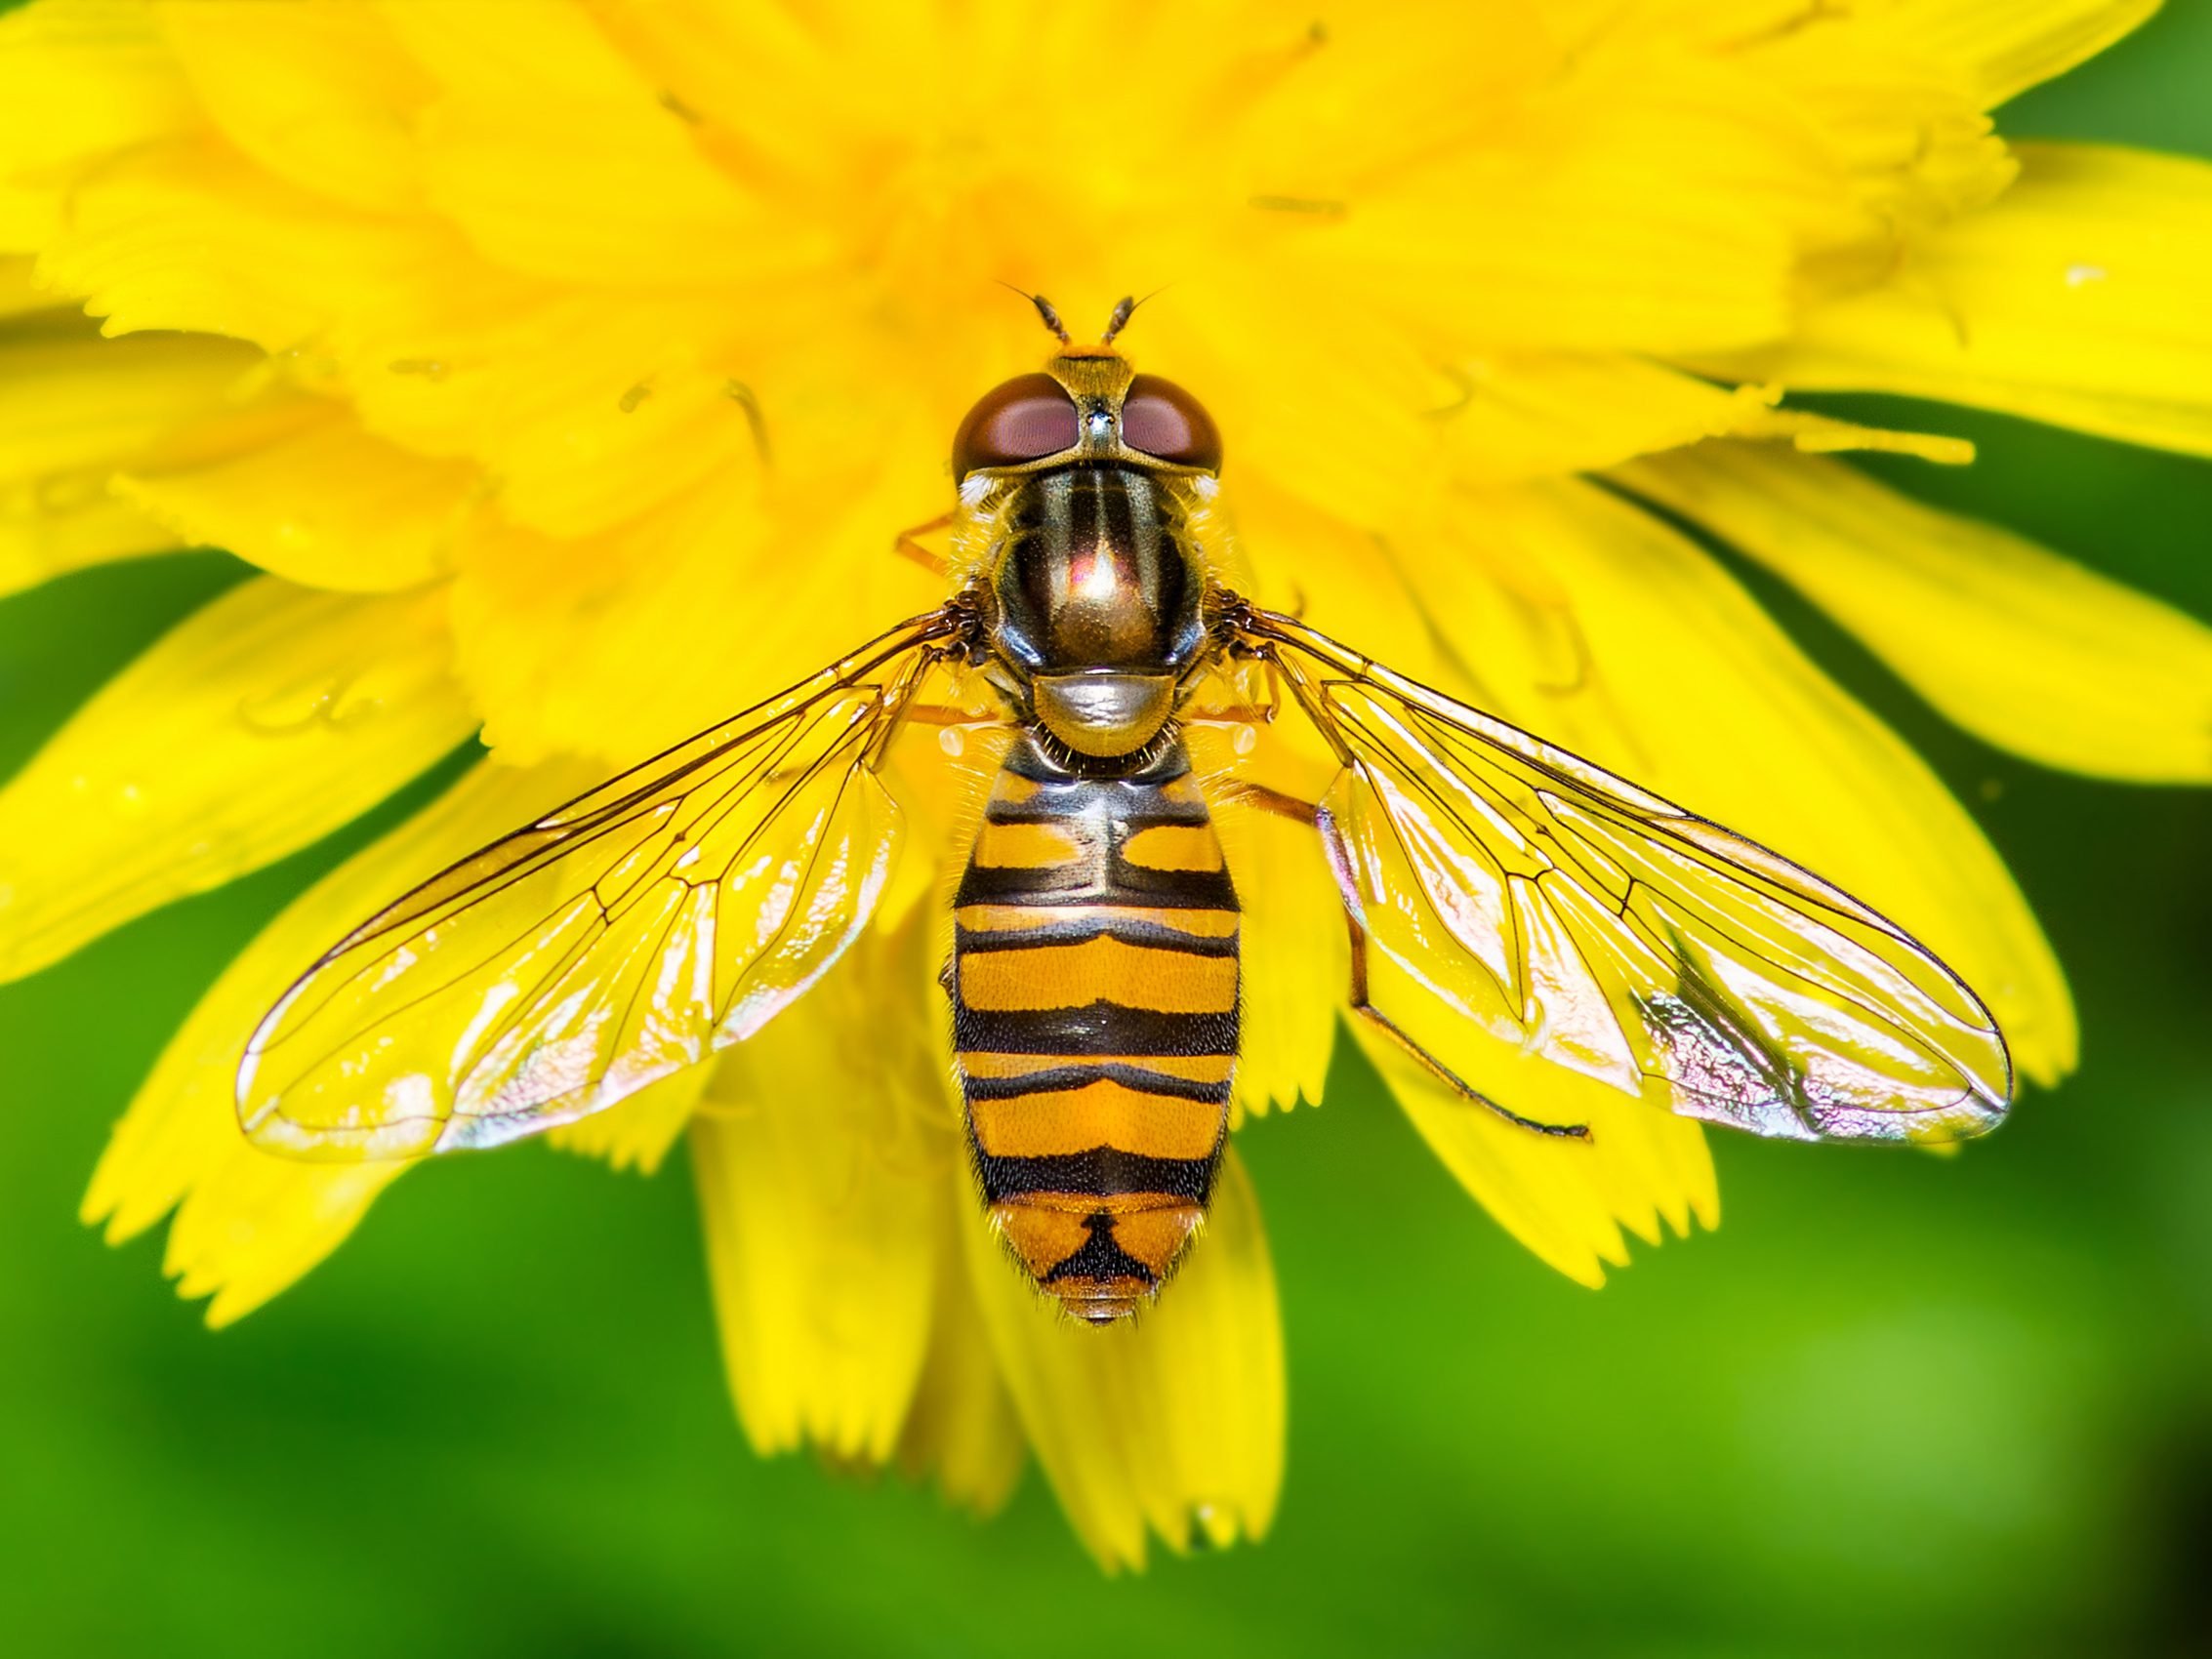
1. Hoverfly
Benefits of having hoverflies in your garden: Maggots eat softbodied pests such as aphids.
Bait hoverflies with: Feverfew, lavender, sweet alyssum, candytuft, dill, fennel, asters.
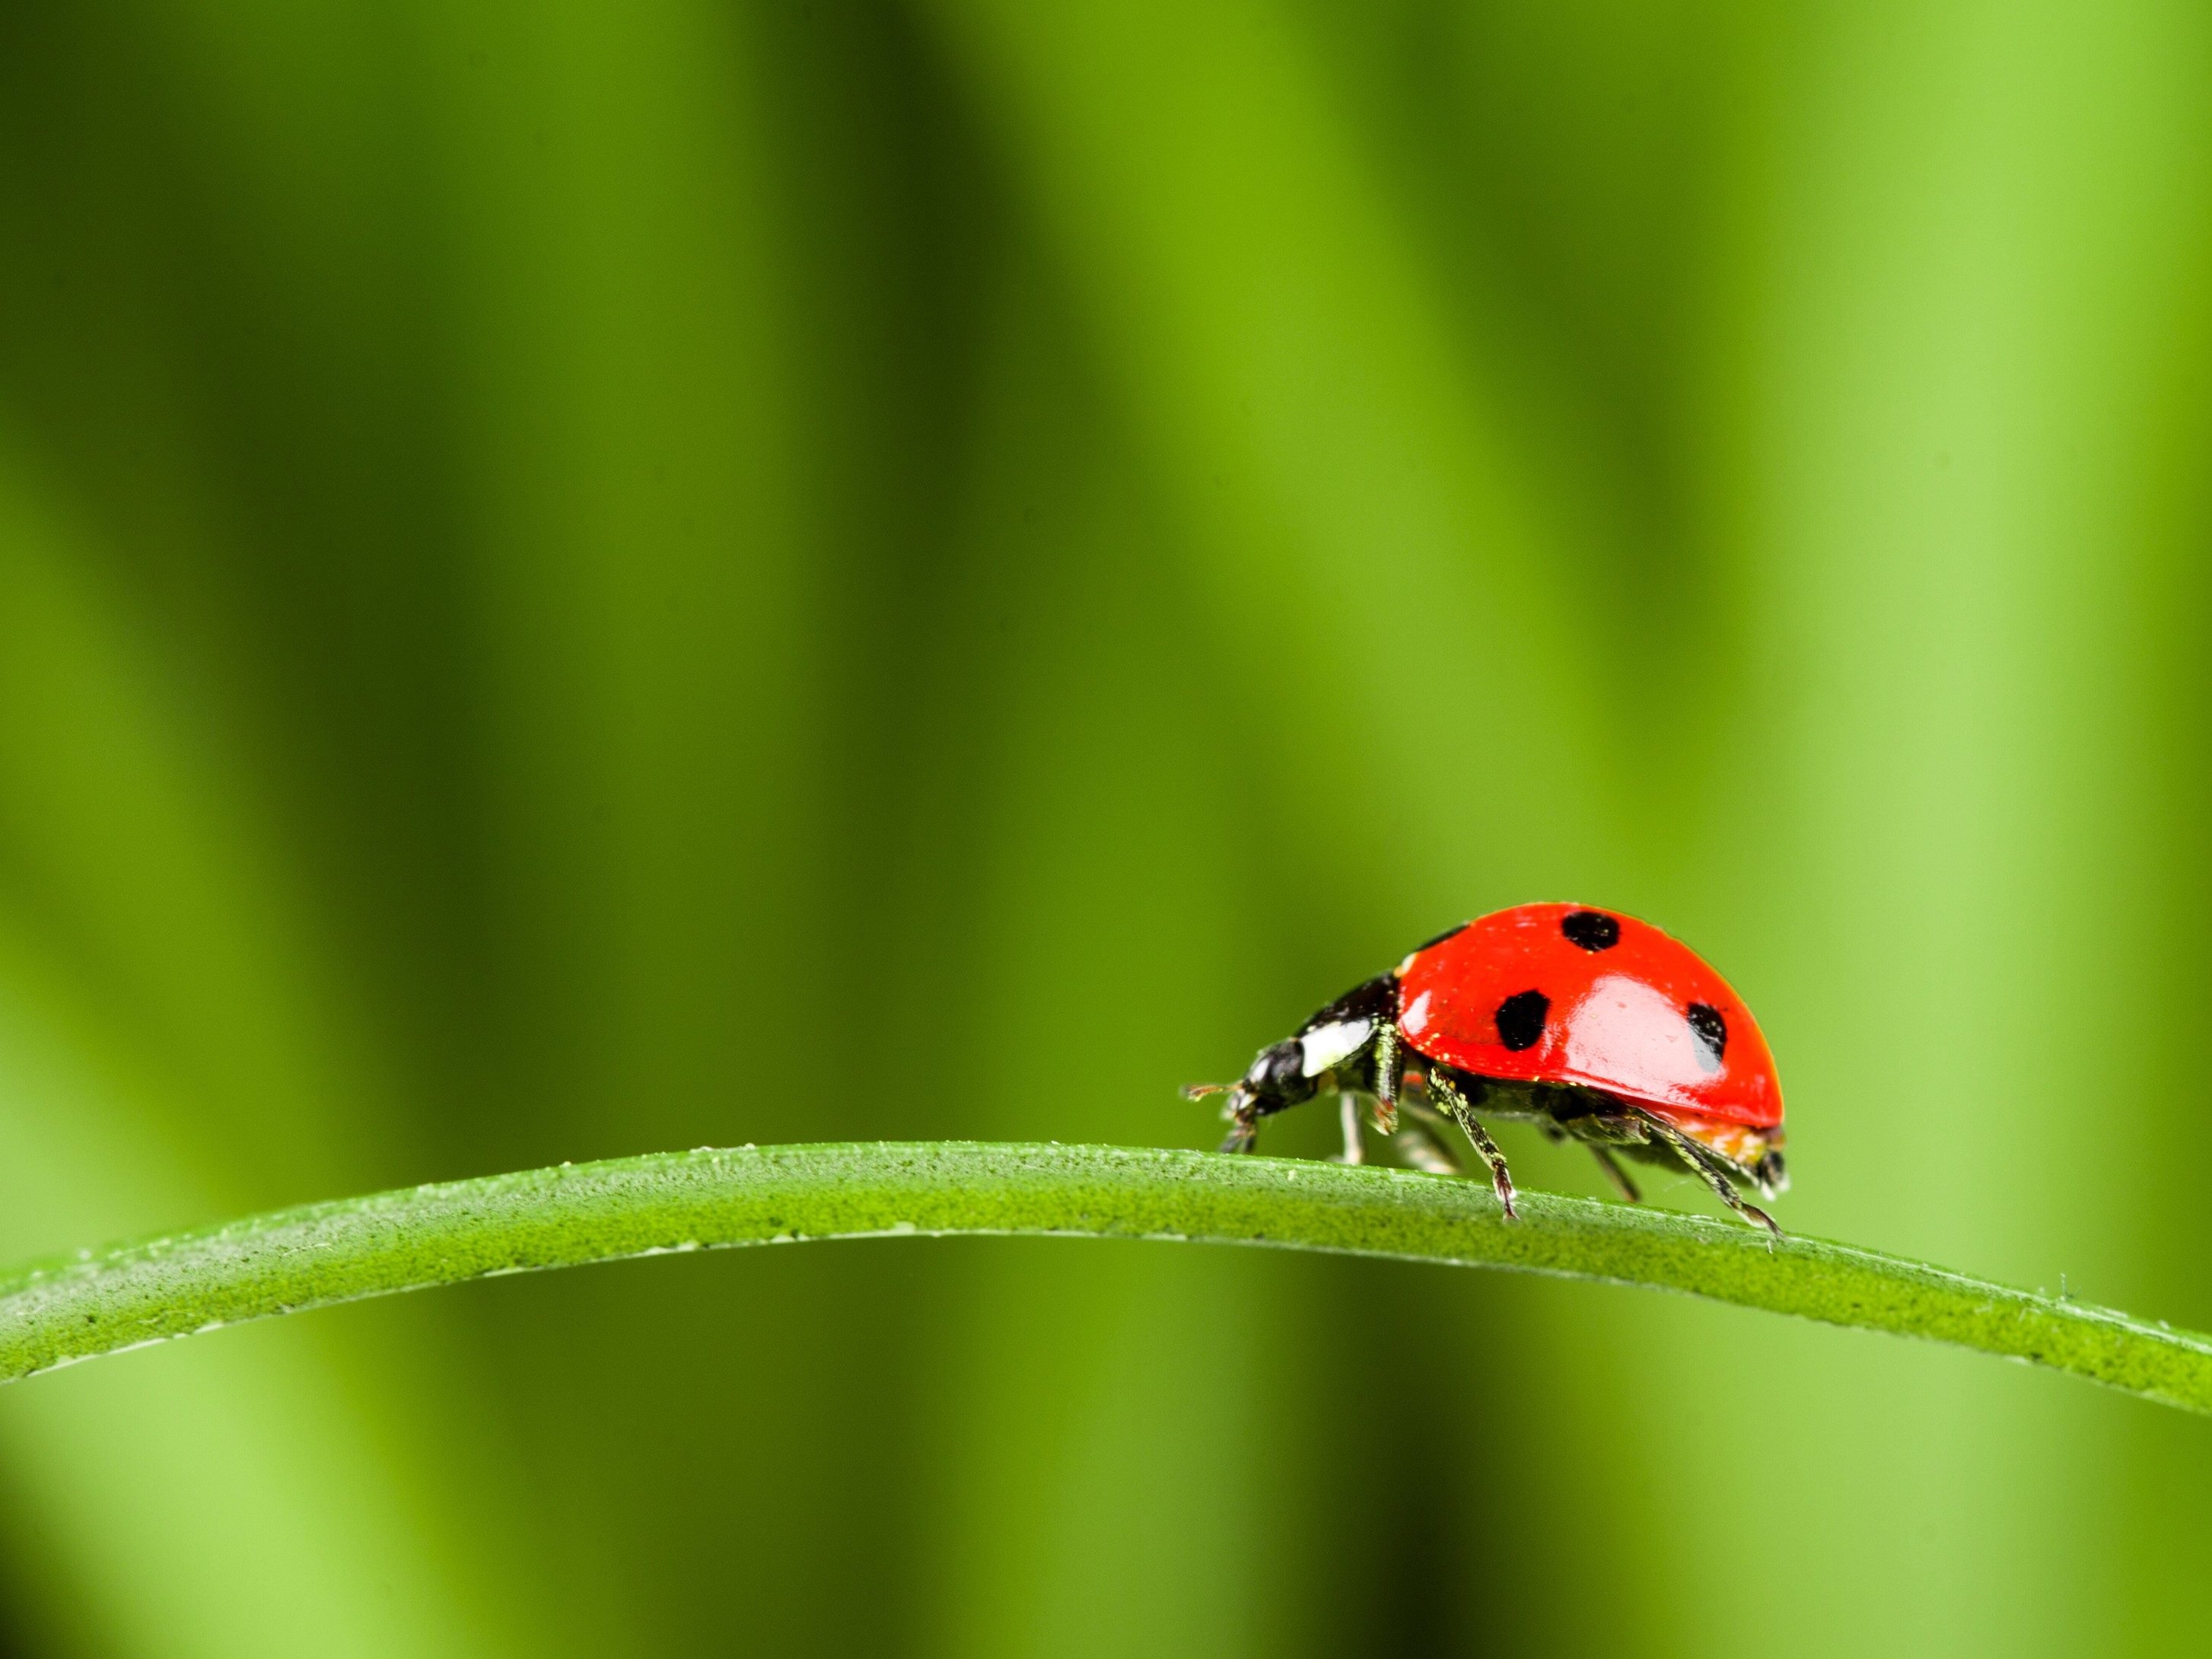
2. Ladybugs
Benefits of having ladybugs in your garden: They eat aphids and other softbodied pest eggs, scales and whitefly nymphs.
Bait ladybugs with: Asters, marigolds, cosmos, cilantro, yarrow, dill, cabbages, sweet alyssum, flowering kale.
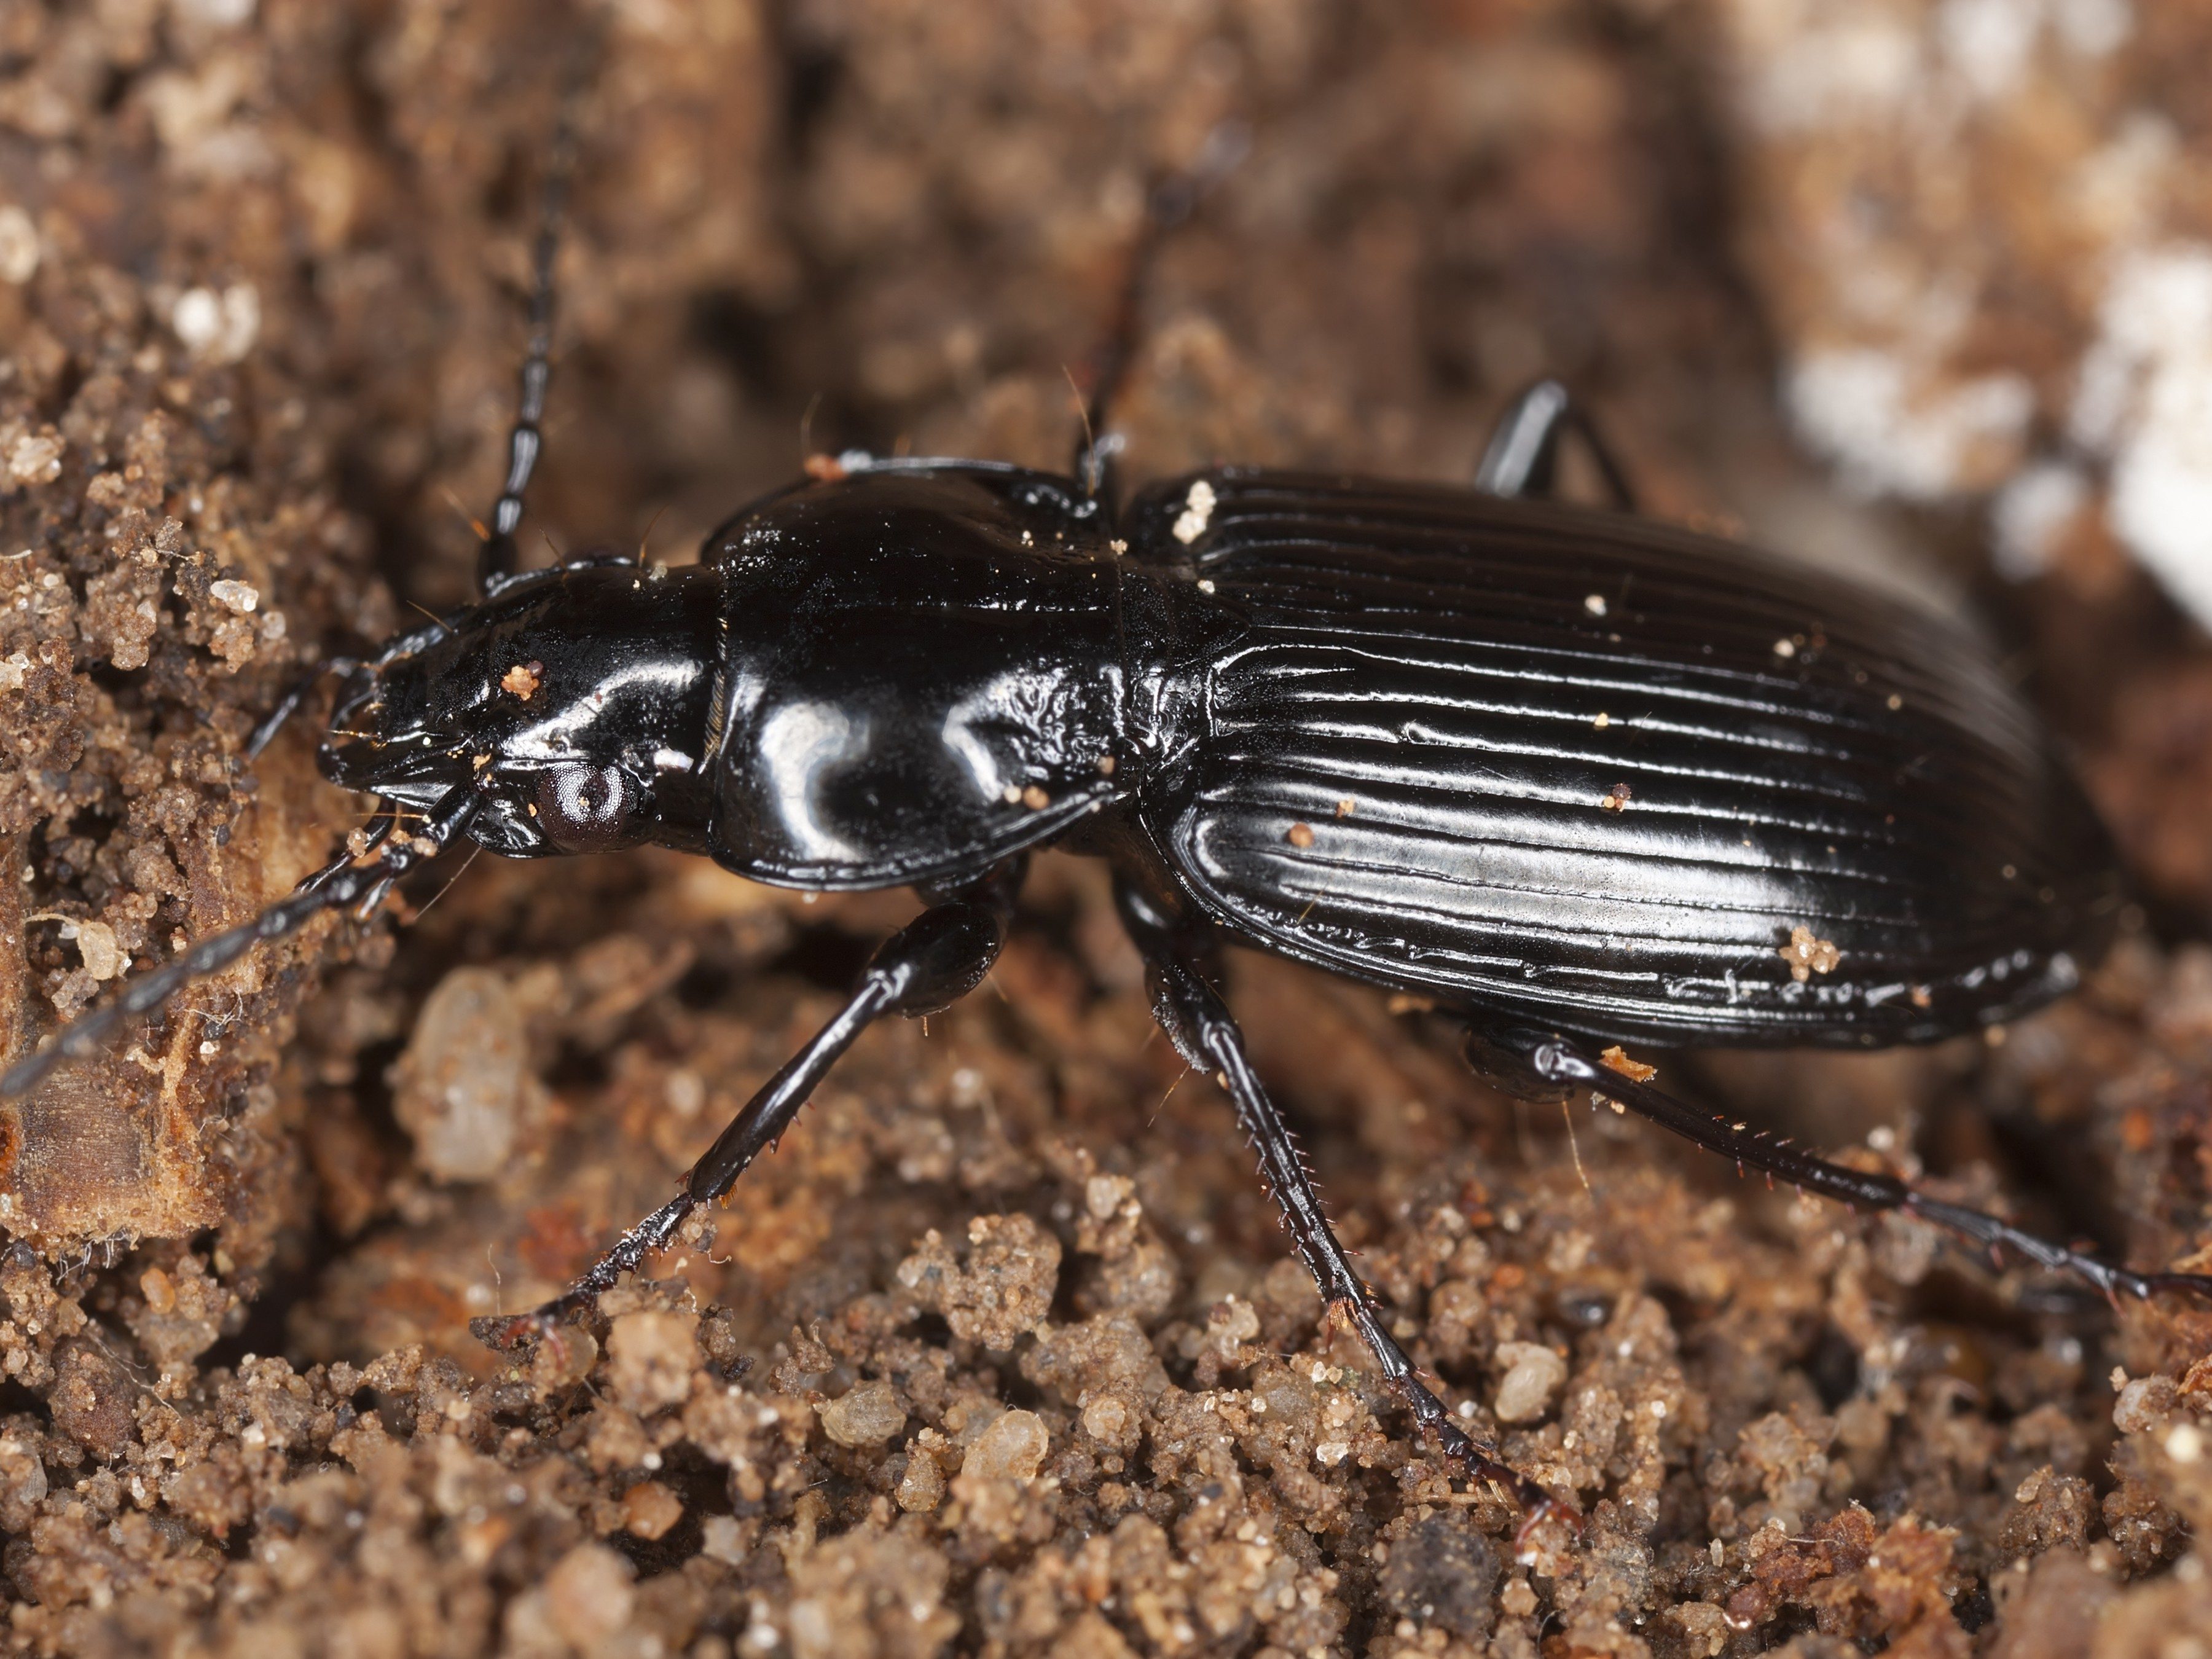
3. Ground Beetles
Benefits of having ground beetles in your garden: They will destroy slugs, snails, cutworms, flies and rootmaggot eggs and larvae.
Bait ground beetles with: Sweet or white clover and other ground covers; also use mulch to provide habitat.
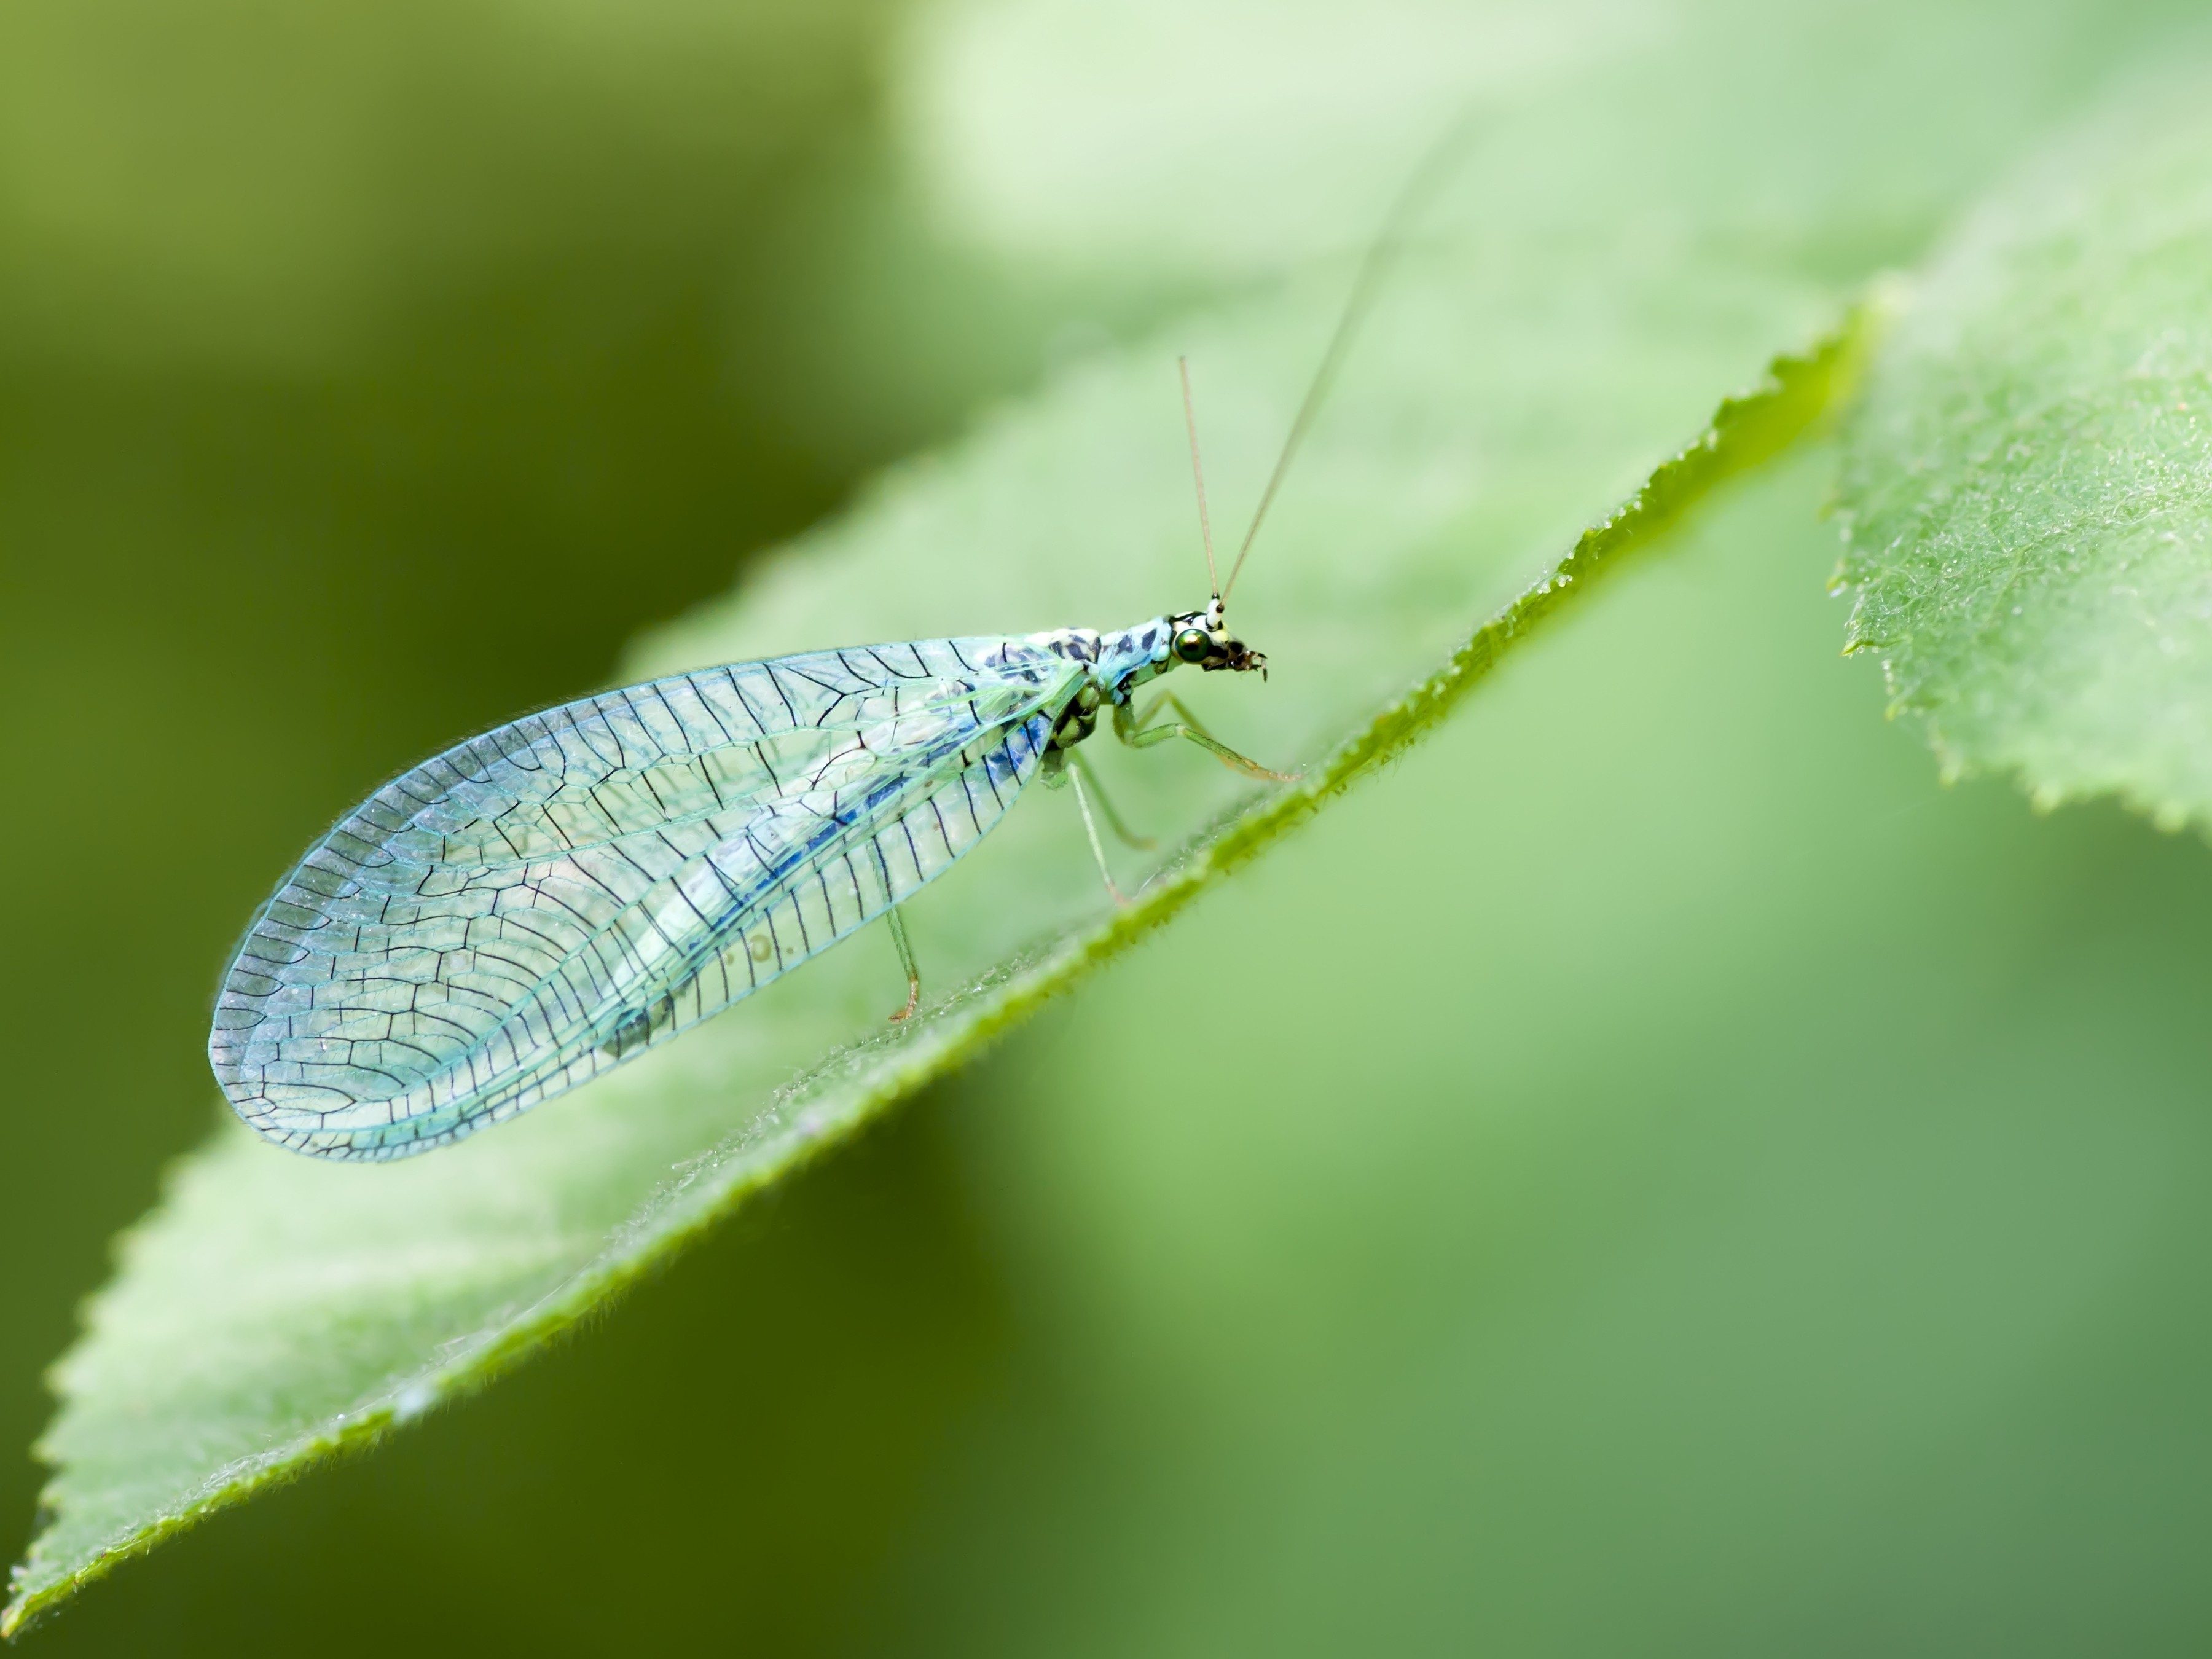
4. Lacewings
Benefits of having lacewing in your garden: Lacewing larvae prey on pest eggs, aphids, scales and small caterpillars.
Bait lacewing with: Most pollen and nectar flowers, dill, daisies, fennel, angelica.
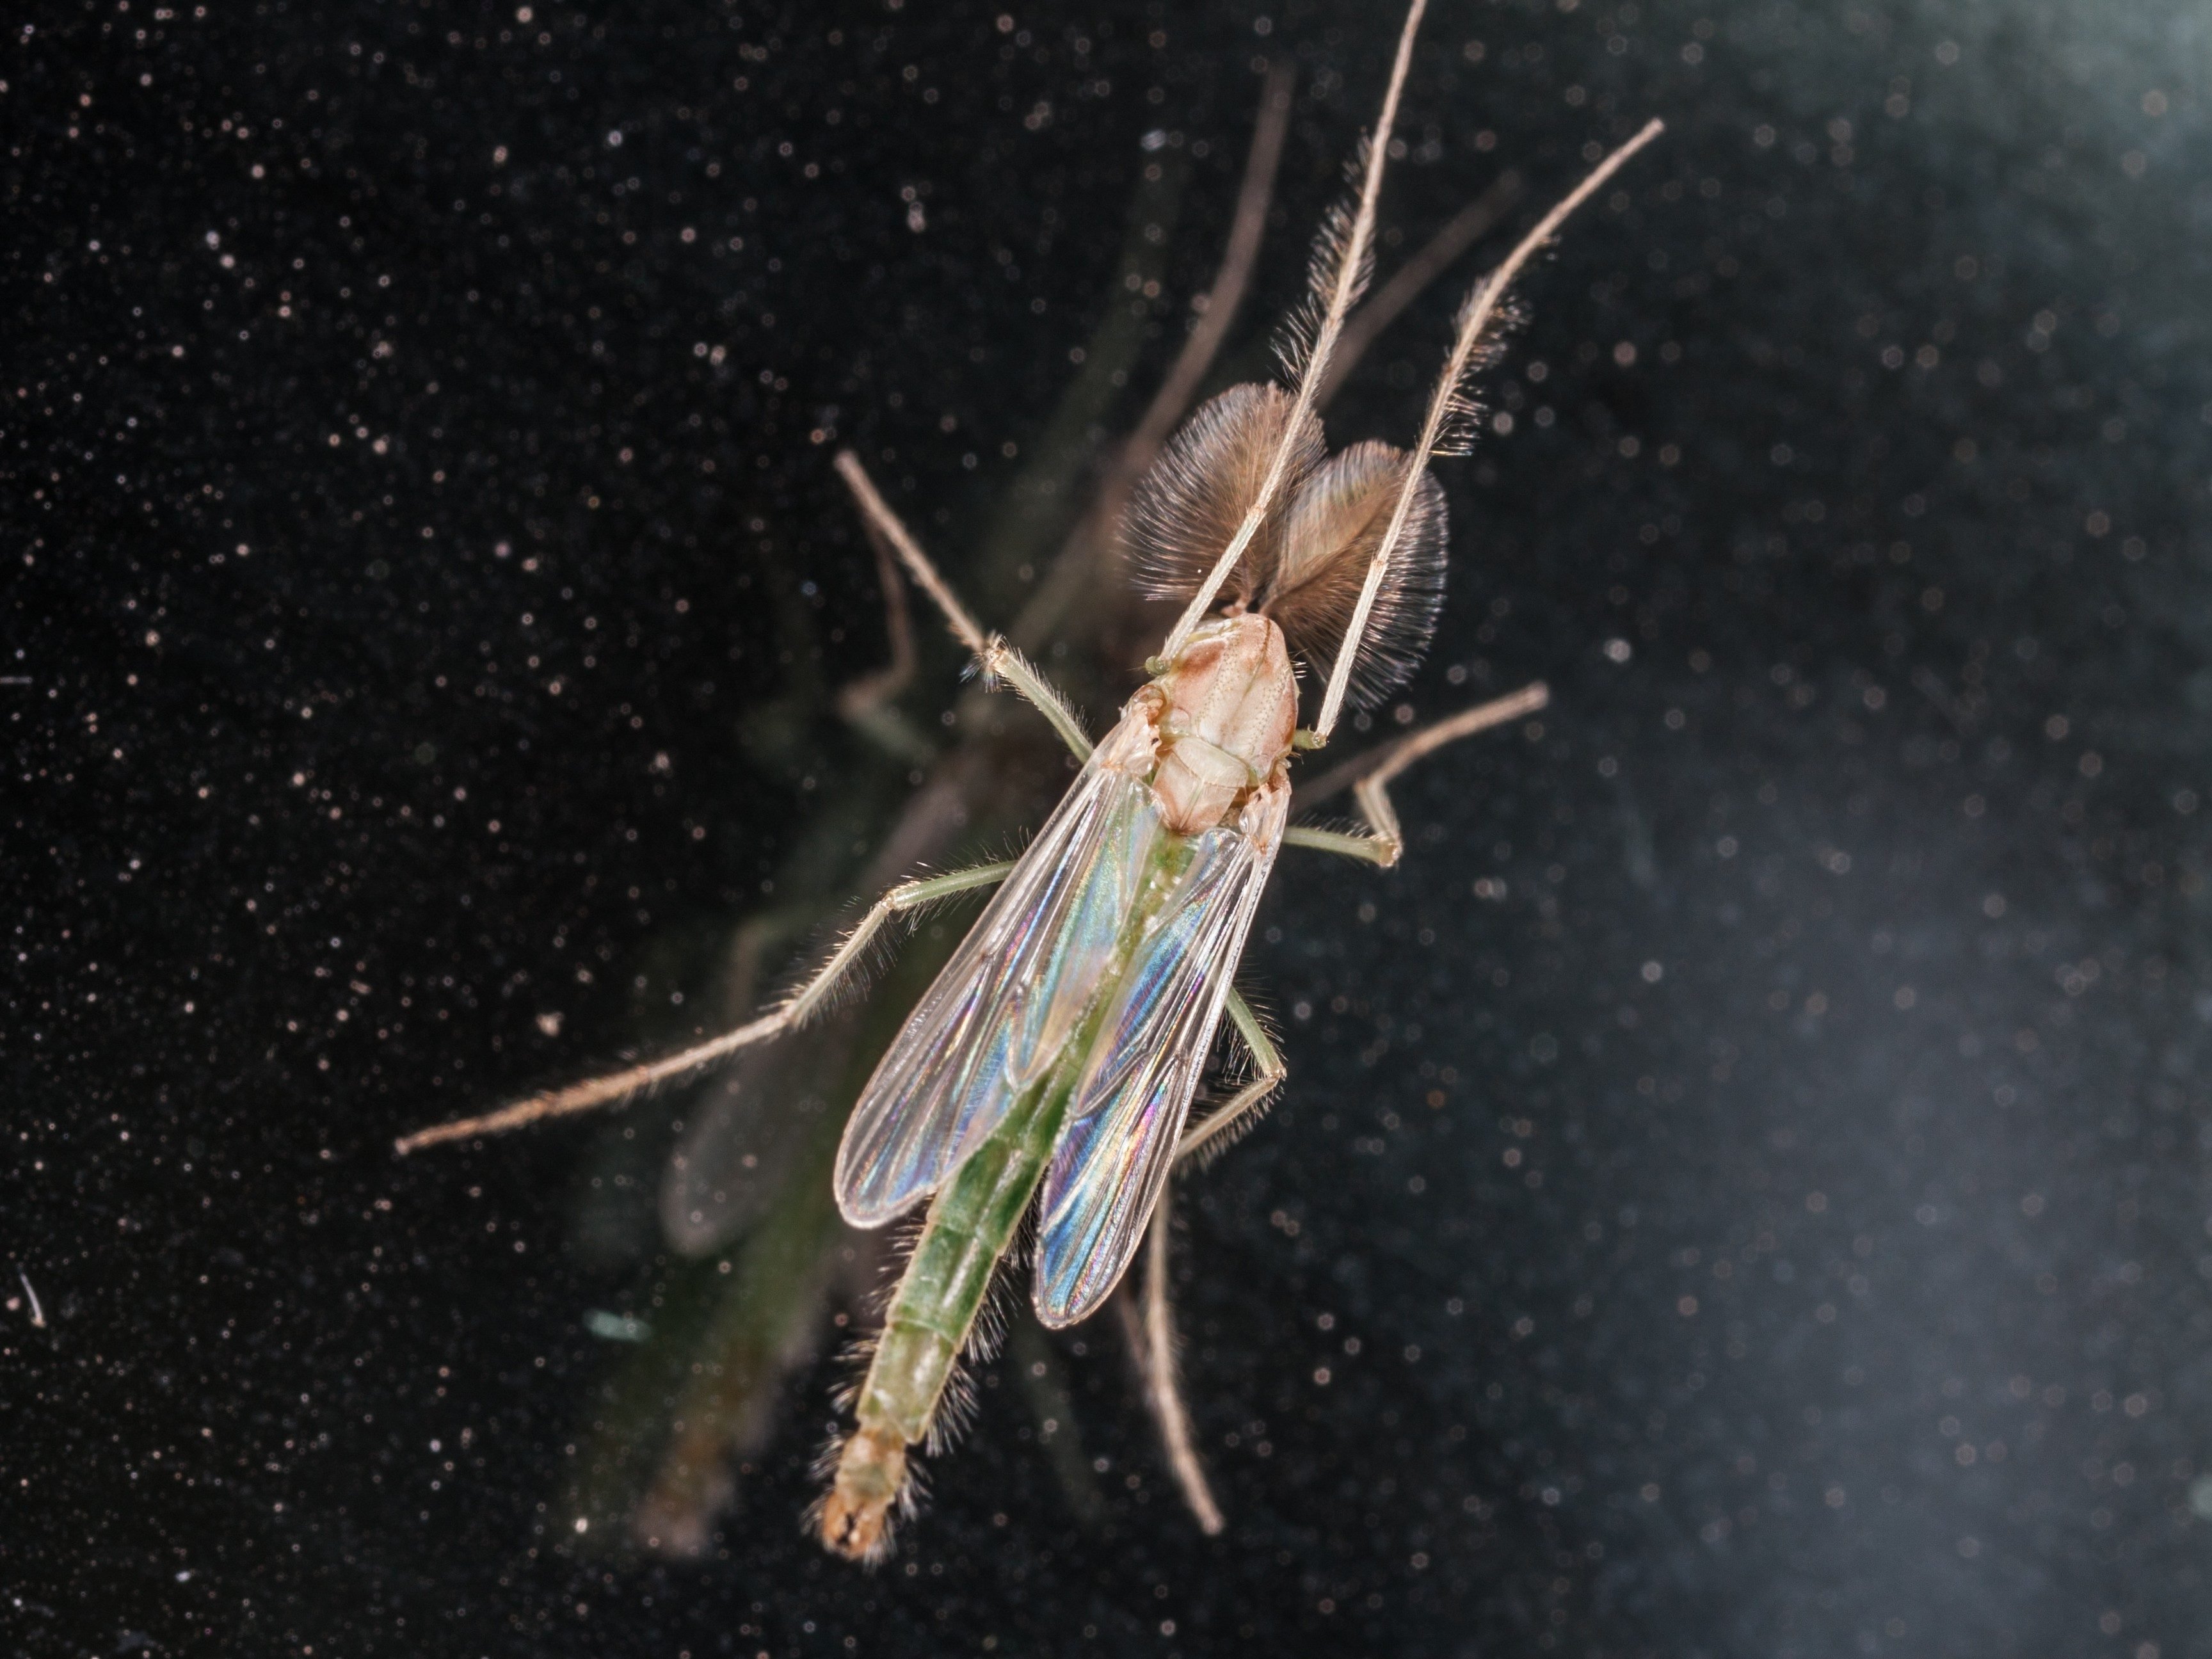
5. Aphid Midges
Benefits of having aphid midges in your garden: Immature insects (including midges) feed on many species of aphids.
Bait aphid midges with: Nectar-rich flowers and herbs, including Queen Anne’s lace, dill, mustards.
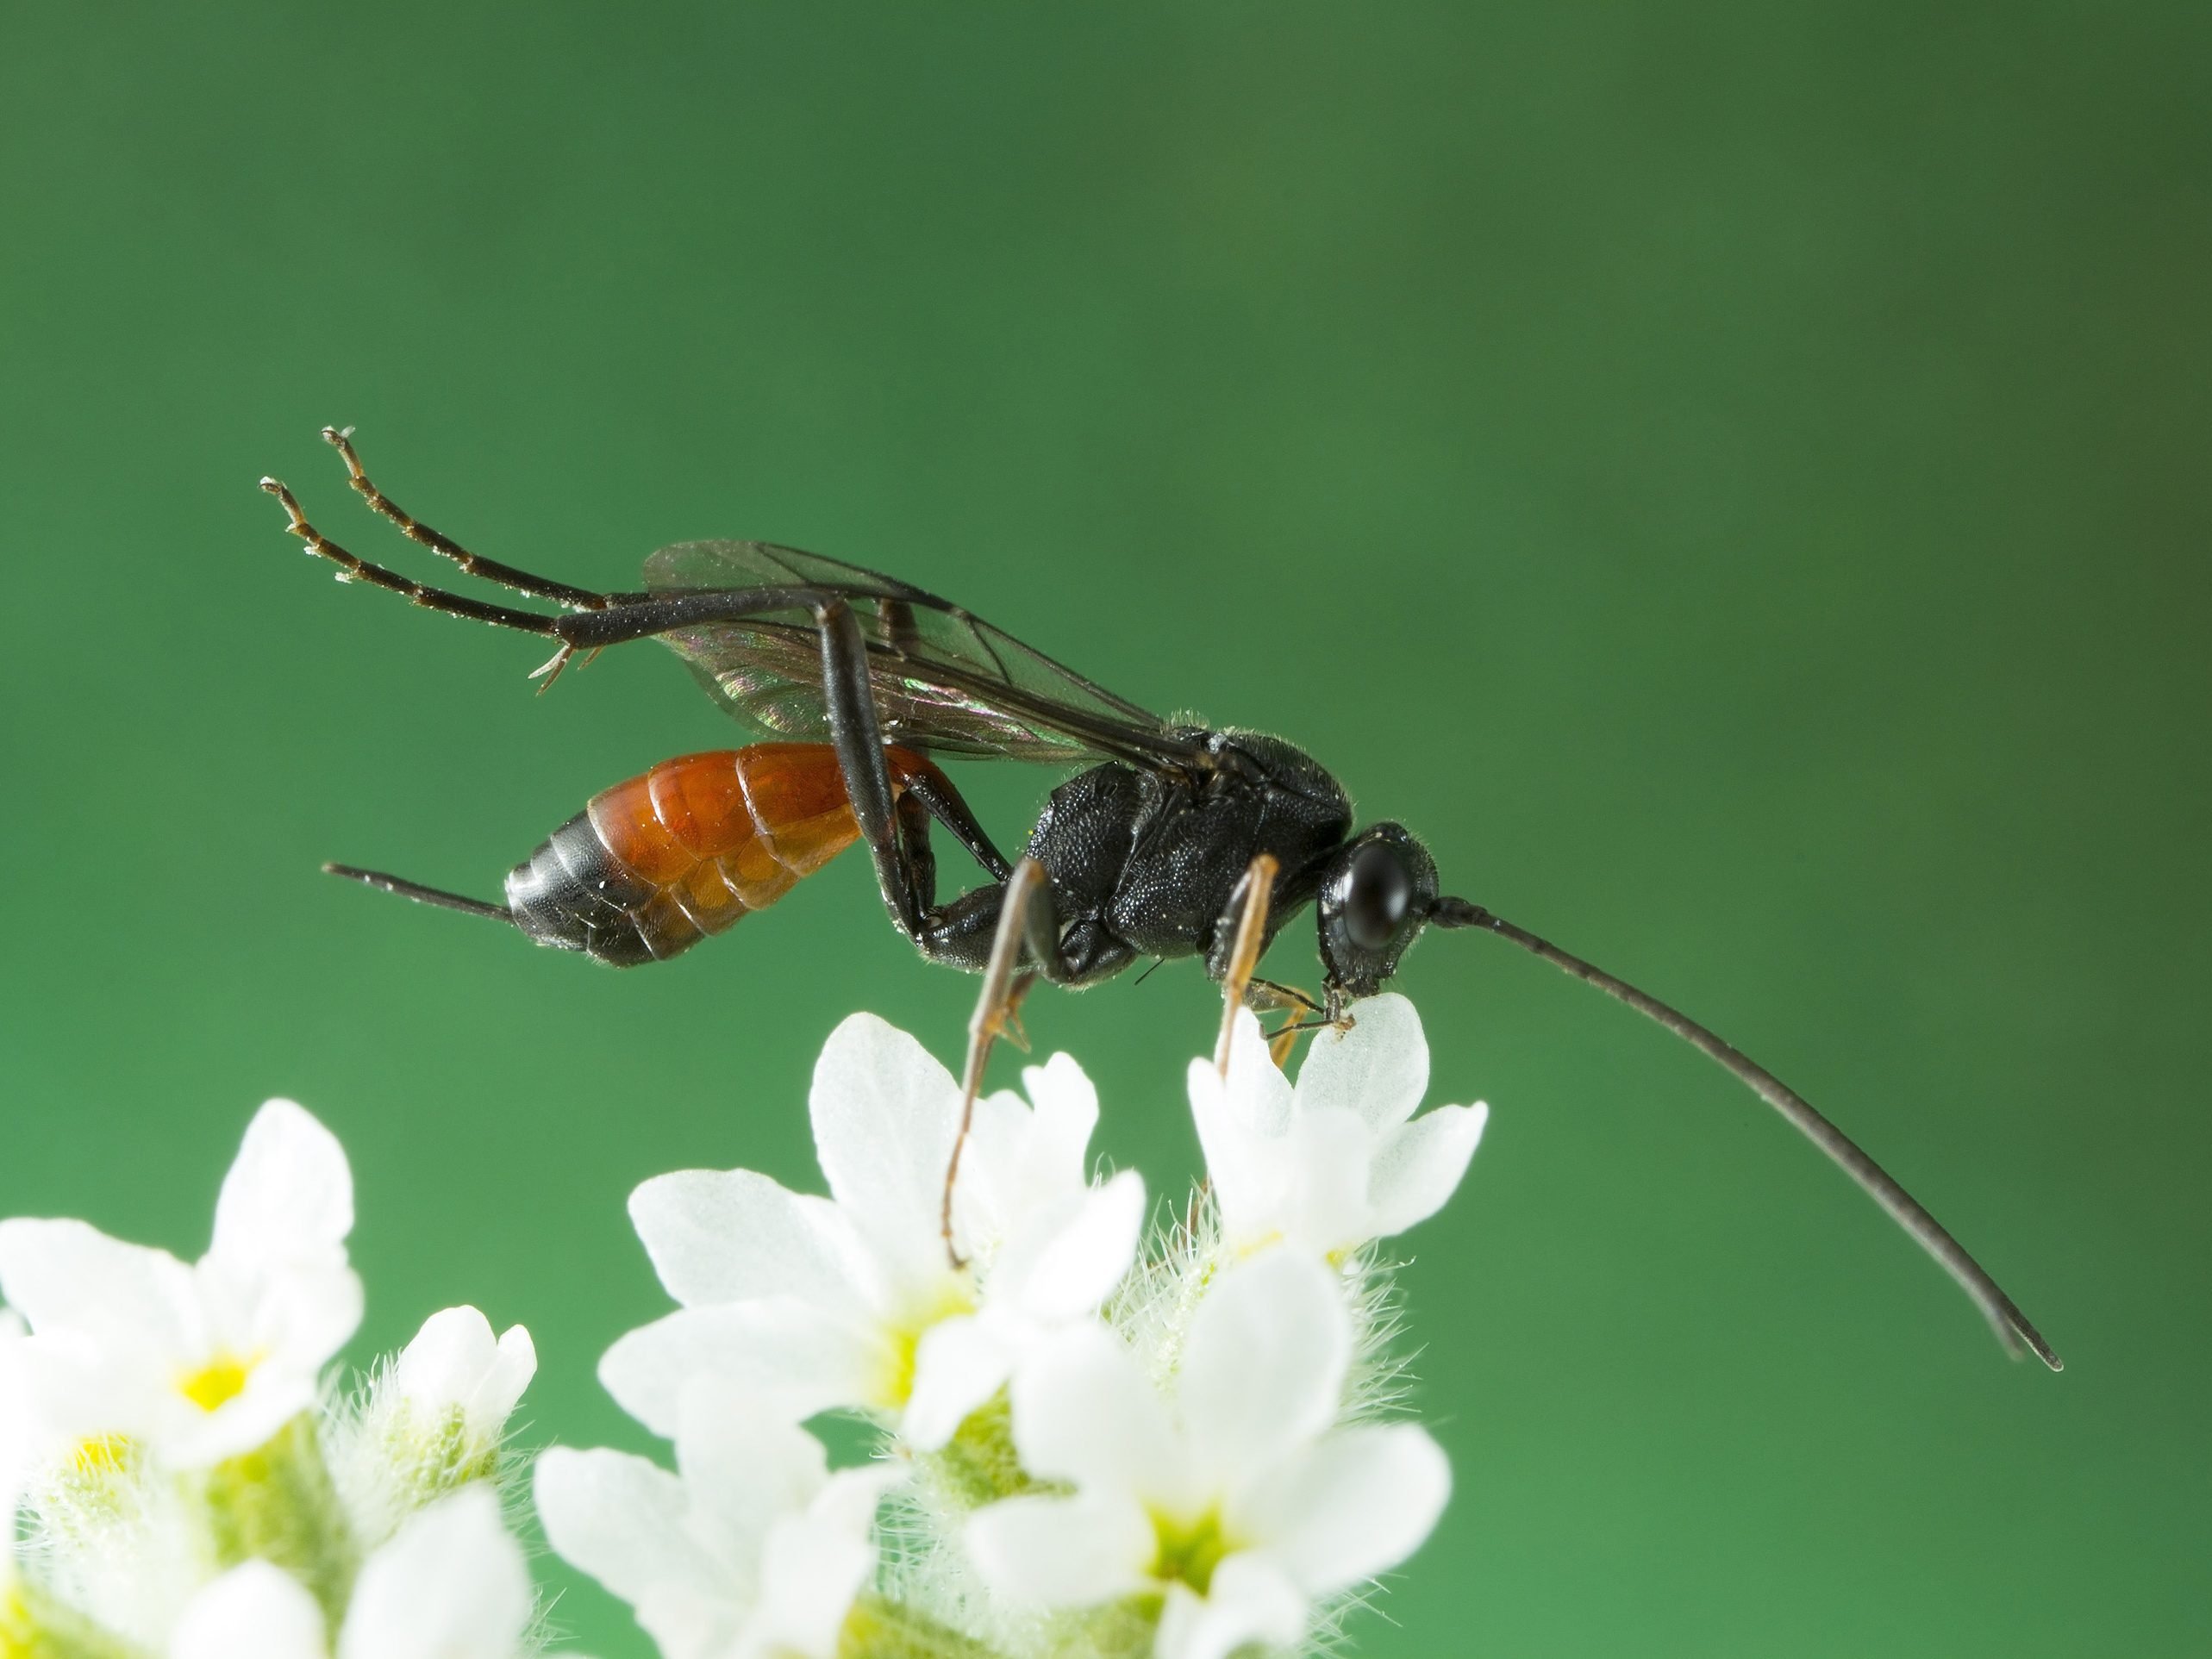
6. Parasitic Wasps
Benefits of having parasitic wasps in your garden: They act as parasites by laying eggs in caterpillar and aphid larvae.
Bait parasitic wasps with: Dill, mint, sage, thyme, lavender, coriander, Queen Anne’s lace, sunflowers.
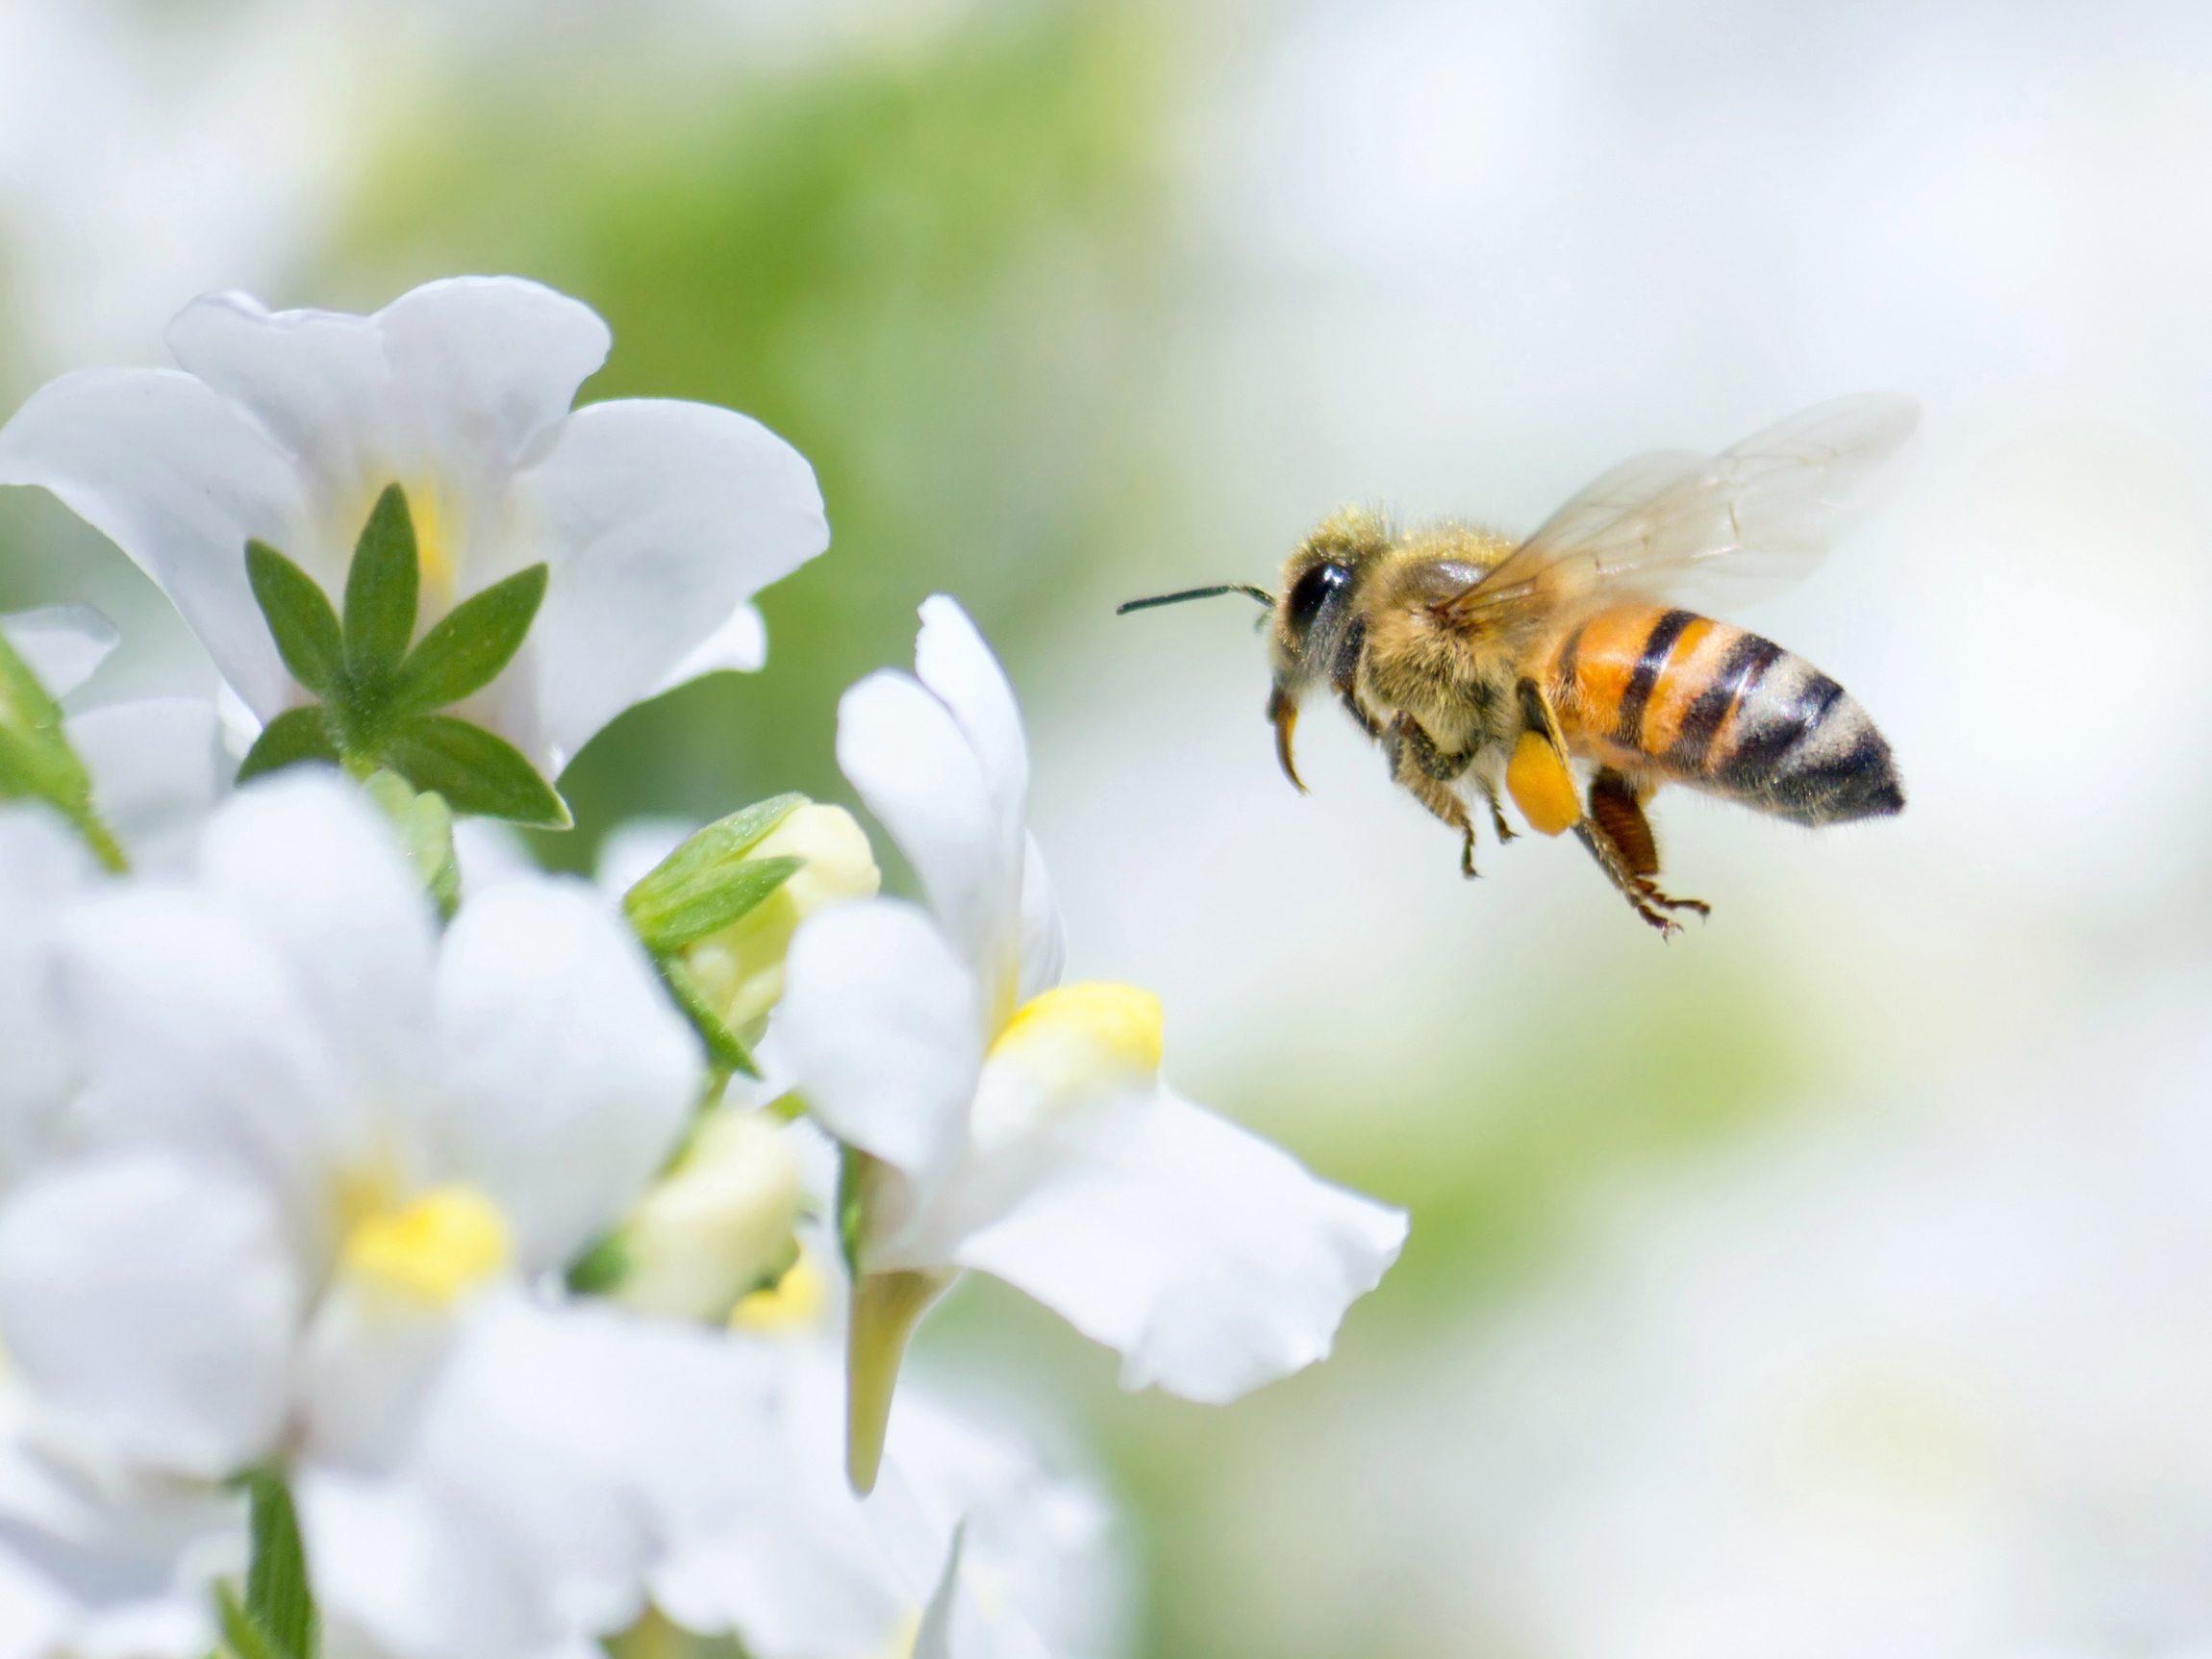
7. Bumblebees, Honeybees, Mason Bees
Benefits of having bees in your garden: They pollinate food crops.
Bait honeybees with: Orchard fruits, mustards, cress, wildflowers, clover, blueberries, hollyhock.
BY CHRISTINA SYMONS
Posted in Best of the Best
Tags: Old Fashioned Mom International Company, Old Fashioned Mom People, Magazine Company, Old Fashioned Mom Advice, Old Fashioned Mom, New York, Luxury Living, Magazine, Global Company, 2018, Coffee Distributor, High Society, London, Hudson Valley, Old Fashioned Mom Travel, Summer, Old Fashioned Mom Real Estate, Old Fashioned Mom Places, Old Fashioned Mom Daily News, Old Fashioned Mom Coffee, Old Fashioned Mom Events, Old Fashioned Mom Dining, Top Percent, World, Wealthy, Old Fashioned Mom Things, Old Fashioned Mom Show, Michelle-Marie Heinemann, Palm Beach, Old Fashioned Mom Magazine, New York City

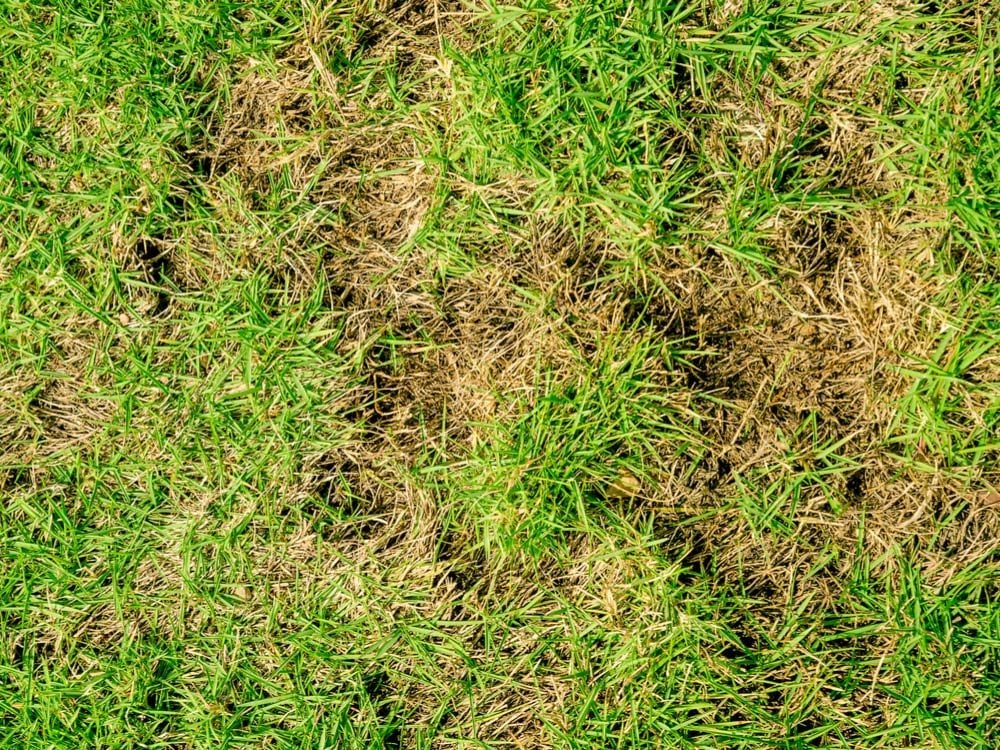
Build Up the Low Yellow Spots
The makers and sellers of pest and fungus treatments would love you to believe that every yellow or dead spot is the result of a sinister invader that can be eliminated with frequent use of their expensive products. But some yellow spots are simply the result of low spots in your lawn, especially if they appear after heavy rain. Grass can suffocate or rot in standing water. Try spreading a layer of compost over the yellow spot to raise it up to the level of the surrounding ground. Within a week or two, new grass will likely sprout to fill the patch.
Quit Bagging Grass Trimmings
If you have the kind of mower that shreds grass and drops it right back onto the lawn, you can reduce the recommended amount of lawn fertilizer by at least a third-and possibly even half. The salespeople at your garden center would tear their hair out if they knew you were onto this secret, but a mulching mower will save you having to spread pounds and pounds of chemical fertilizer every year.
Here are 19 Gardening Shortcuts That Save Time and Money.
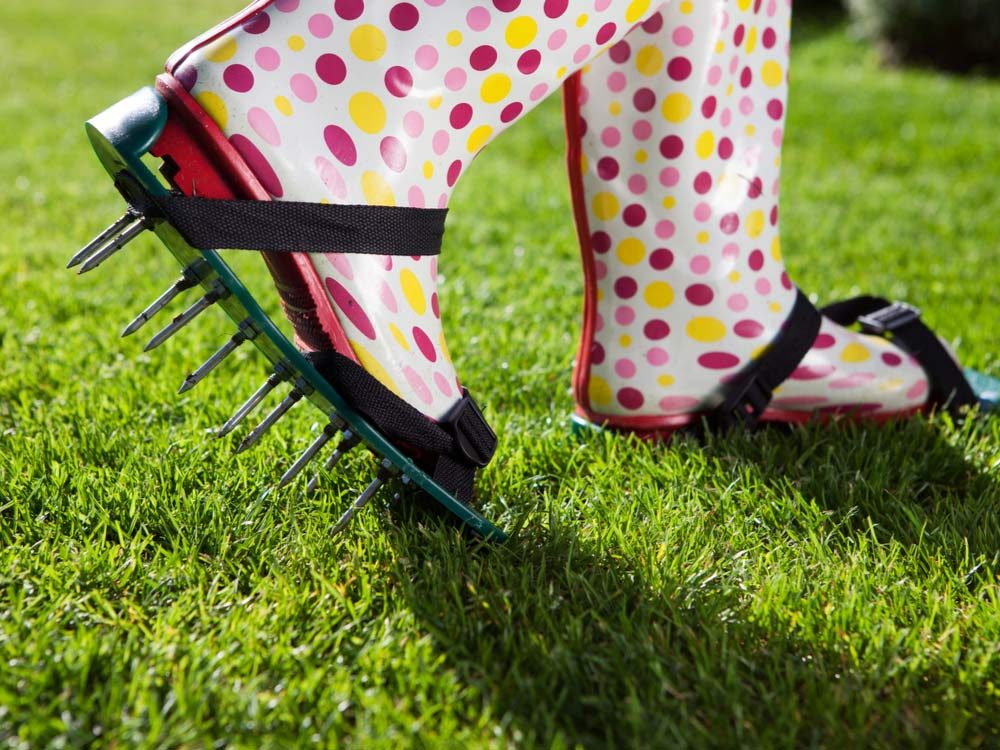
Save a Bundle on Lawn Aeration
It seems that every year a swarm of eager workers roam around the neighbourhood posting handbills and ringing doorbells, insisting that you need to aerate your lawn-right now! If you don’t keep track, you might do it three or four times a year. Relax. Most lawns only need aerating once a year to improve the drainage and breathability of soil, and it’s important to do it at the right time for your area and grass type. Some grasses do better with aeration at the beginning of the growing season, and some prefer it at the end.
You don’t have to pay someone else an arm and a leg to do your aeration. It’s not rocket science, and it’s no more strenuous than mowing a lawn. Just be sure to mark your sprinkler heads and any buried cables first. Ask several of your neighbours if they’d like to go in on an aeration party, then chip in to rent a machine. You can hire the machines at hardware stores for half a day for about the same amount that you’d pay to have a single lawn aerated. You can take turns using the machine on each of your own lawns, or pay a strapping teenager to do them all in a morning. Either way, you’ll come out ahead.
Treat Your Lawn to a Healthy Tonic
You don’t have to pay big bucks to the fertilizer makers to spruce up your lawn with a shot of healthy nutrients. Many homeowners have had great success with homemade lawn “tonics” made from simple products that might already be on your pantry shelves. The recipes vary, but most share these common ingredients:
- 1 can non-light beer
- 1 can non-diet soda pop
- 1 cup ammonia
- 1 cup liquid dish soap
- 1 cup molasses or corn syrup
- 1/2 cup mouthwash
What do these ingredients have to do with promoting a healthy lawn? The beer, soda, and molasses stimulate beneficial microbes. The ammonia is a source of nitrates, the main ingredient in most fertilizers. The soap helps spread the solution evenly and bind it to the blades of grass. And the alcohol in mouthwash deters some pests. Mix these ingredients in the reservoir of a 38- or 76-litre hose-end sprayer, and apply it to your lawn every three weeks or so. Water well after application. Your lawn will be lusher and need less water, and the big oil companies that supply the raw materials for many fertilizers will have lost another customer.
Deter Lawn-Damaging Raccoons
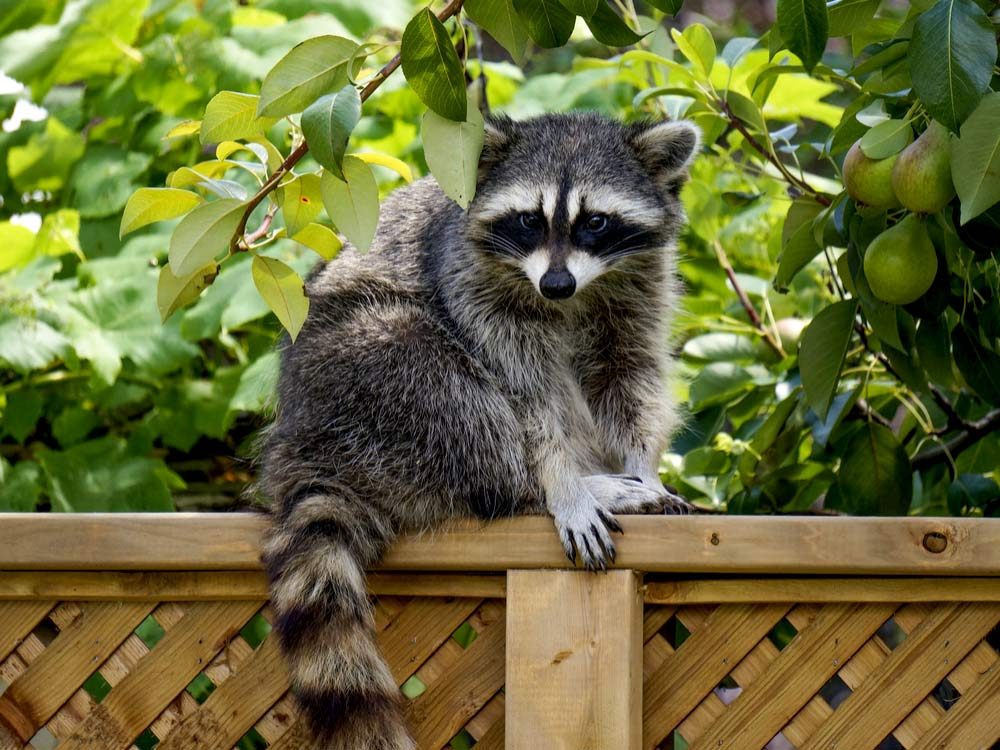
If you wake up in the morning to discover small round holes in your lawn or even large patches of turf mysteriously rolled up, it is probably the work of raccoons or skunks, who visit at night and dig in search of worms, grubs, or other insects that live in your lawn. They are especially likely to show up after a rain, when the water forces their prey close to the surface. Some pest controlexperts would have you believe that the only viable solutions to this problem are expensive ones: installing a secure or electrified fence, setting out traps, or undertaking an elaborate grub-elimination program with toxic insecticides. But the solution is quite simple. Just go to the store and buy a couple of boxes of moth crystals and sprinkle them over your lawn. This will help persuade the raccoons, who have very sensitive noses, to dine elsewhere. Also, to avoid attracting them, make sure your garbage cans can’t be knocked over and have lids that are securely closed.
Here are 7 Insects You Actually Want In Your Garden.
Written By: READER’S DIGEST CANADA
Posted in Advice
Tags: Old Fashioned Mom People, Old Fashioned Mom Real Estate, Magazine Company, Old Fashioned Mom Advice, Old Fashioned Mom, New York, Global Company, Coffee Distributor, High Society, London, Magazine, Luxury Living, Hudson Valley, Old Fashioned Mom Travel, Old Fashioned Mom Show, Old Fashioned Mom Things, Old Fashioned Mom Places, Old Fashioned Mom International Company, Old Fashioned Mom Daily News, 2018, Old Fashioned Mom Coffee, Old Fashioned Mom Events, Old Fashioned Mom Dining, Top Percent, Summer, World, Wealthy, Michelle-Marie Heinemann, Palm Beach, Old Fashioned Mom Magazine, New York City

1. Get creative with containers
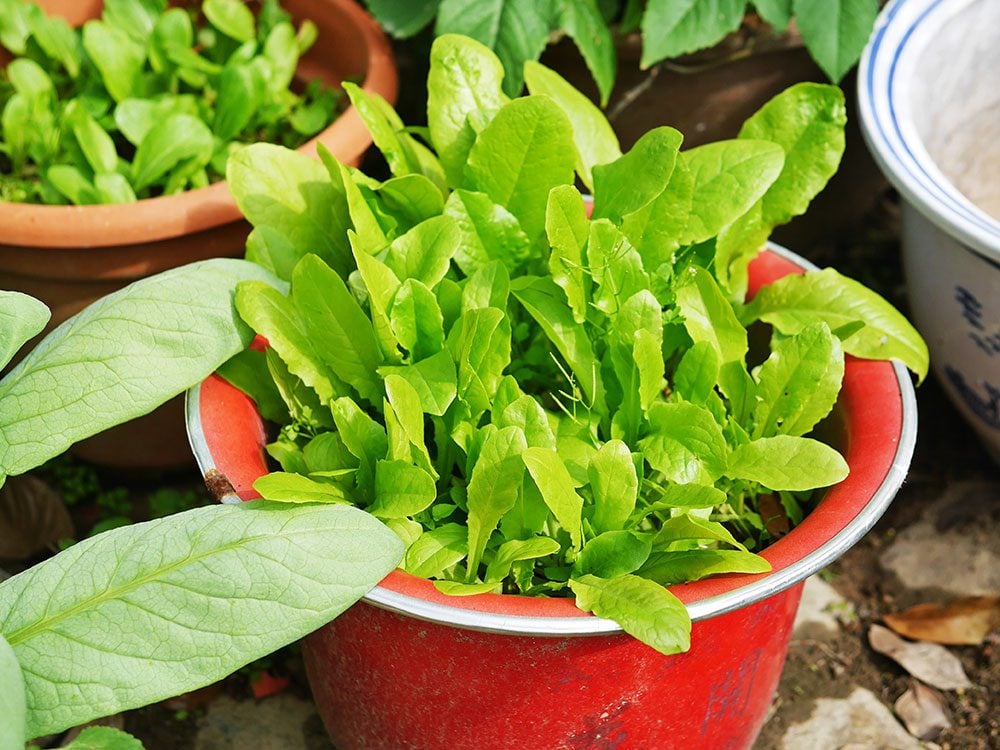
If you have a container that holds soil and allows for drainage, you’ve got yourself a potential vegetable garden. A mint tin, an old washtub, a basket, a trash can or a wine box can all be transformed into homes for plants—just add drain holes to the sides and bottom and fill it with soil.
No cash? No problem! Check out 19 Gardening Shortcuts That Save Time and Money!
2. Find the right spot
If you have a flood of light coming in through south-facing windows, or an entryway with plenty of sun and room for both a path and plants, you’re in business. Setting up an indoor space with supplemental light is also an option. Rooftops, decks and balconies are great places for a vegetable garden, too. Use walls, fences and hanging gardens to optimize finite space. If your home has limited access to the outdoors, your best bet may be to find a community garden or share the yard of a neighbour, or these five inspired indoor gardening ideas.

3. Keep an eye on things
Place the vegetable garden where you can see it from a window, in a spot you pass by on a daily basis or in a place you like to be. This immediately shifts the garden experience from burden to lifestyle. Time spent tending to your garden—a few minutes here and there—becomes part of your every day routine.
Would you prefer flowers, perhaps? These are eight of the best annuals for container gardening!
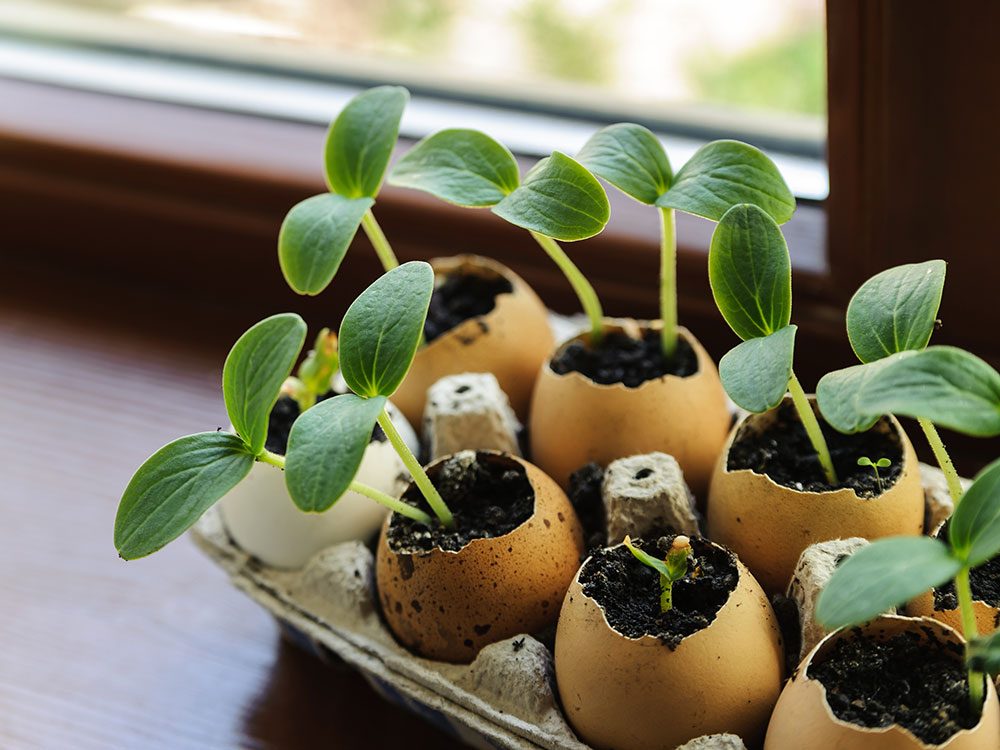
4. Start small
Raised beds, troughs and potted stairway gardens help focus your attention and manage your time. At this scale, you can easily see where to weed and what needs to be watered.
5. Grow what you love
Find the things that make you happy—plants you enjoy cooking with or simply looking at. Make sure they work in your climate.
Check out these tips for growing successful seedlings!
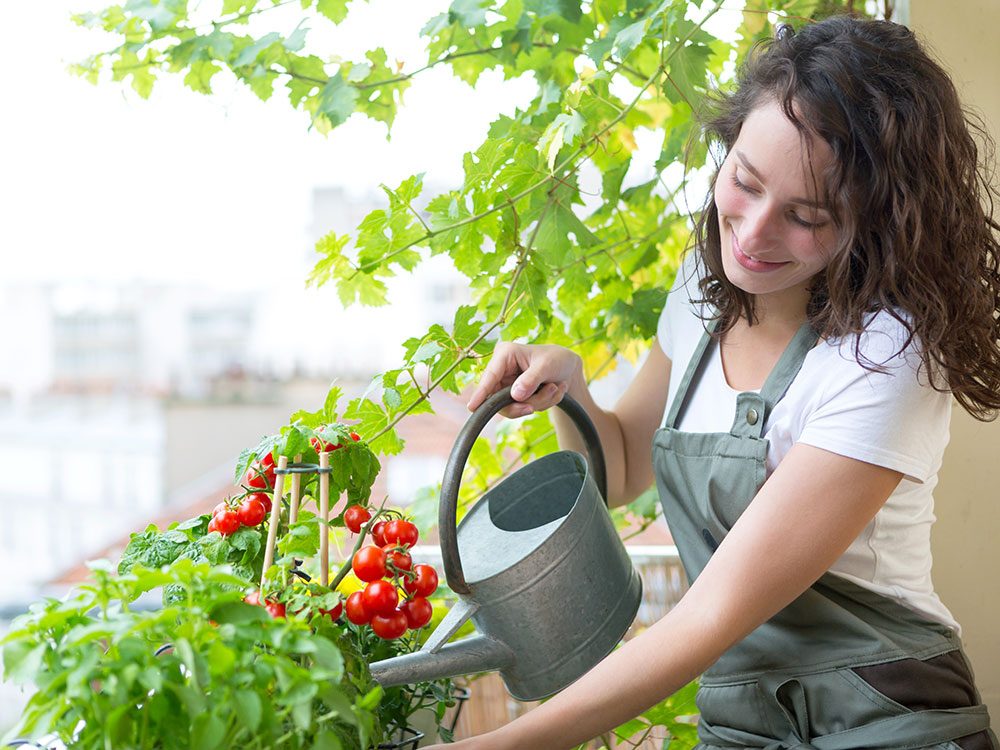
6. Set yourself up for success
Many plants need shelter from wind and animals. Take notice of who might be out to eat your garden before you do, and pinpoint your sunniest locations. A vegetable garden usually requires full sun (six to eight hours of direct light).
Check out these helpful hints for urban gardeners.

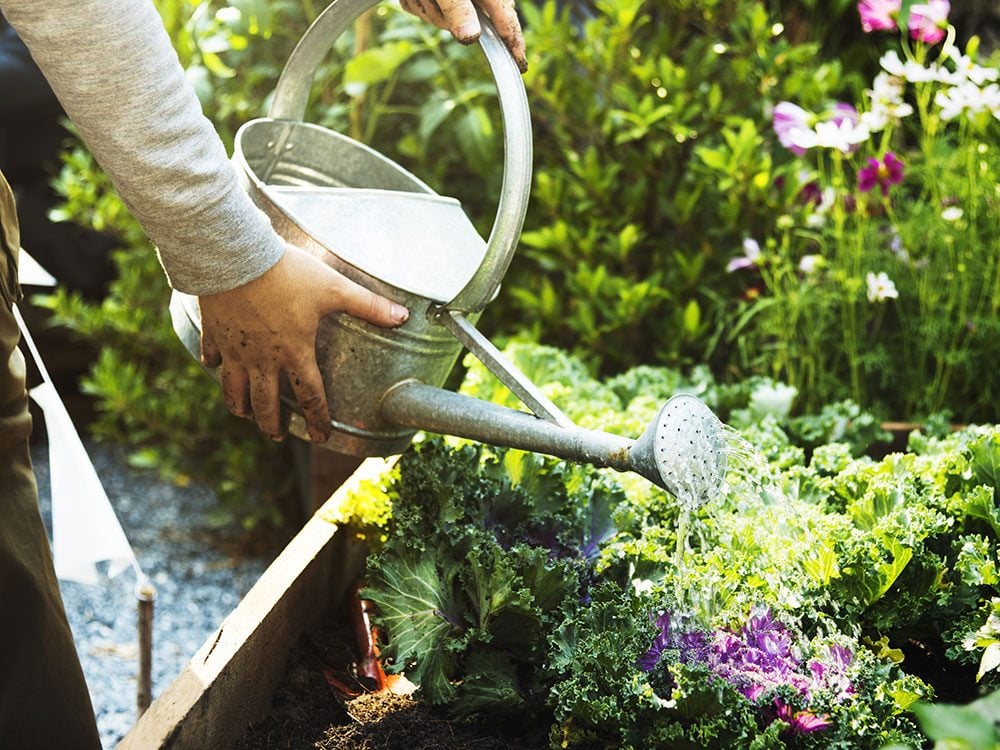
7. Get watering right
Soil-level watering helps prevent disease and conserve water. A well-planned drip or soaker hose system with an irrigation timer takes the worry out of gardening and reduces your time commitment. There are simple setups that connect to a spigot and can be run along patios, and more elaborate systems for larger gardens. Nanny pots are perfect for small containers that would otherwise be watered by hand. If you’re away for a long weekend or simply want to guarantee your plants are getting the water they need, fill a bottle with water, flip it over and push the open end into the soil. The soil will seal the opening, and water will flow from the bottle as the soil dries out.
Want to grow your own natural medicine cabinet? Here are eight medicinal plants you can grow at home!
8. Take a cue from Mother Nature
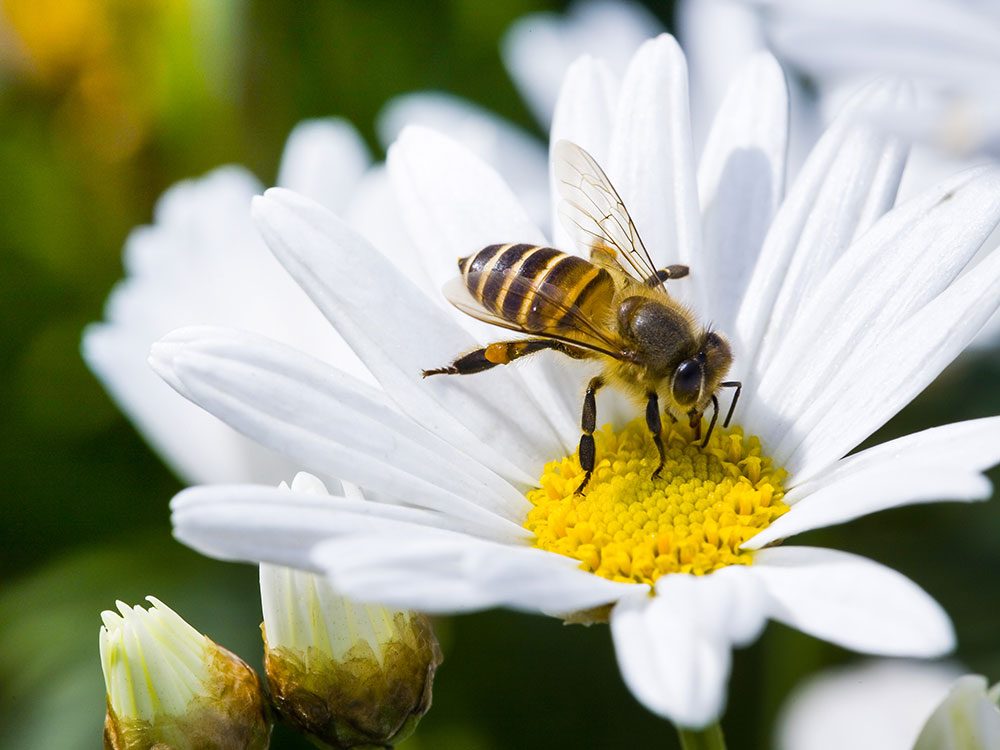
In the wild, water runs downhill. So too should water in your garden. Make sure planters and garden beds have adequate drainage. Tend your soil, adding organic matter to make a healthy home for beneficial soil microbes and decomposers. And plant in polycultures—meaning, grow multiple crops in the same place. Diversity will minimize problems with pests and attract pollinators to your garden.
9. If it ain’t broke, don’t fix it
When a plant looks happy, it probably is, and further watering or fertilizing won’t make it happier. In fact, the opposite may occur.

10. Let go of perfect
Expect one-hit wonders, consistent winners and losing battles. Don’t wait for everything to be just so to start planting—embrace the fact that gardens are the definition of change. Some plants thrive while others die; you and your garden will evolve together.
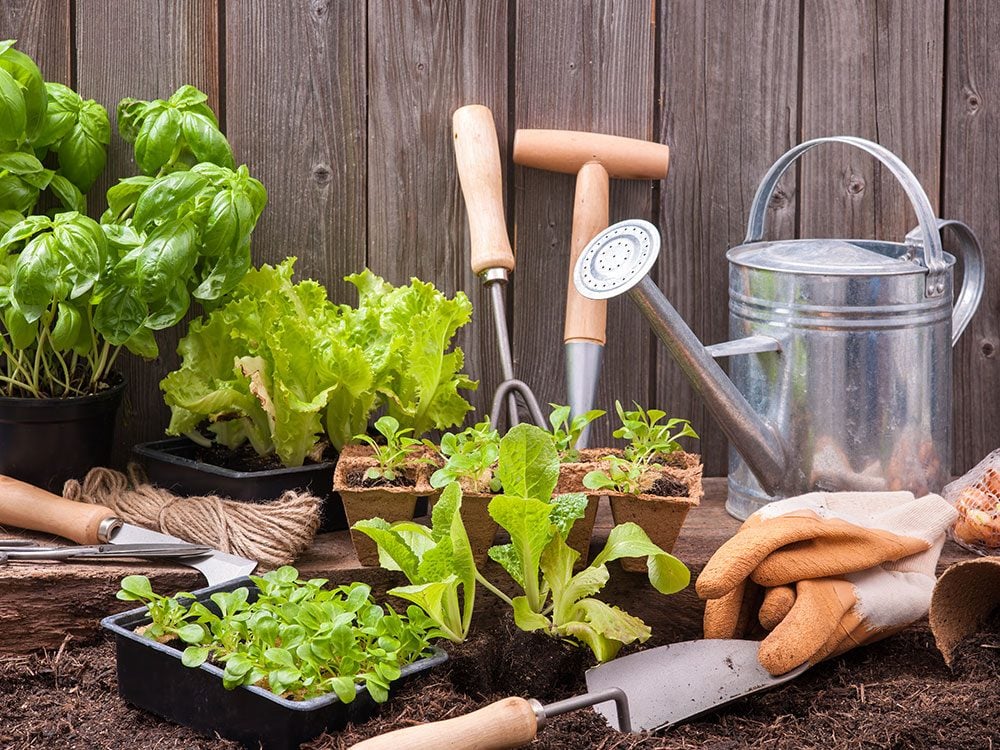
BY EMILY MURPHY, FROM GROW WHAT YOU LOVE
All photo credits given to SHUTTERSTOCK
Posted in Advice
Tags: Old Fashioned Mom People, Old Fashioned Mom International Company, Magazine Company, Old Fashioned Mom Advice, Old Fashioned Mom, New York, Global Company, Coffee Distributor, 2018, Magazine, London, Luxury Living, High Society, Hudson Valley, Old Fashioned Mom Travel, Old Fashioned Mom Show, Old Fashioned Mom Real Estate, Old Fashioned Mom Places, Old Fashioned Mom Daily News, Old Fashioned Mom Coffee, Old Fashioned Mom Events, Old Fashioned Mom Dining, Top Percent, World, Wealthy, Summer, Old Fashioned Mom Things, Michelle-Marie Heinemann, Palm Beach, Old Fashioned Mom Magazine, New York City

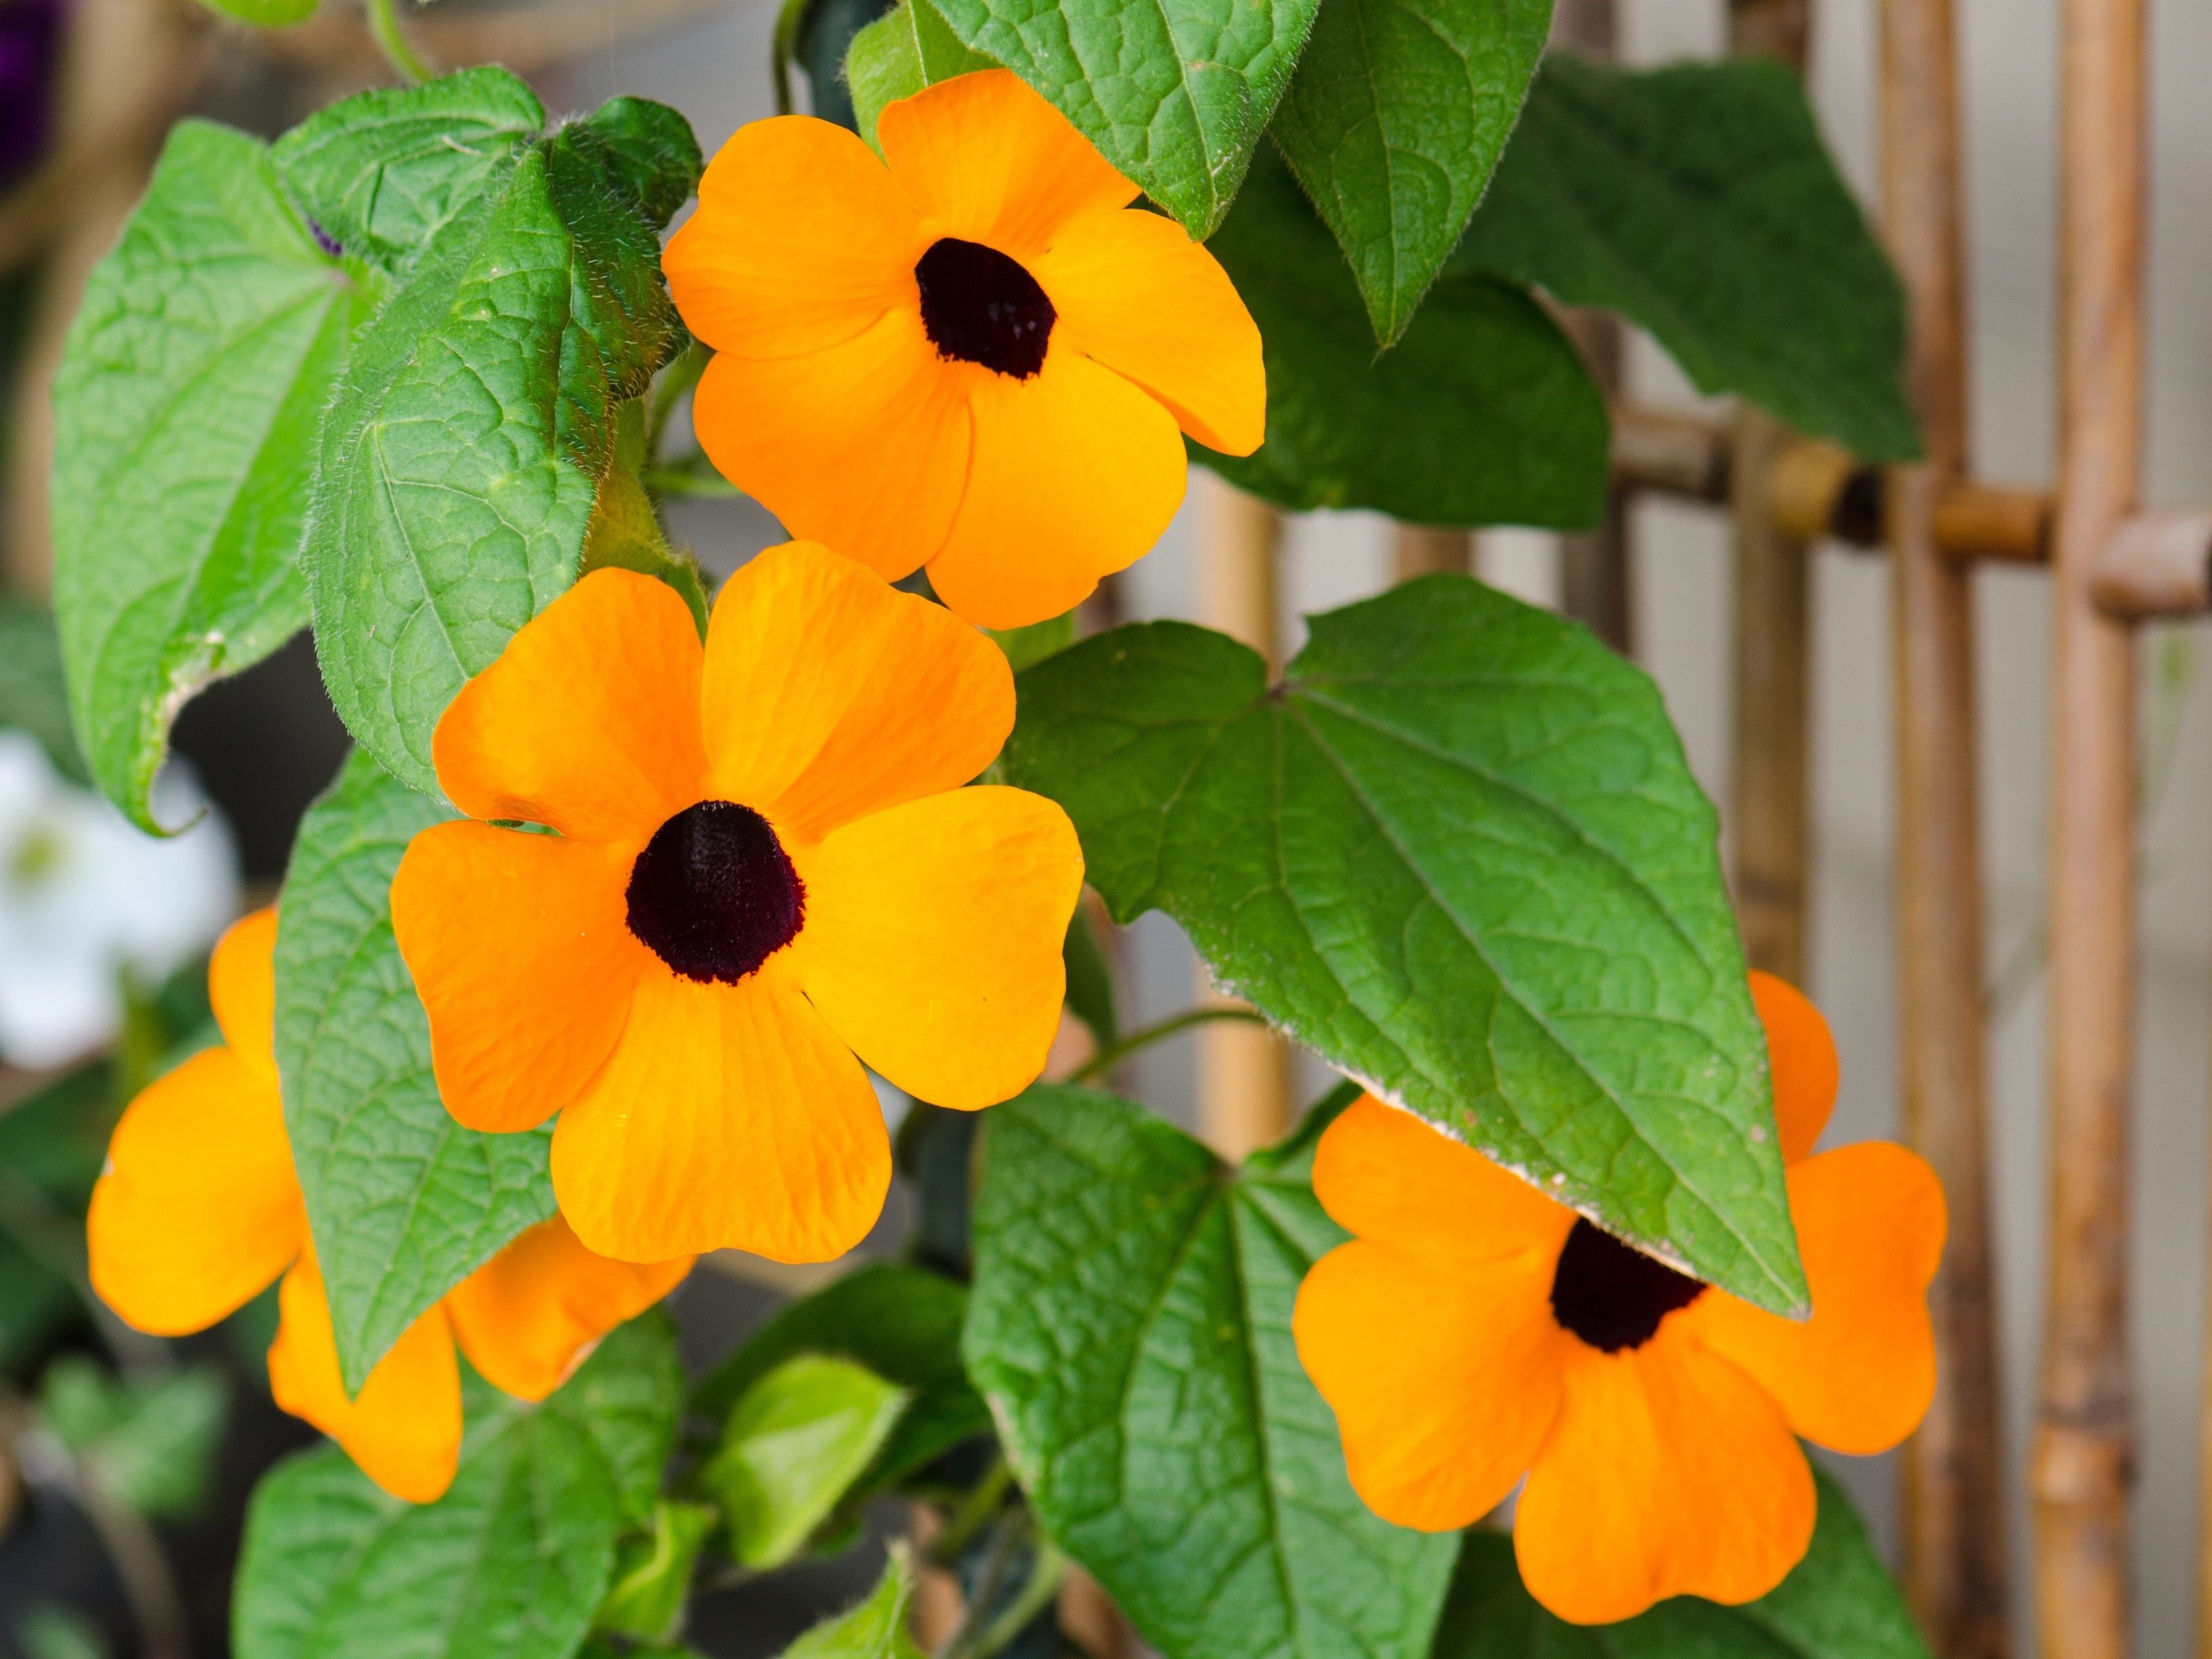
1. Thunbergia (Black-Eyed Susan Vine)
Commonly known as Black-eyed Susan vine, this annual is a beautiful choice for hanging baskets or for containers where you can provide some sort of trellis or stake. The heart-shaped leaves are accented by five-petaled flowers in white, cream, yellow or orange with the deep-maroon central eye. Some rare varieties have rose or variegated petals. Thunbergia also makes a great flowering plant for indoor gardeners, so you may want to bring yours in for the winter.
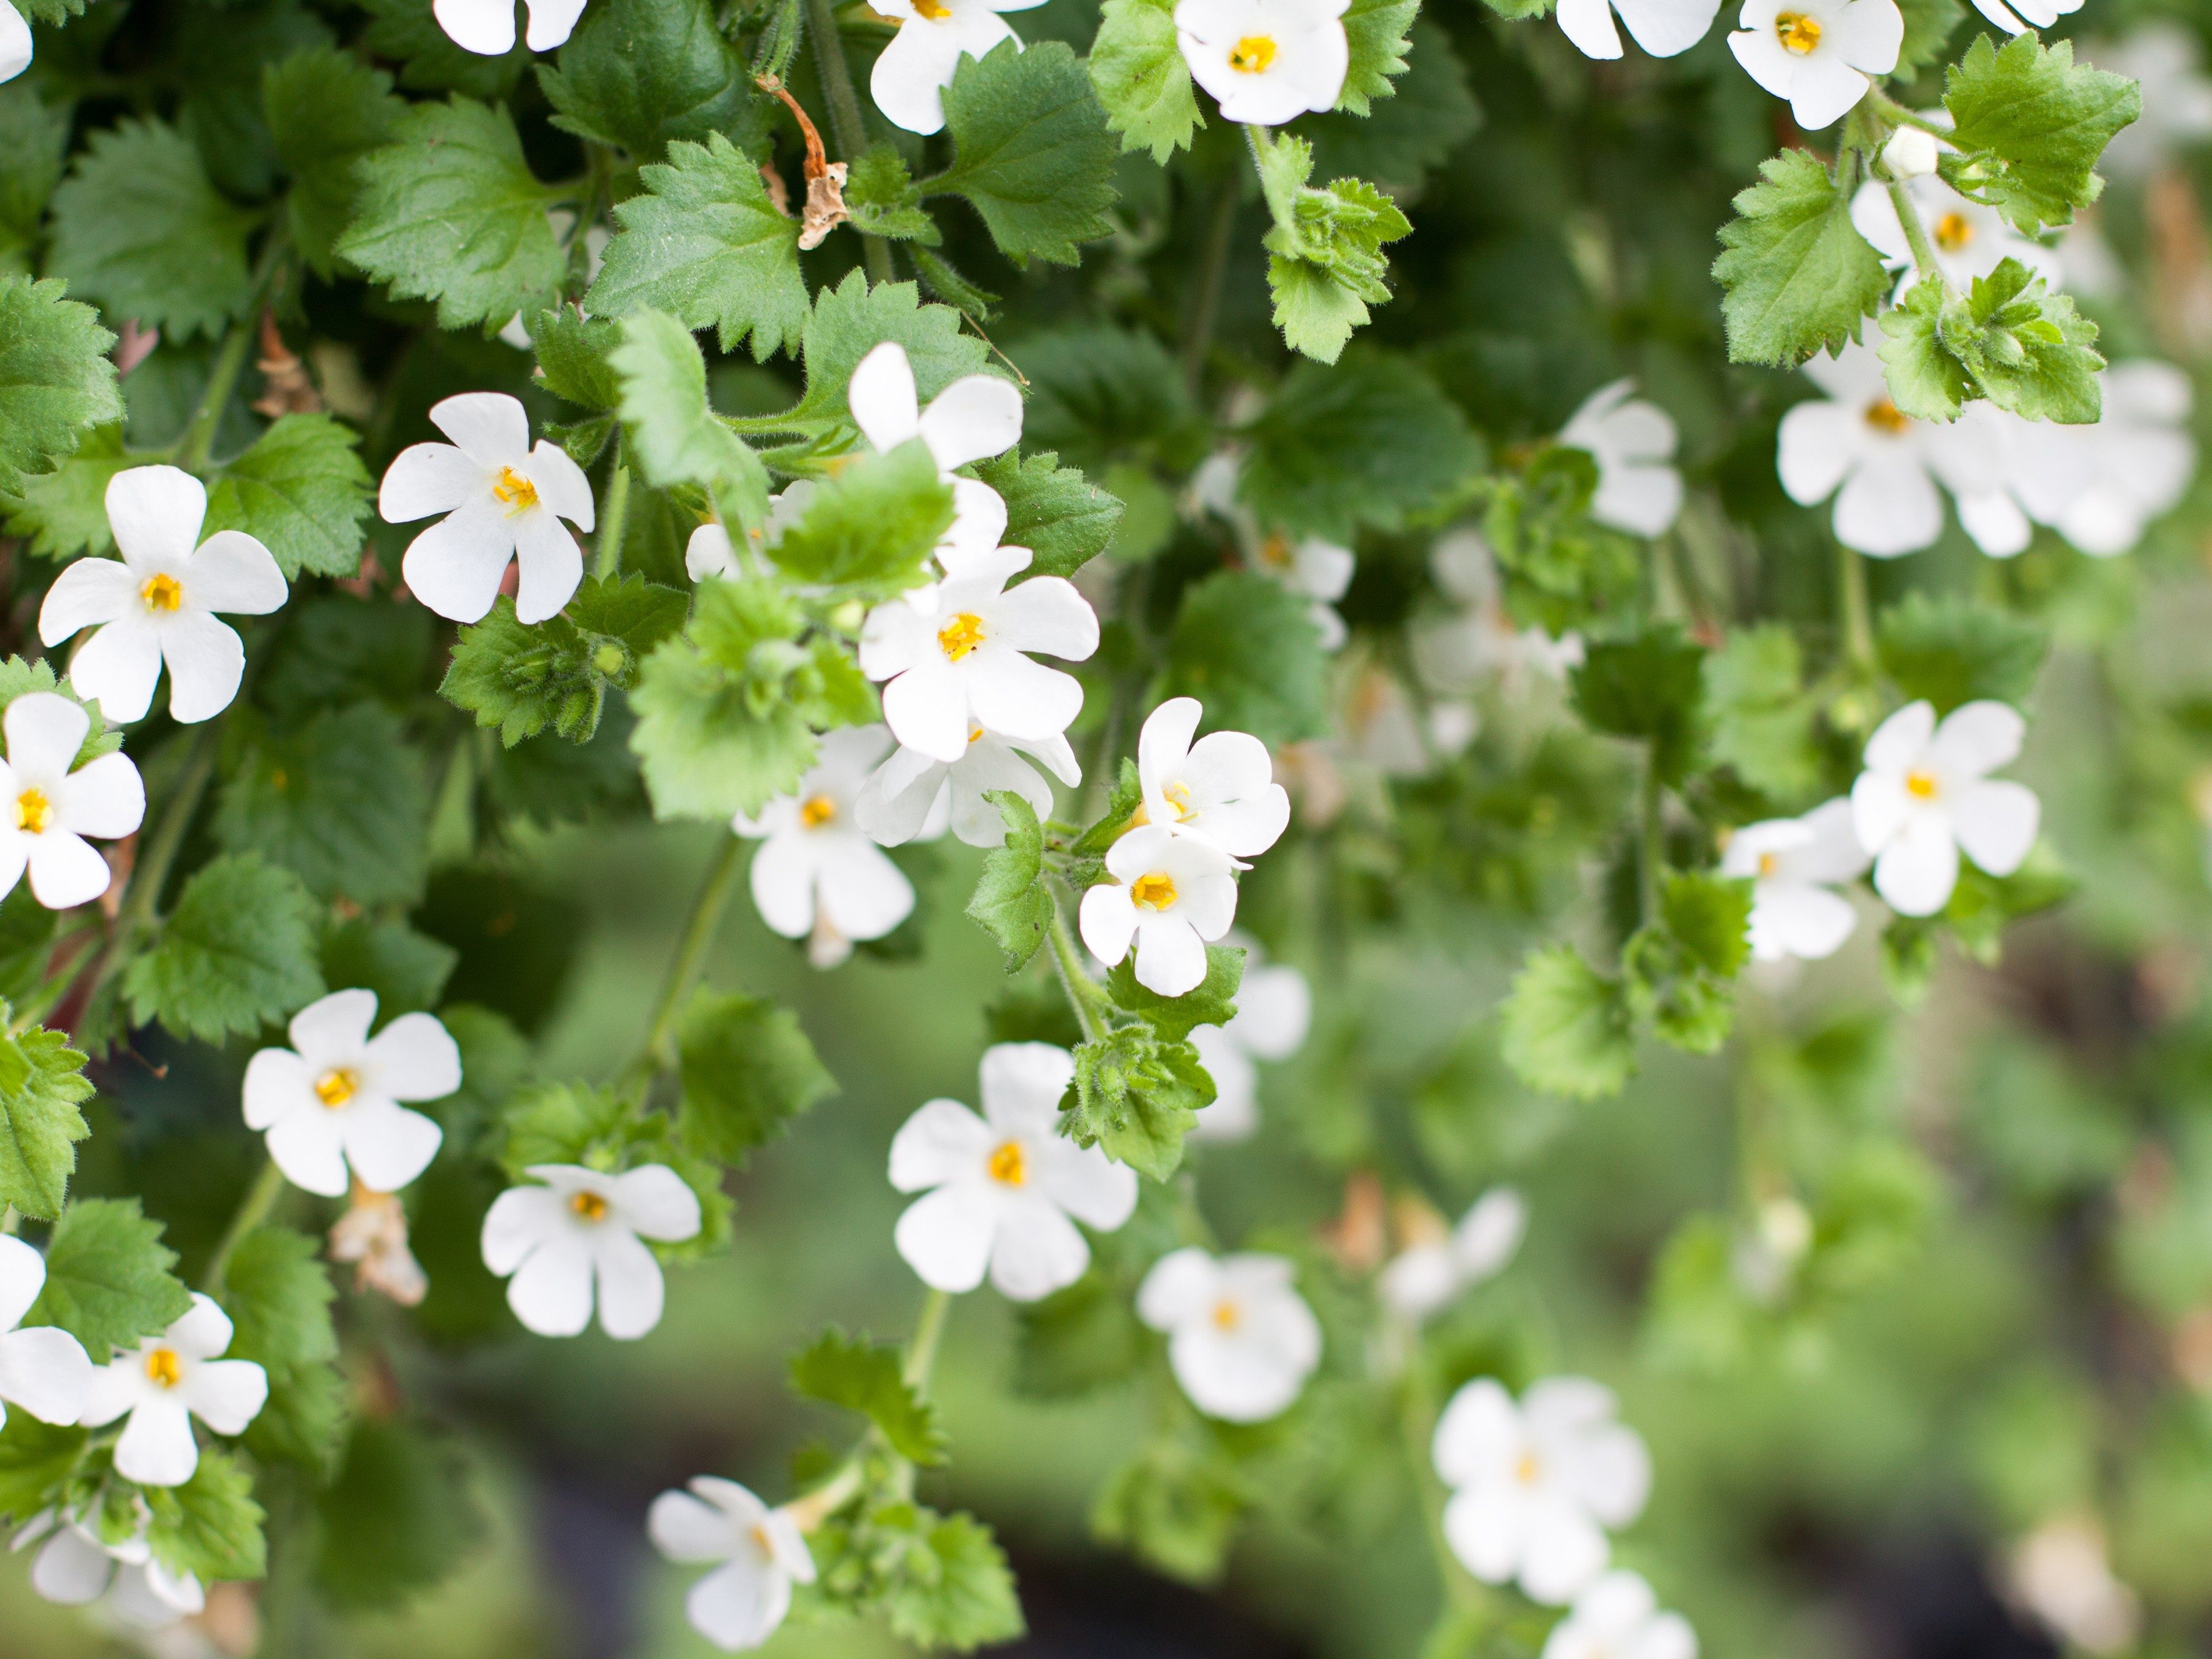
2. Bacopa
This is a graceful, compact annual, perfect for the ‘spilling over the edges of a container’ effect. Its foliage is strewn with petite white or lavender flowers. Once established it will flower until a hard frost. There are several cultivars available with variegated foliage, and all will grow well in sun to partial shade.
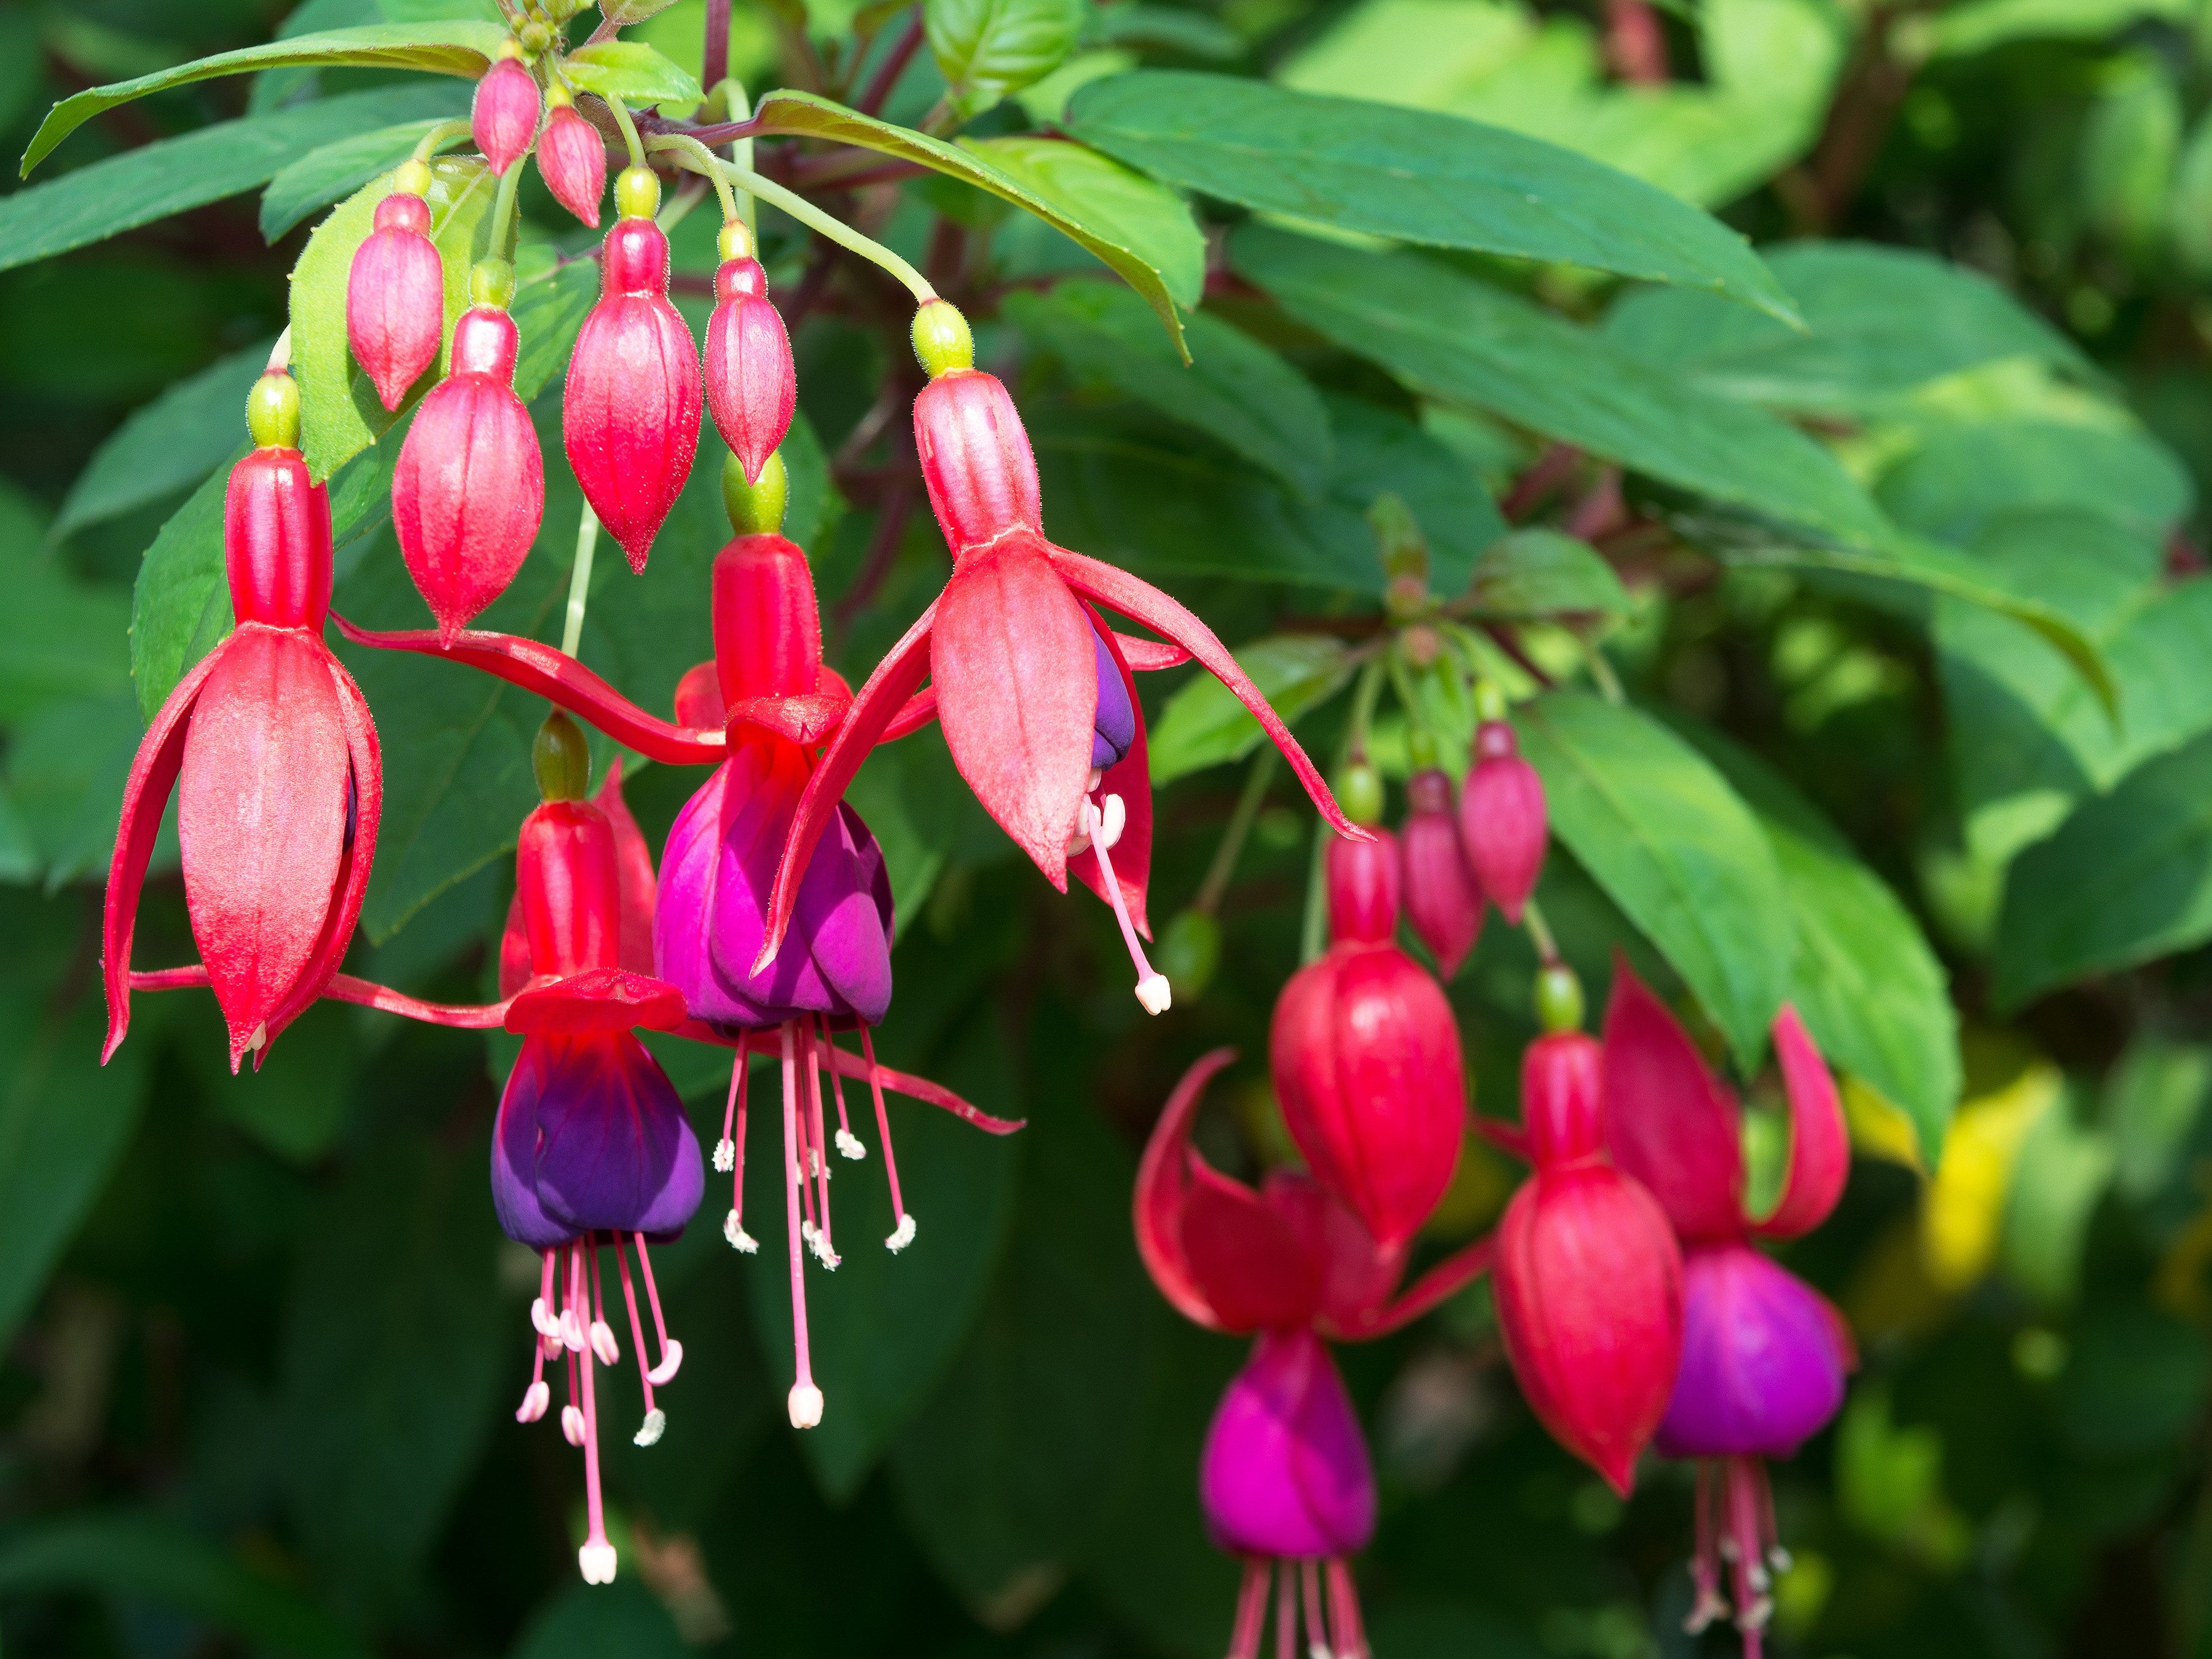
3. Fuchsia
A staple of hanging containers and other planters for many years, fuchsia is a hummingbird magnet. It boasts pendulous, bell-shaped flowers in rich shades of rose, cream and purple. The flowers are often bicolour. These plants do best in partial shade, as they don’t like overly hot growing conditions. If your climate is very warm, provide protection from the sun from midday onwards to keep your fuchsias happy. Deadheading spent flowers will prolong the bloom period until frost, especially if you fertilize every two to four weeks with a water-soluble fertilizer.
4. Calibrachoa
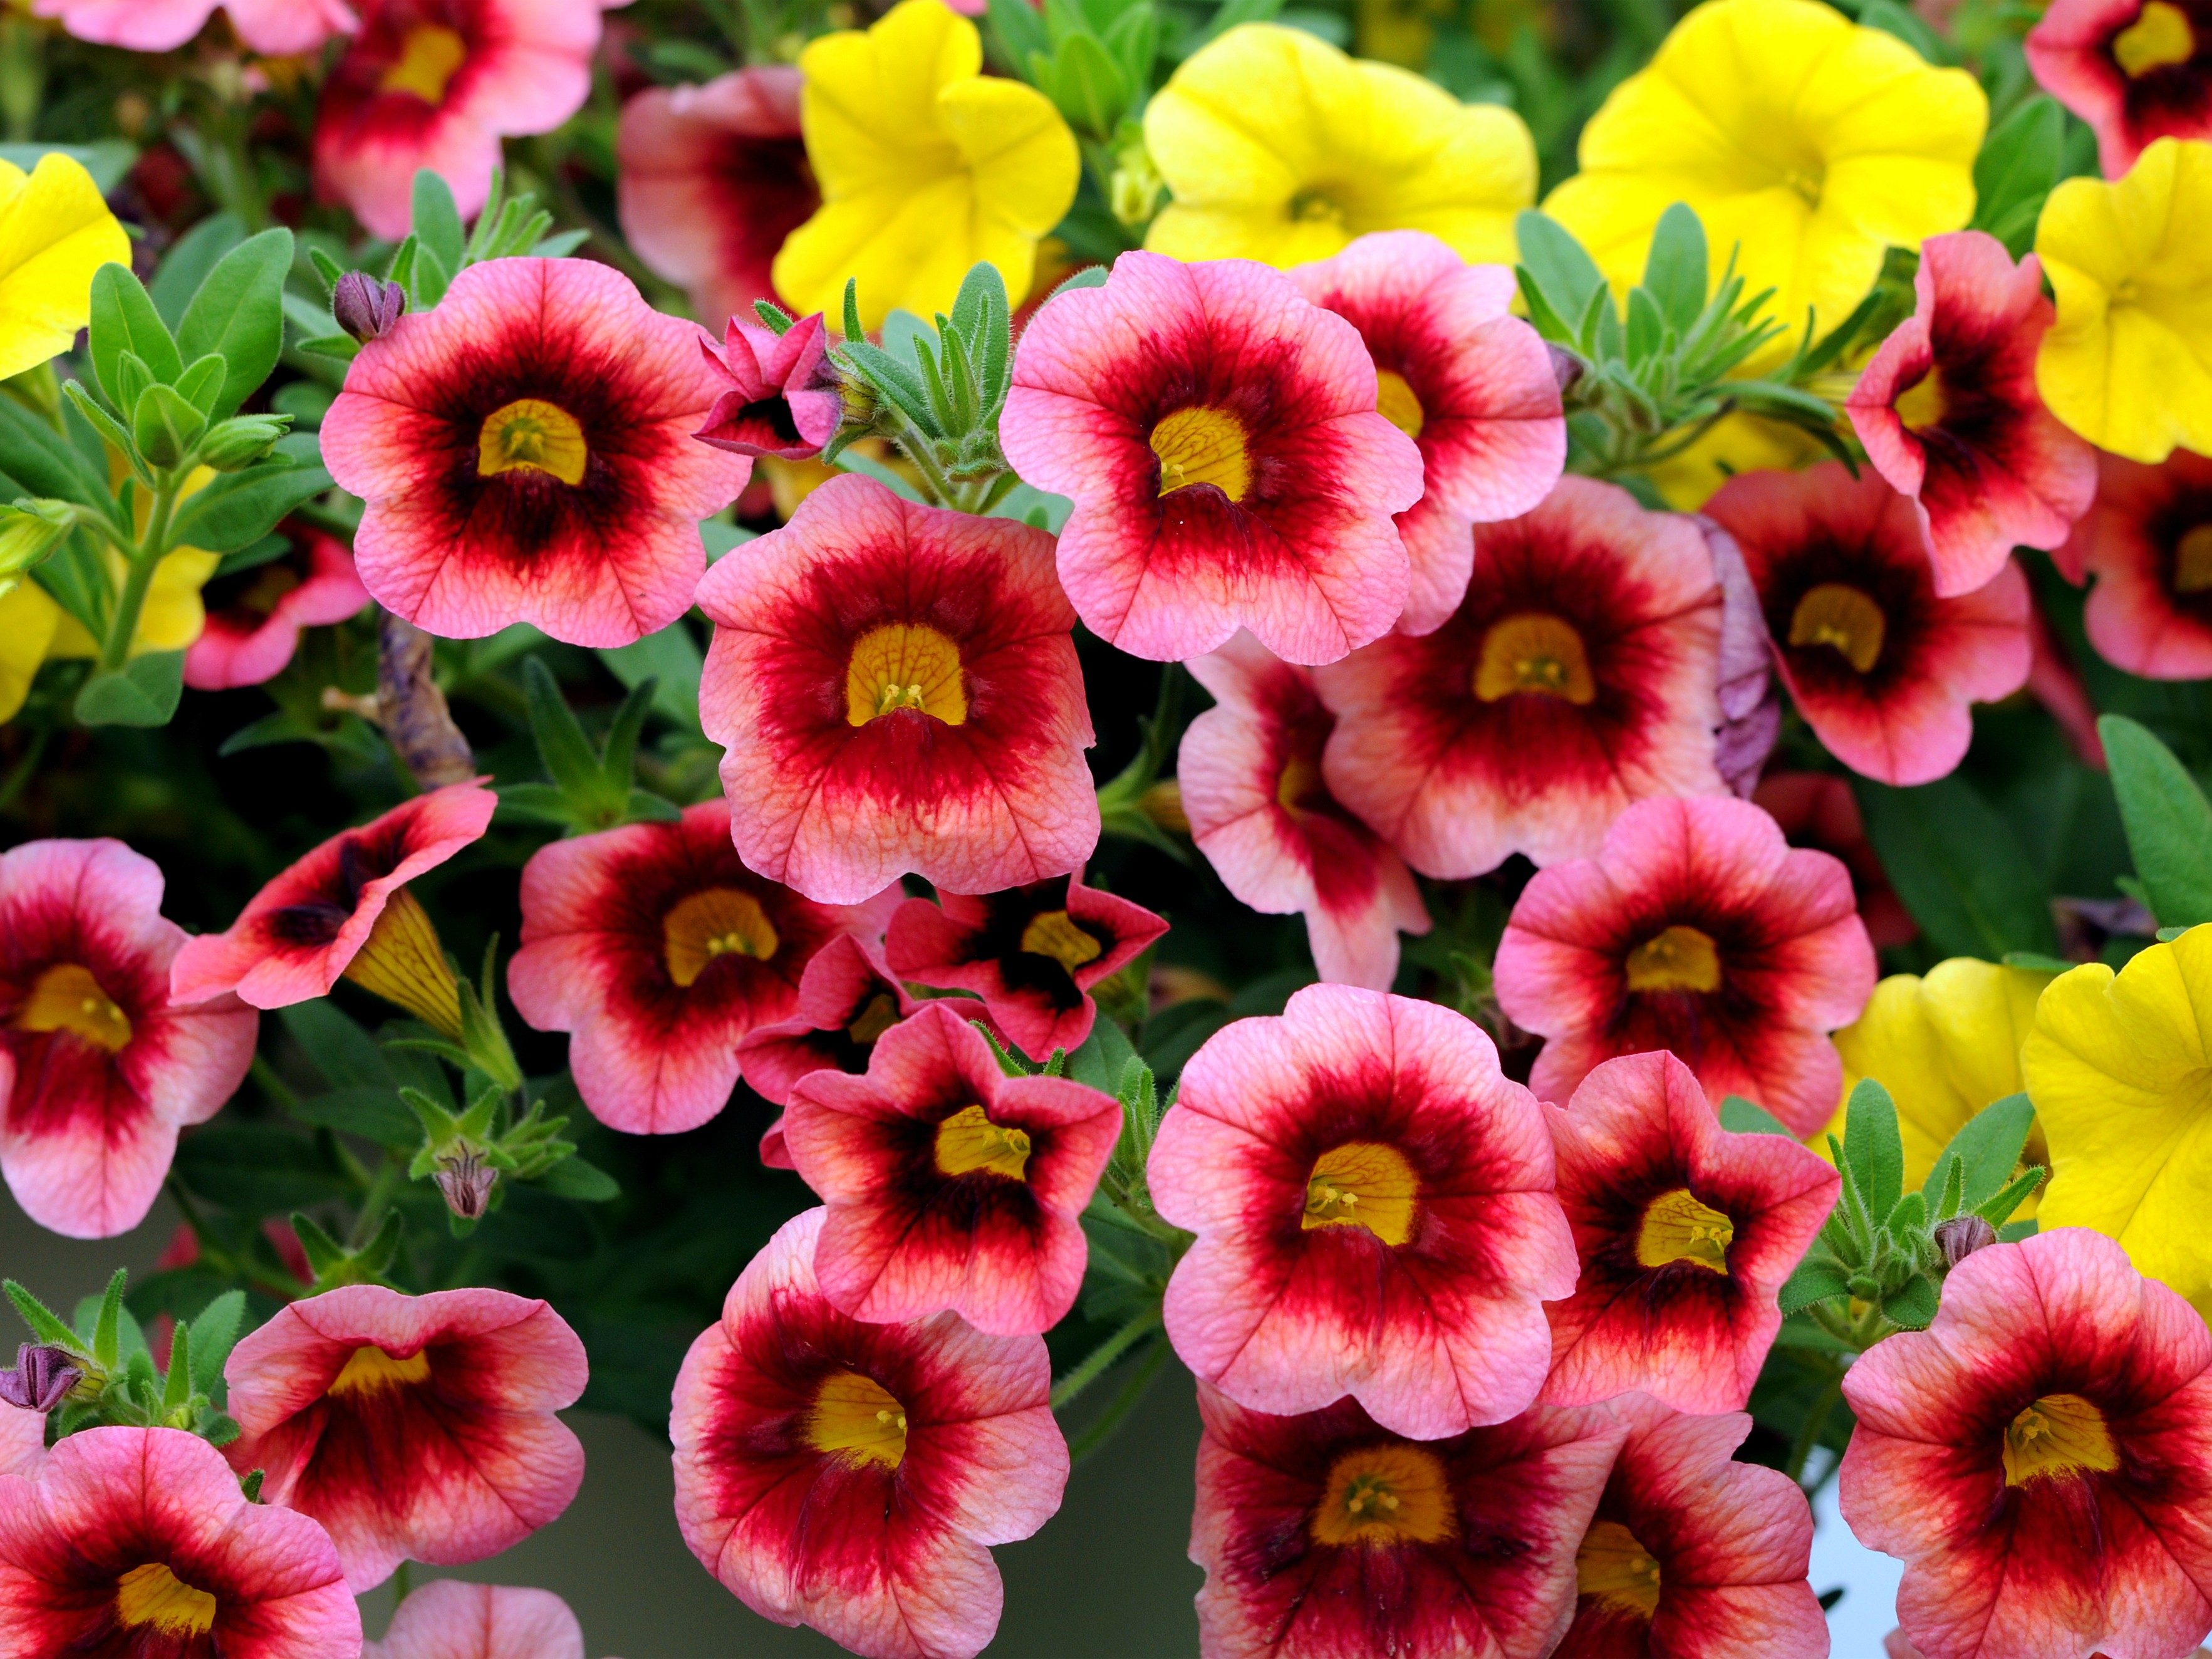
Sometimes called callies, trailing petunia or million-bells, these relations of petunias have become a staple of many container plantings because they’re so easy to care for. Unlike petunias, you don’t need to deadhead callies to keep them flowering, as they drop their spent flowers and bloom until frost. There’s a veritable rainbow of flower colours: rose, red, orange, yellow, bronze, violet, purple, and many bicolours. Callies will grow well in full sun, and don’t collapse in high heat conditions as long as they are well watered.
5. Ageratum
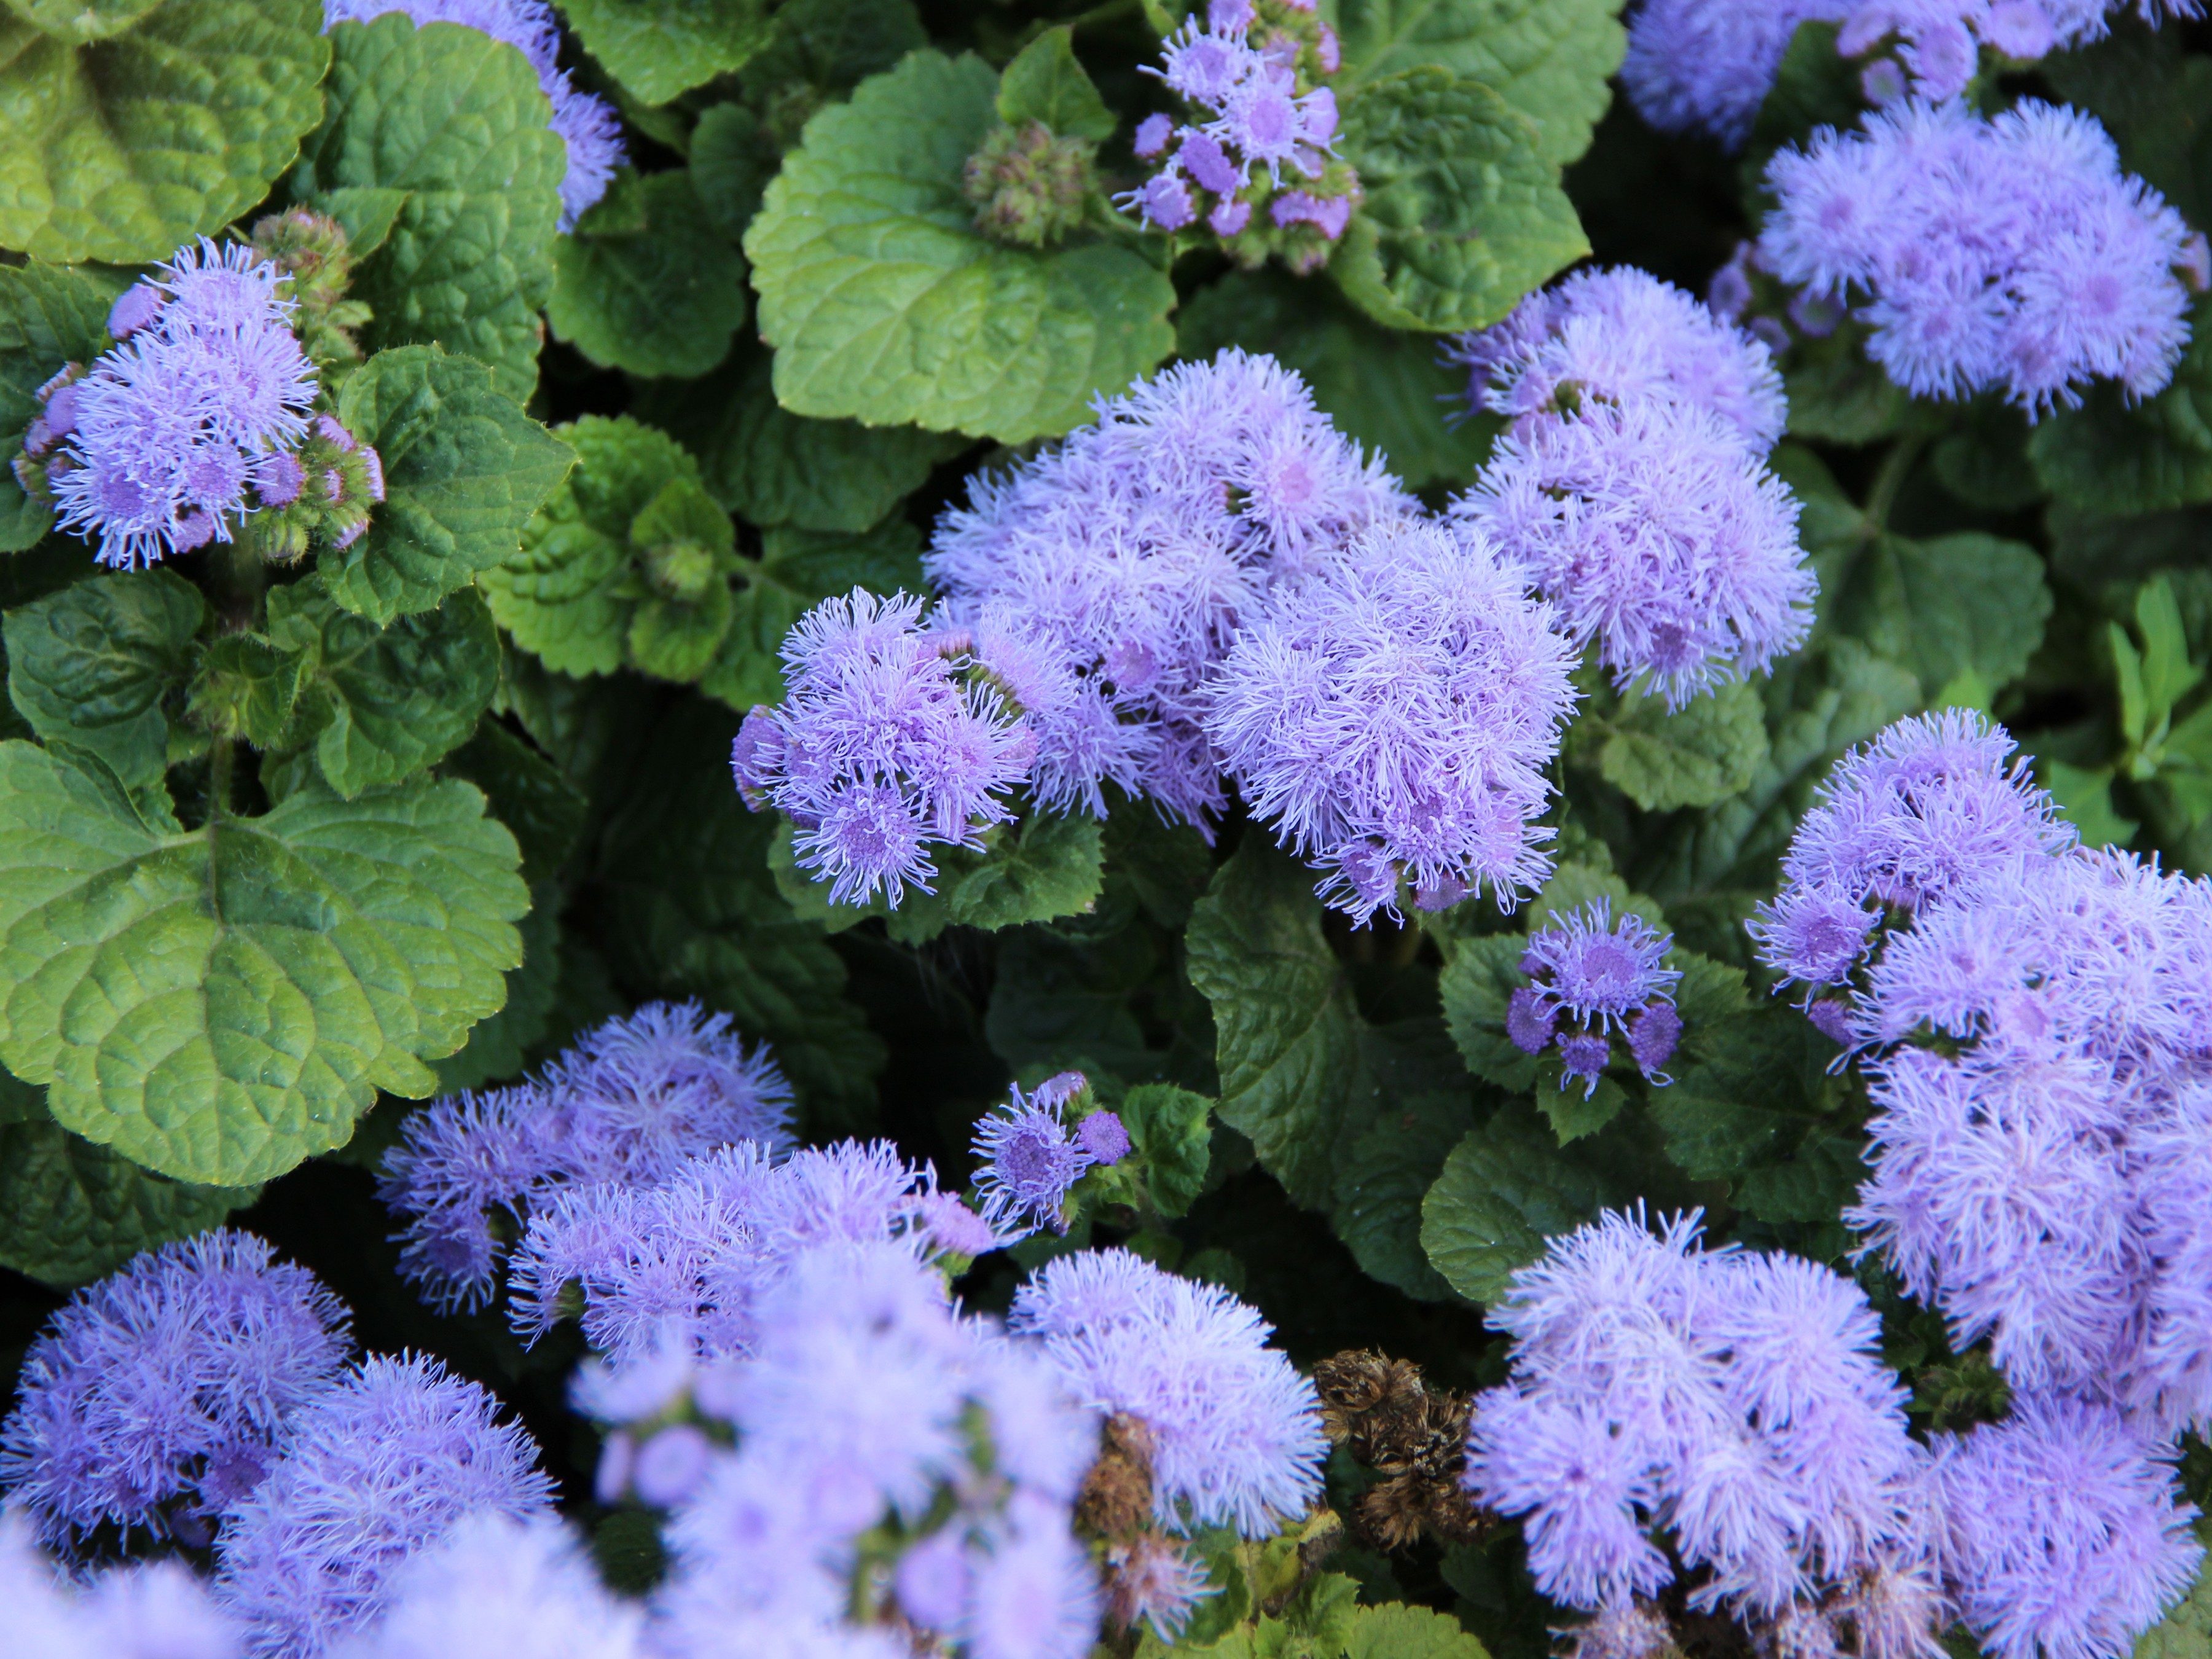
Sometimes called Floss flower, ageratum produces clusters of tuft-like flowers in blue, violet, white, or burgundy (a newer colour introduction in the past few years). Well suited to full sun or partial shade, most varieties are less than 12 inches tall, making them great candidates for window boxes or fillers in larger containers. If you find your ageratum becoming untidy, cut back your plant to a third of its height every couple of weeks. This will generate sturdy new shoot growth and plenty of new flowers.
6. Osteospermum
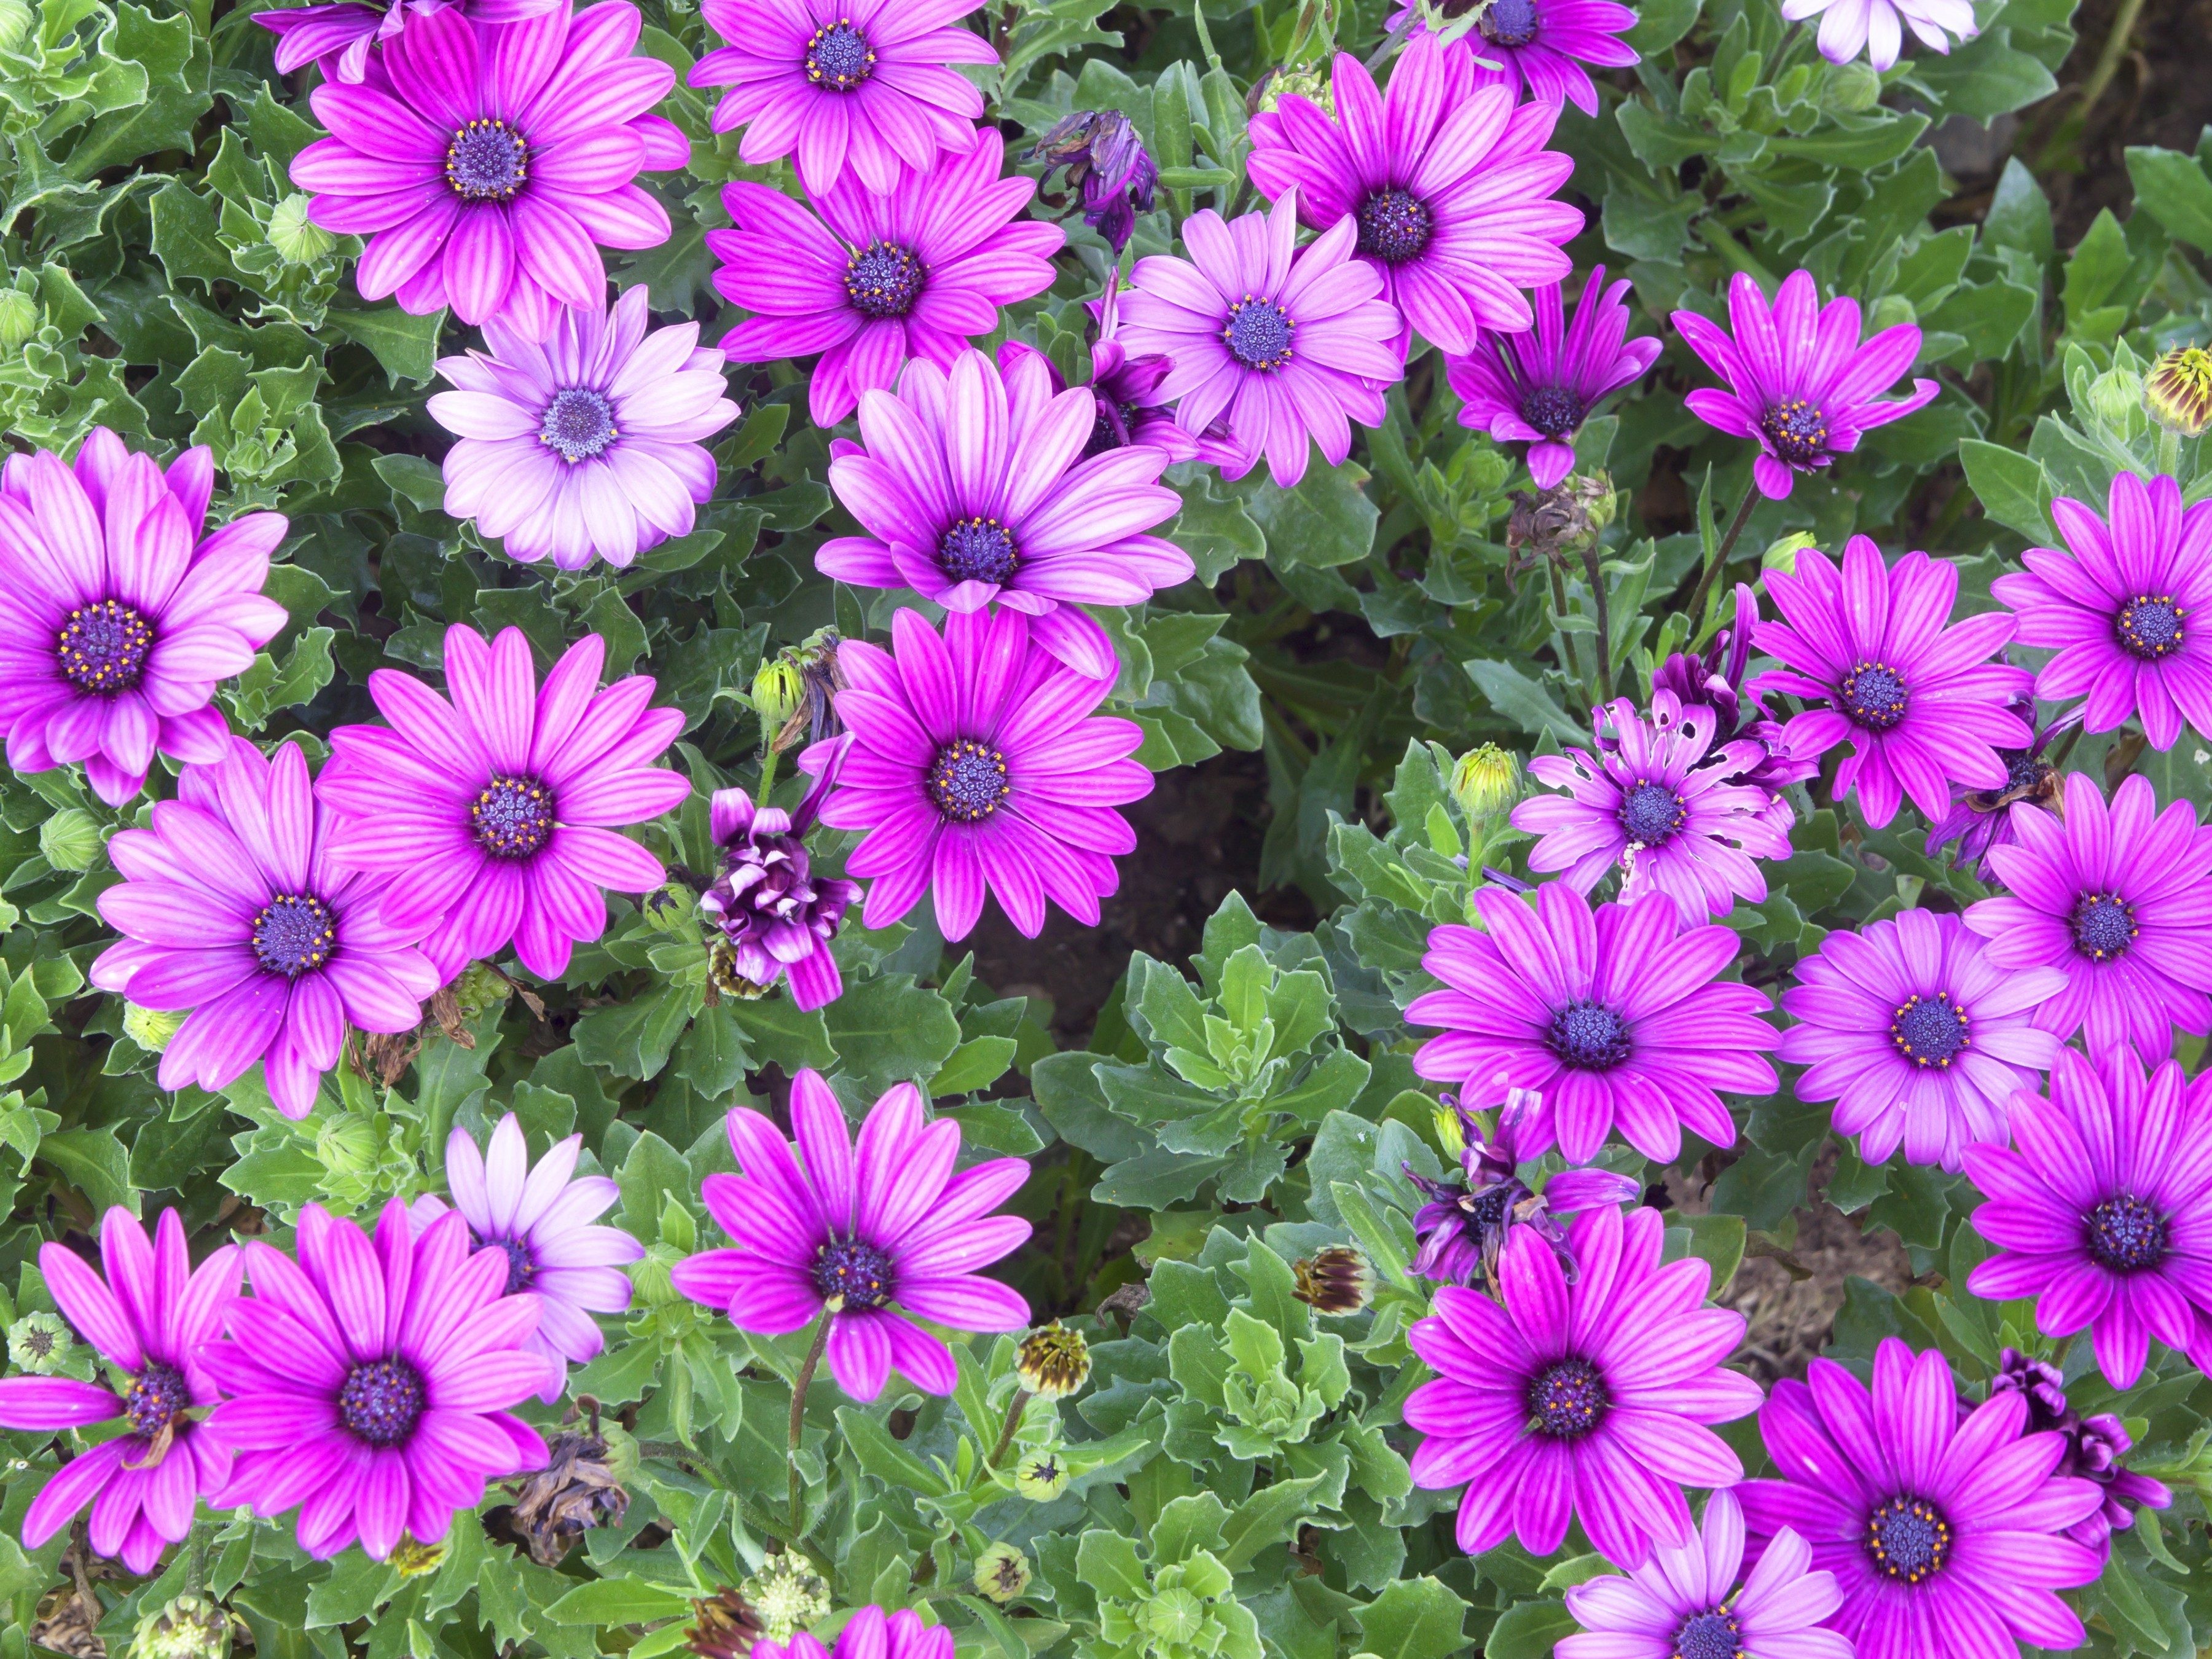
If you have a nice sunny spot, you can easily grow Osteospermums, a type of African daisy. Once established, they will bloom until frost with regular deadheading. They come in a rainbow of colours from soft yellow and peach to deep purple, with some blended colours in newer varieties. If you’re looking for something a little different, one specialized line of osteospermums has petals that are spoon-shaped instead of the standard daisy shape.
7. Nemesia
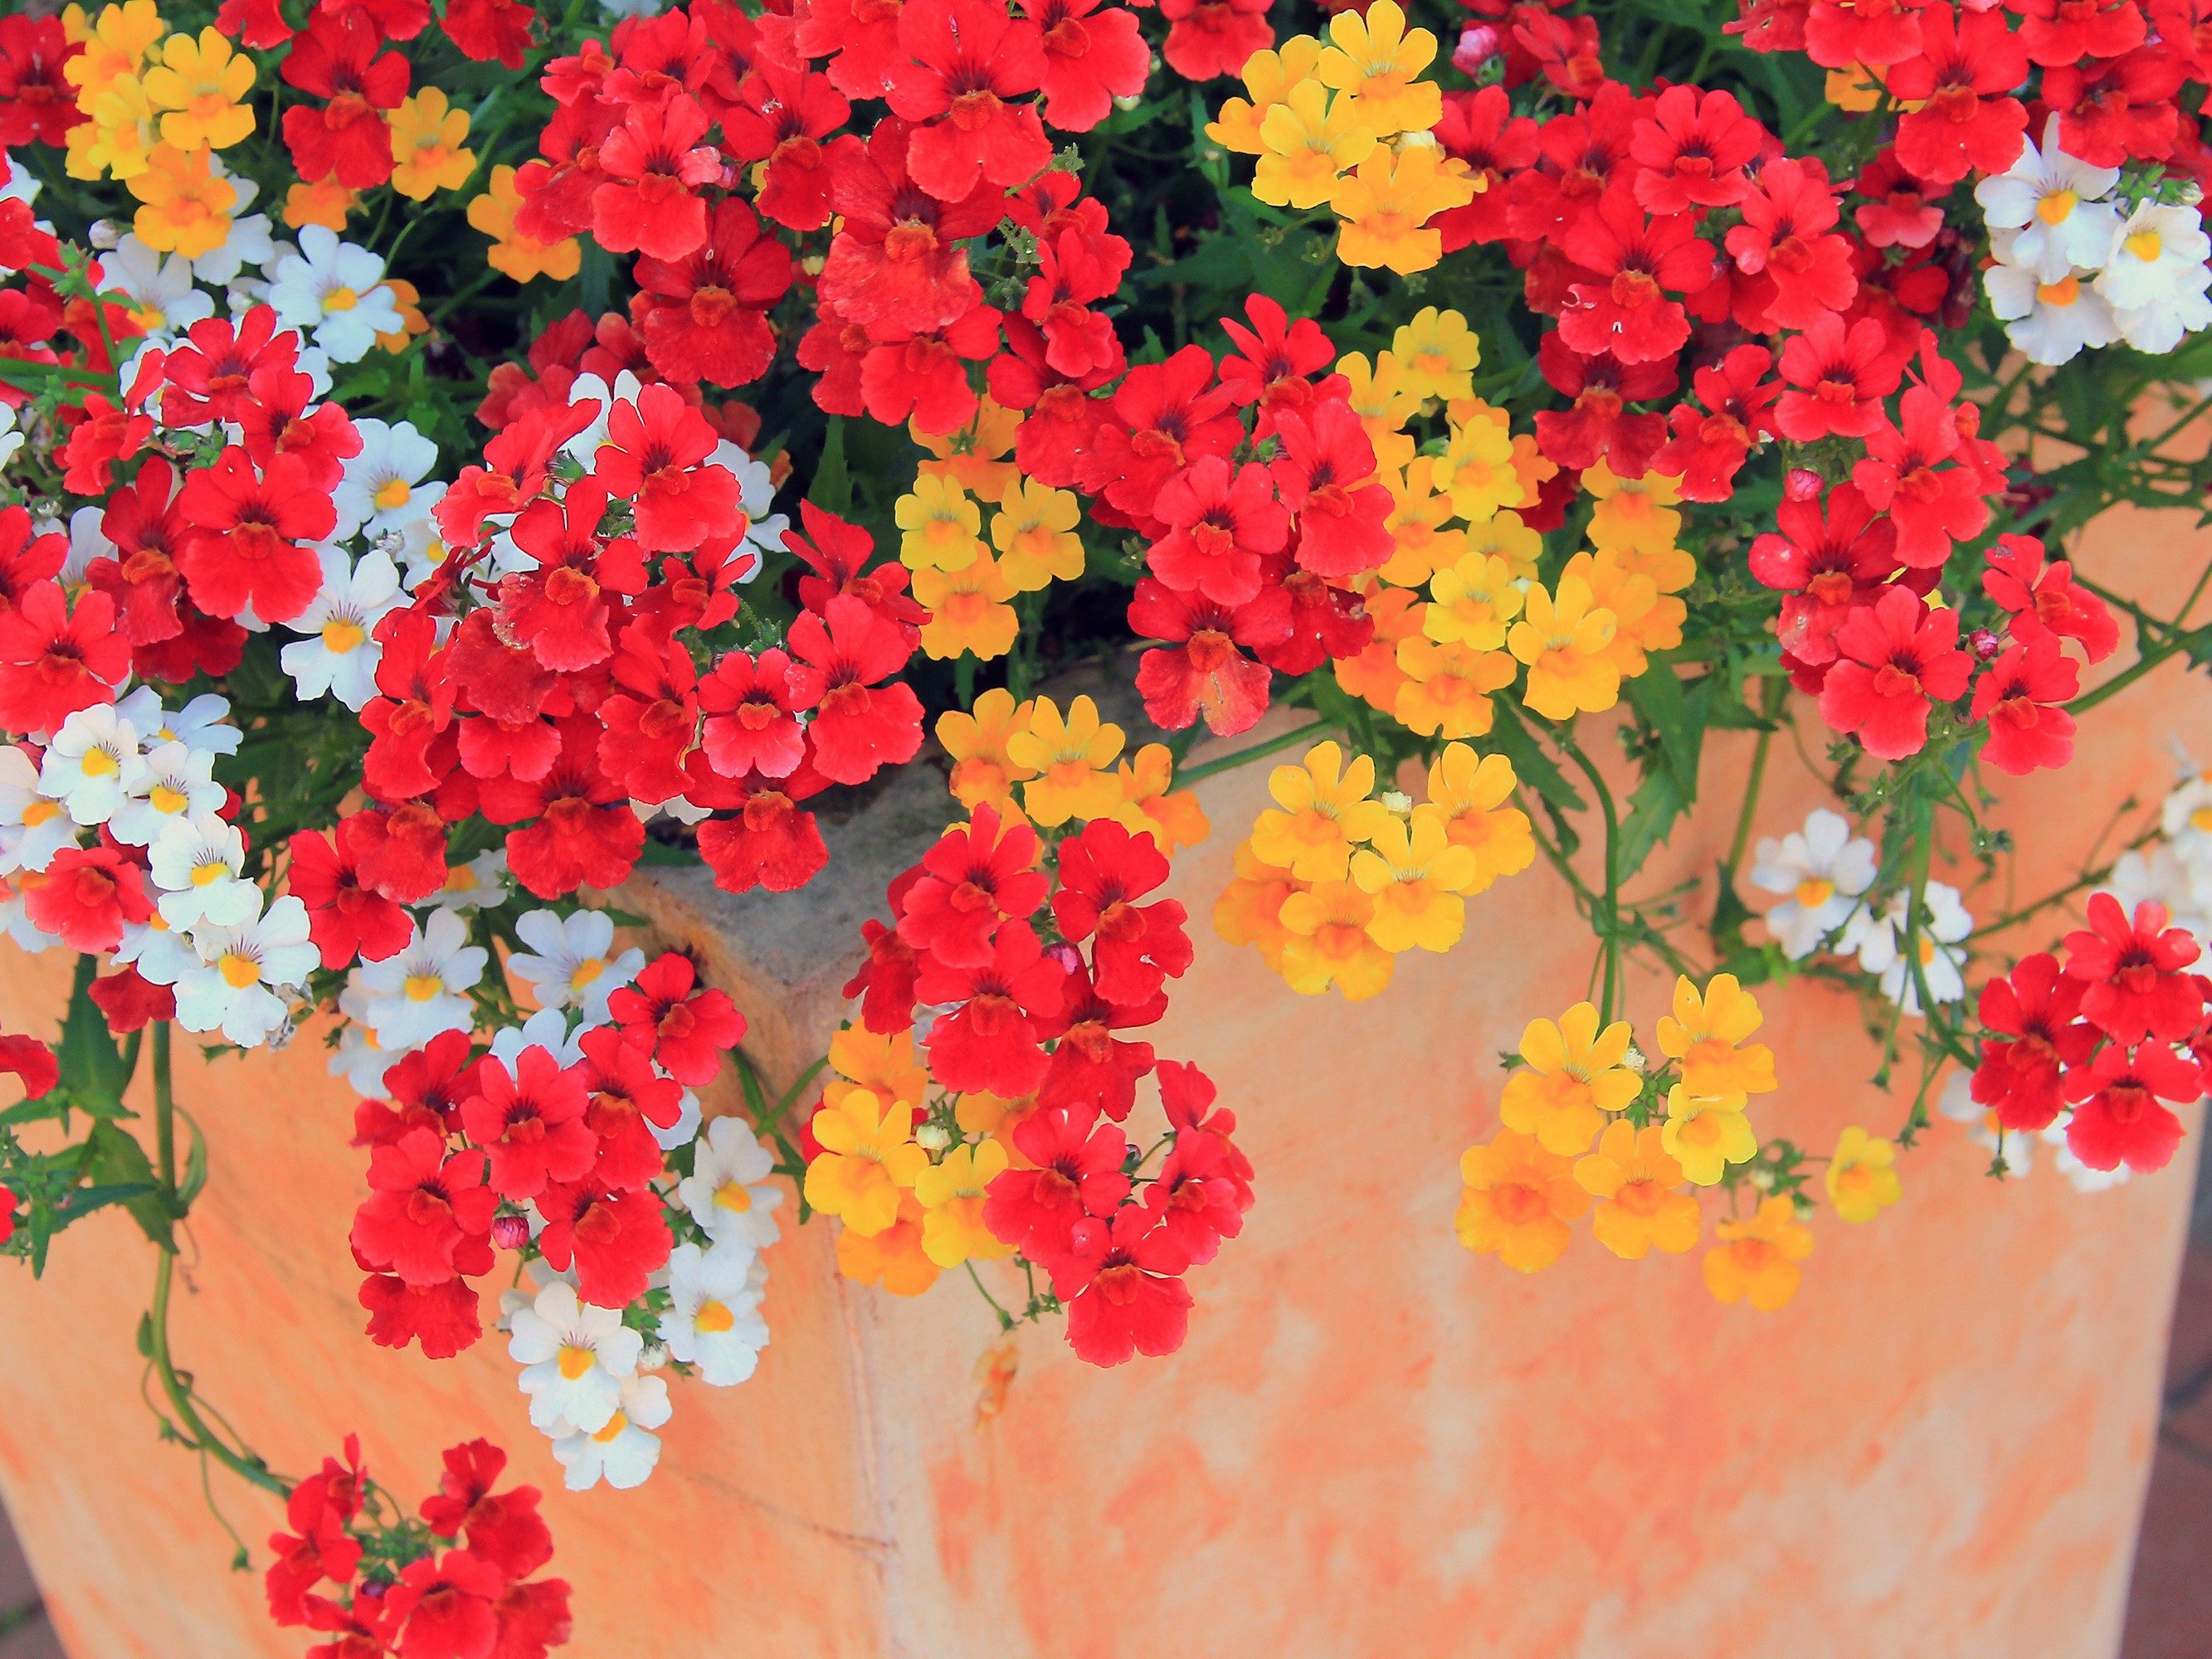
An ideal annual for sunny containers providing you keep it well watered, nemesia grows less than a foot tall and is a great filler plant because it bushes out well. This plant has many shoots bearing sprays of delicate flowers in a rainbow of shades and colour combinations. Nemesia grows easily from seed. You can also purchase the specialty cultivars to get unusual colour combinations. Some varieties are fragrant, which makes them a great choice to for containers on decks or along walkways where everyone can enjoy their scent.
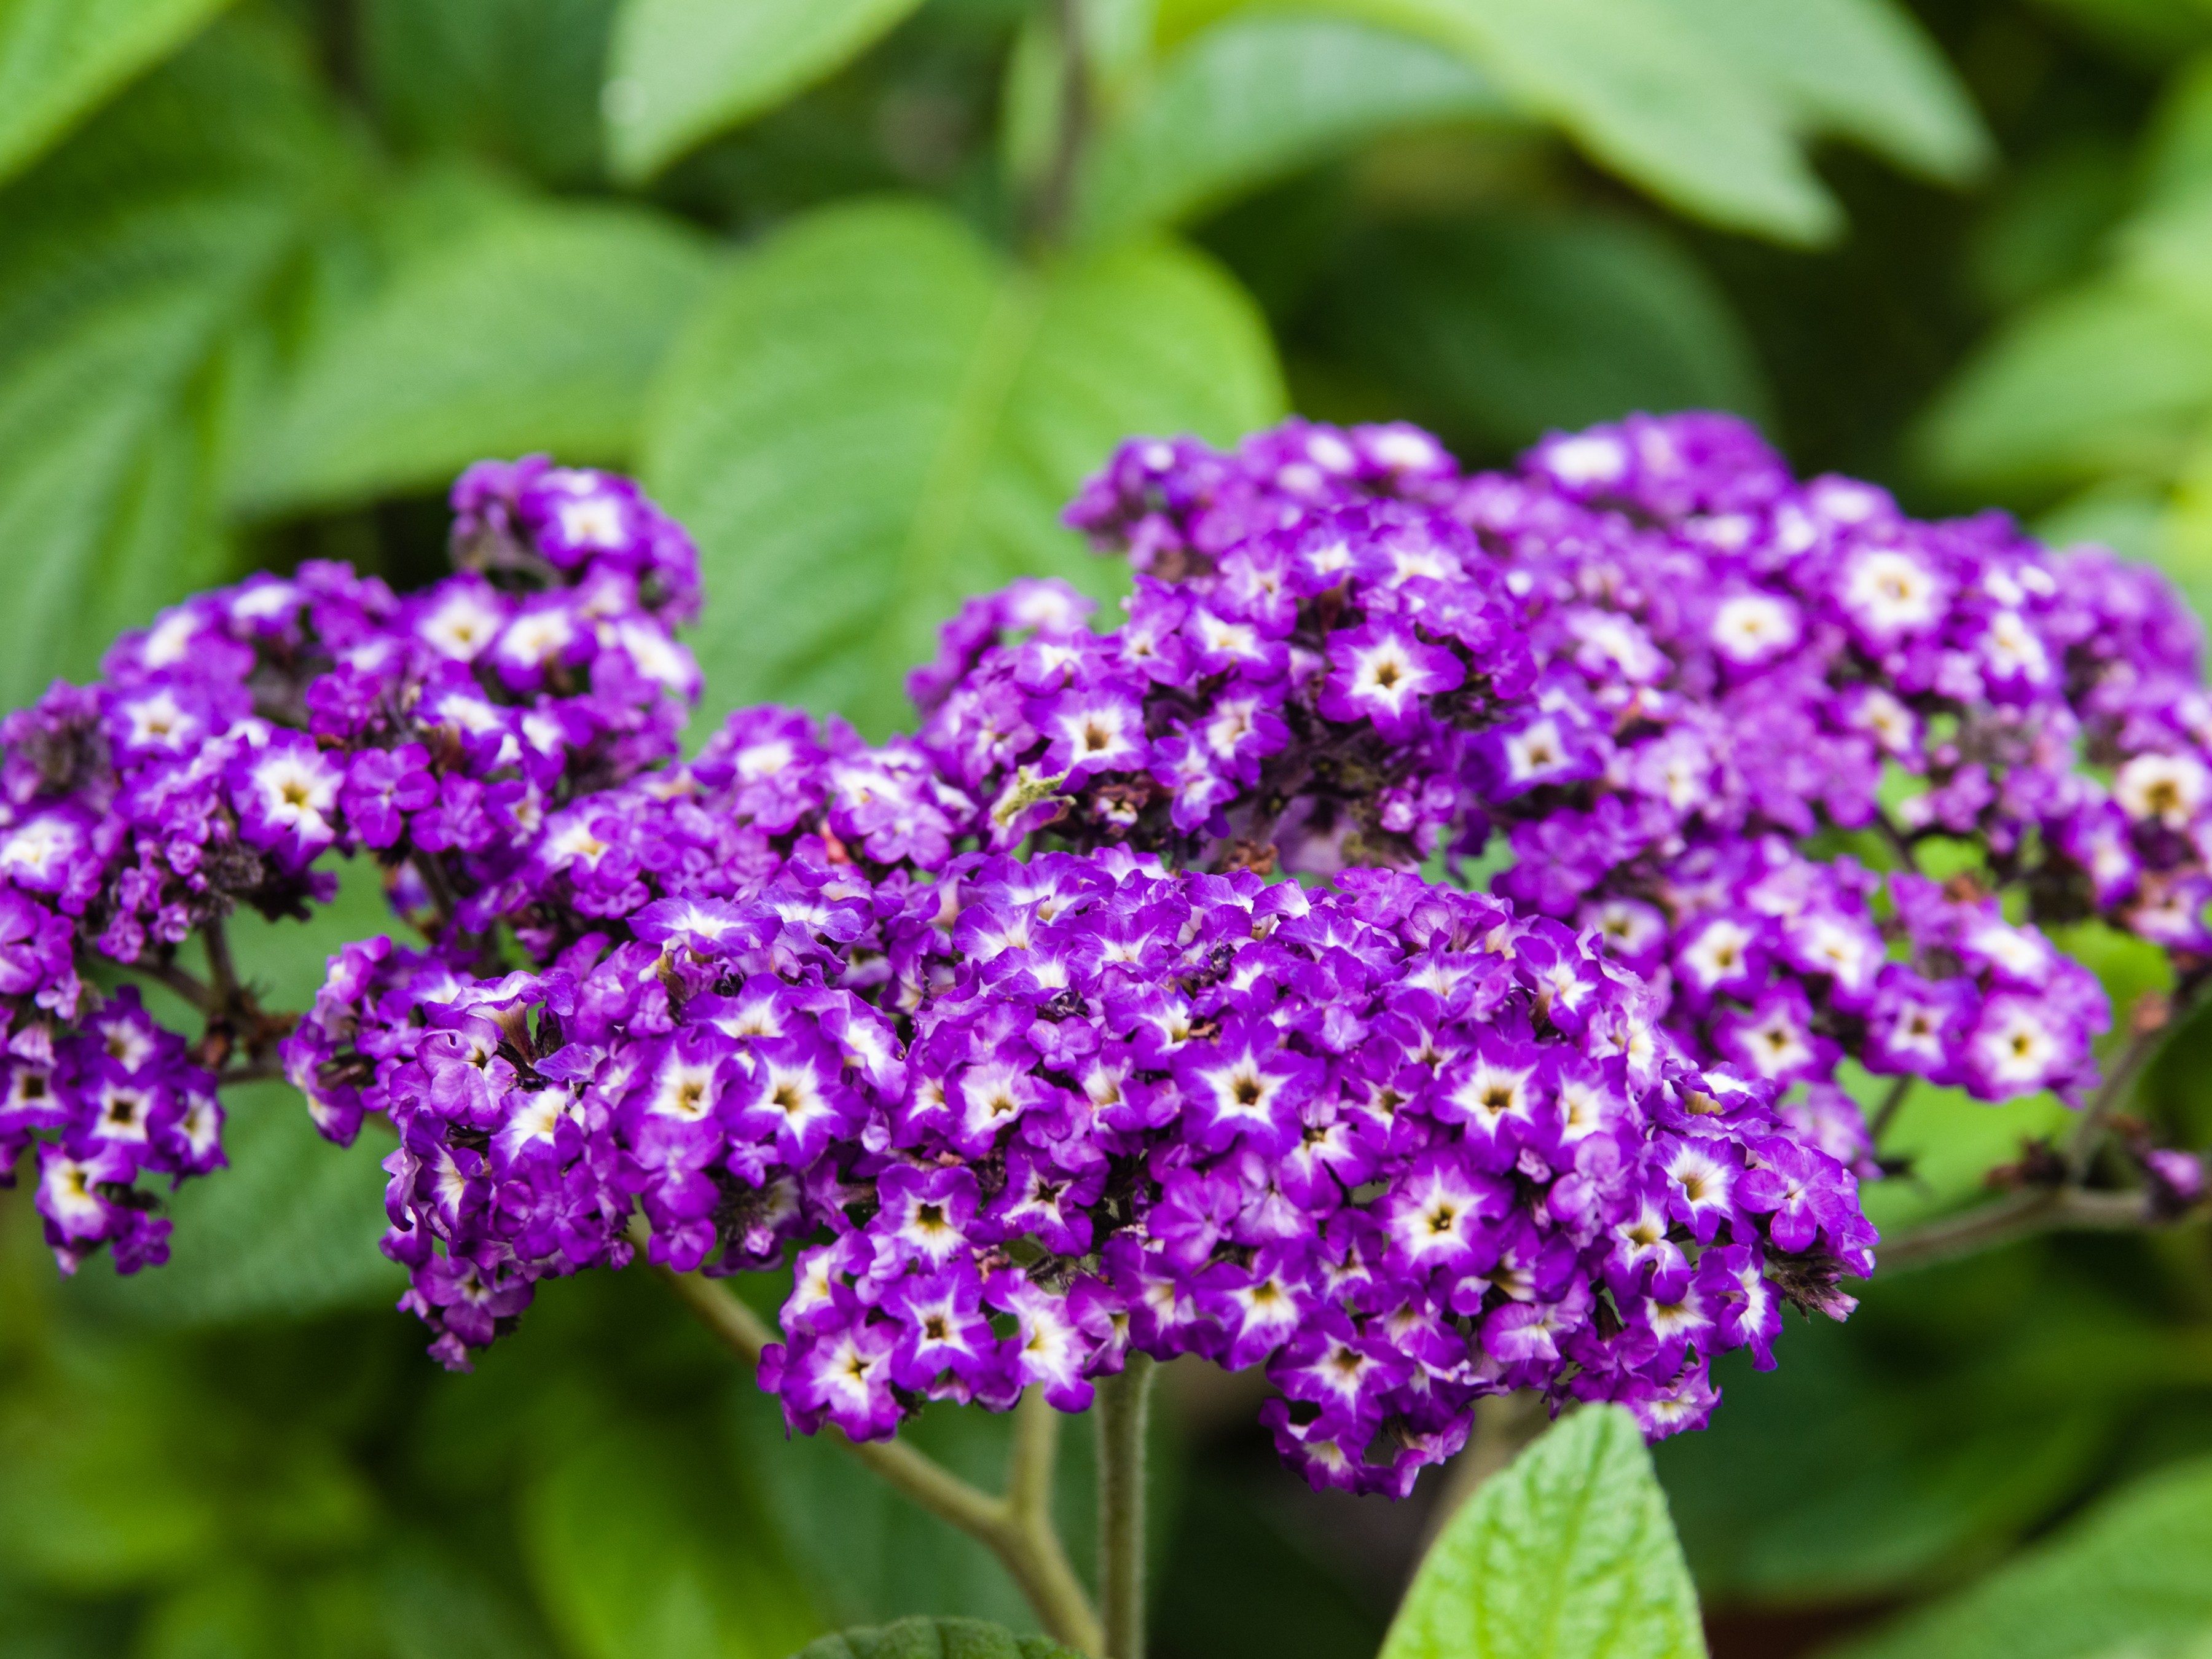
8. Heliotrope
If you love scented plants, you’ll adore heliotrope. Its fragrance ranges from a light baby powder scent, to sweeter smells like cream soda, vanilla, or cherry pie. The plant’s glossy, deep green foliage is topped by clusters of tiny florets in dark purple, or (less commonly) white. This compact (15 inch maximum) annual resents soil that is too dry, and will be chilled by cool nights, so keep it well watered and don’t plant it outdoors too early in the spring
BY JODI DELONG
Posted in Best of the Best
Tags: 2018, Old Fashioned Mom People, Magazine Company, Magazine, Old Fashioned Mom Advice, Old Fashioned Mom, New York, Coffee Distributor, Flowers, Global Company, High Society, Best Flowers for planters, Luxury Living, Hudson Valley, London, Old Fashioned Mom Coffee, Old Fashioned Mom Dining, Old Fashioned Mom International Company, Old Fashioned Mom Real Estate, Old Fashioned Mom Places, Old Fashioned Mom Daily News, Old Fashioned Mom Things, Old Fashioned Mom Events, Top Percent, Summer, World, Wealthy, Old Fashioned Mom Show, Old Fashioned Mom Travel, Michelle-Marie Heinemann, Palm Beach, Old Fashioned Mom Magazine, New York City

Mowing Your Lawn Every Week? Stop Right Now.
We get it—there’s nothing as satisfying as looking out at a freshly mowed lawn on a summer’s day. Mowing your lawn means keeping those weeds and wildflowers tame around your landscape, which probably seems like a problem that needs to be dealt with frequently. However, you may want to consider letting those wildflowers and weeds grow just a bit for the bees.
Yes, bees. By mowing your lawn every week, you are leaving no life for bees to feed on. Now maybe this doesn’t seem like a huge problem, because who would want bees on their lawn? They are even more annoying than those weeds and wildflowers, so mowing your lawn consistently seems like the ultimate solution. However, if you keep a garden (or care about the growth of vegetables and fruit), you need to feed the bees. (Check out these simple tips for growing a vegetable garden anywhere.)
Bees are natural pollinators, which help the growth of your plants. By having plants to feed on, they can cross-pollinate and help to naturally fertilize your plants. This is especially crucial for the growth of vegetables and fruit. According to an article published by the National Resources Defense Council (NRDC) in March of 2011, cross-pollination helps at least 30 per cent of the world’s crops to grow, and 90 per cent of wild plants. Without bees, these plants wouldn’t thrive or could even die off completely. (These 19 gardening shortcuts save time and money.)
In 2007, beekeepers were seeing cases of colony collapse disorder (CCD) where honeybees were leaving their colonies for good. Typically worker bees don’t leave their colonies unless a queen leaves the hive and brings along bees with her. The fact that bees are leaving can happen for numerous reasons, but not having enough food or water is certainly one of them.
Now maybe you hate bees and don’t really care about them thriving at all, but if you care about your garden, you would consider mowing your lawn at least every other week so the bees have something to feed on (and use to pollinate your precious plants).
BY THE EDITORS OF THE FAMILY HANDYMAN, FAMILYHANDYMAN.COM
Posted in Advice
Tags: Old Fashioned Mom International Company, Old Fashioned Mom People, Magazine, Magazine Company, Old Fashioned Mom Advice, Old Fashioned Mom, New York, Coffee Distributor, Global Company, High Society, 2018, Luxury Living, London, Hudson Valley, Old Fashioned Mom Coffee, Old Fashioned Mom Things, Old Fashioned Mom Places, Old Fashioned Mom Daily News, Old Fashioned Mom Events, Old Fashioned Mom Dining, Top Percent, Summer, Wealthy, World, Old Fashioned Mom Show, Old Fashioned Mom Real Estate, Old Fashioned Mom Travel, Michelle-Marie Heinemann, Palm Beach, Old Fashioned Mom Magazine, New York City
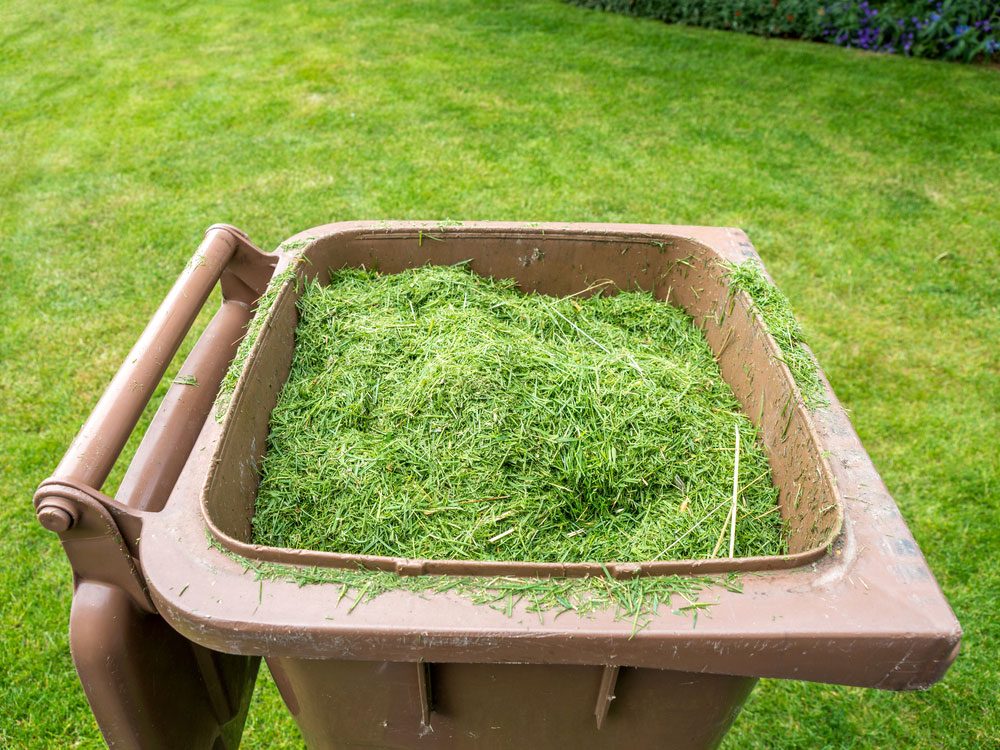
Don’t remove grass clippings
Leaving grass clippings on the lawn after you mow can cause thatch problems, right? Nope! That’s a myth. Turns out, grass clippings can actually help with the overall health of your lawn. And (bonus!) that means less work for you when you mow.
Don’t skip aerating
Most lawns, whether seeded or sodded, are planted over a fairly skimpy layer of topsoil. Over time, lawn mowers, pets, and pick-up football games compact the soil, making it difficult for air, water, and vital nutrients to penetrate to the grassroots. Your challenge: to restore healthy soil conditions that nurture your lawn. To loosen and aerate the soil, rent a power core aerator. They’re available at rental centres, plus some hardware stores and garden centres.
We’ll walk you through how to properly maintain your lawn here.
Don’t use a dull mower blade
Dull mower blades rip through the grass blades instead of slicing them cleanly, and that stresses the plant. You can always tell a lawn that’s been mowed with a dull blade because it looks brown on the top. Get on your hands and knees and you can actually see the damage. Be sure to sharpen your mower blade each season to keep your lawn in good shape.
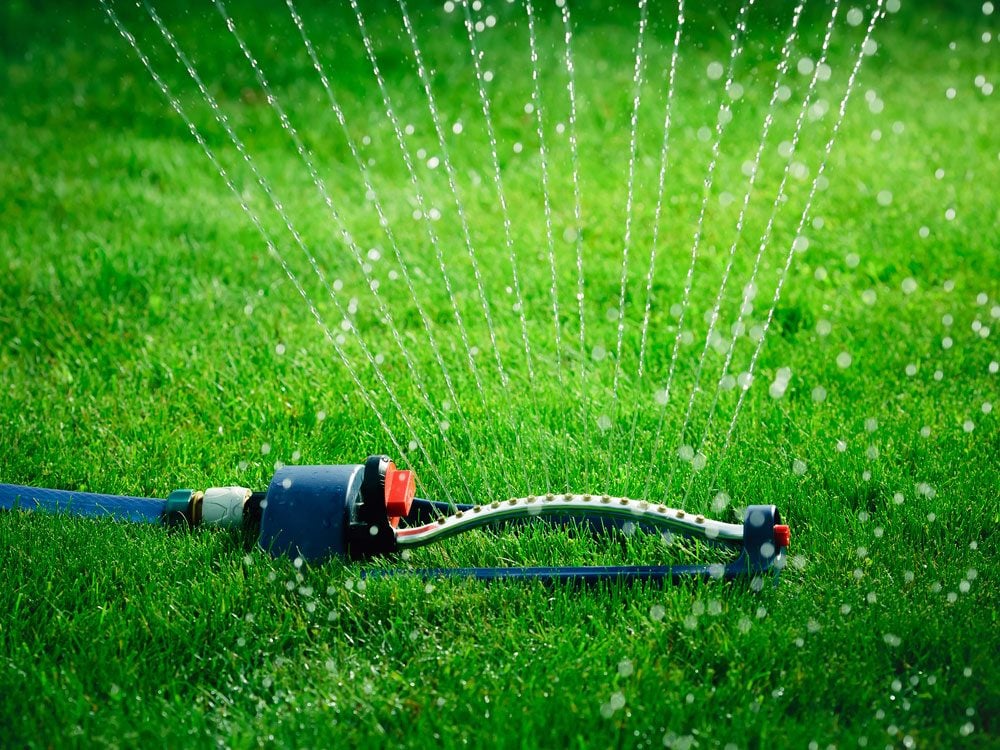
Don’t water every day
Did you know your lawn can actually get dependent and needy if it has too much water? Instead of watering every day for 15 minutes, choose one day a week to water the lawn for an entire hour. Your lawn will be watered deeply, and it will be healthier and more drought-tolerant.
Don’t forget to dethatch
Thatch is a layer of slowly decomposing grass stems, roots, clippings, and debris that accumulate at the soil surface over time. It can build up in your lawn and virtually choke it to death. Excessive thatch buildup is commonly found in lawns that have been overfertilized or overwatered and have never been aerated. Thatch buildup of 3/4 in. or more will restrict water and nutrient penetration into the soil (think thatched roof) and can harbour disease organisms that can increase the need for pesticides. Slice open a section of turf. If the thatch is more than 3/4 in. thick, take action.
Don’t miss these seven secrets for a greener lawn.
Don’t give up on shady areas
Growing grass under shade trees isn’t easy, but one key to success is choosing the right shade grass species and planting method for your region. In cool-season areas, you’ll get a better result using seed rather than sod. Sod is grown in wide-open fields under conditions that favour sun-loving grasses. Choose red and tall fescues for shady areas in Northern zones. Garden centres will have grass seed mixes formulated for shade. Late summer and mid-spring are the best times to establish cool-season grasses in shady areas.
Here are eight autumn chores for the lazy gardener.
Don’t wait too long between mowing
If you came back from a vacation and the neighbour kid neglected to mow your yard, don’t try and mow it down in one day. Cut off some of the length and then wait a couple days and mow again. This will cause less stress on the grass. You may need three passes depending on how long the grass grew.

But learn why you shouldn’t mow your lawn every week.
Don’t skip reseeding
Reseeding is a job you can do in a weekend if you have an average-size lawn. You’ll have to wrestle home a couple of engine-powered rental machines. And once your work is done, be prepared to keep the soil damp with daily watering for the first month or so. It’s the key to a successful reseeding job.
Don’t cut grass too short
Every grass type has an optimal cutting height, and you’re better off on the high side of that height. Here are a few reasons: The grass blade is the food factory of the plant. Short blades just can’t generate as much food as long blades. Long blades also shade and cool the soil. That means weed seeds are less likely to sprout, and you won’t have to water as often because water won’t evaporate as fast. Not sure what type of grass you have? Take a sample to a garden centre for identification.
Don’t miss these tricks to grow your best vegetable garden ever.
Don’t mow in the same direction every time
Instead, mow in a different direction every time: front to back, back to front, diagonal, etc. Repeatedly mowing the exact same way will cause the grass blades to grow at an angle, and you may develop permanent tracks from the mower wheels.
Follow these simple steps to designing your perfect garden.
Don’t cut wet grass
Mowing wet grass can cause the mower wheels to leave ruts in your yard, and you could leave behind giant clumps of clippings that could smother the grass beneath. And the wet grass will carpet the underside of your mower deck with a thick mat that’s a pain to clean. Yikes!
Don’t overfeed
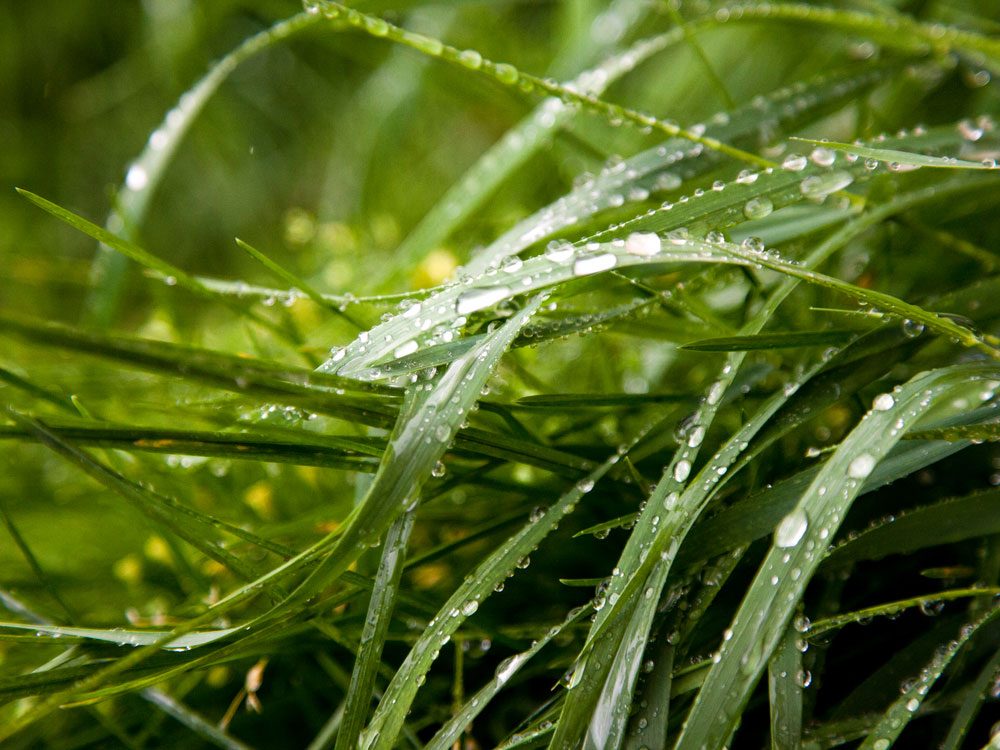
If you apply too much grass fertilizer, especially in sandy soils, a good share of it will leach through the soil and make its way into our precious groundwater, lakes, streams, and wetlands. Lawn grasses only need a certain amount of food. More isn’t always better.

Don’t ignore pet areas
Dog spots are round patches about four to eight inches in diameter with dead grass in the middle, encircled by dark green grass. They’re most apparent in the early spring when dormant grass first begins to turn green again. You have to replant your grass; it won’t come back on its own. But first, you have to dilute or remove the caustic urine from the soil. Thoroughly soak the area with lots of water.
BY JENNY STANLEY, RD.COM
All photos credits are given to SHUTTERSTOCK
Posted in Advice
Tags: Old Fashioned Mom People, Old Fashioned Mom International Company, Magazine Company, Magazine, New York, Old Fashioned Mom Advice, Old Fashioned Mom, Coffee Distributor, Global Company, High Society, 2018, Luxury Living, Old Fashioned Mom Coffee, Hudson Valley, London, Old Fashioned Mom Daily News, Old Fashioned Mom Places, Old Fashioned Mom Dining, Old Fashioned Mom Events, Wealthy, Top Percent, Summer, World, Old Fashioned Mom Real Estate, Old Fashioned Mom Show, Old Fashioned Mom Travel, Old Fashioned Mom Things, Michelle-Marie Heinemann, Palm Beach, Old Fashioned Mom Magazine, New York City

“I would always recommend grouping like with like. It enables people to find items quickly. All tank tops together, all capri pants together in one area. Some people like to group items by sleeve length-and there are a few in the spring and summer seasons. I’ve even seen people use colour-coded hangers but I don’t recommend it-too time consuming!” —Stacey Agin Murray, professional organizer, Organized Artistry
Divide and conquer
“I’ve worked hands-on with so many clients and they all tell me the same thing: They tend to pull everything out of their closets and then they run out of time and they push it all back in, which makes it worse than it was to begin with. So my suggestion to them is to divide and conquer. On a Saturday morning do your shoes, at other times do your slacks. People have told me that breaking it up into smaller projects has changed their life.” —Mary Pankiewicz, professional organizer and author of Clutter-Free & Organized
Damp-proof storage
“If you are lucky enough to have a basement for storage, help keep your winter clothes dry by putting pieces of chalk into a small cloth bag that you can pack with the clothes you’re storing. The chalk will absorb all the moisture, keeping your clothes protected.” —Ann Bingley Gallops
Tidy up your top shelf
“Those who stack sweaters and T-shirts on shelves in their closets know it can become a jumbled mess, since stacks often fall over. For those clients I recommend the Slide N Stax Clothing Organizer. It is amazing because it is a plastic clear piece with sides and a bottom that fits on the top shelf and you can just bring that one piece down when you need something, instead of tipping over your stacked items.” —Beth Levin, professional organizer, Closet Queen
Dump your wire hangers
“When it comes to hangers, Joan Crawford and I are on the same page – no wire hangers, ever! They ruin clothes and are only meant to be temporary. I am a personal fan of ‘crystal hangers.’ They are great for hanging tops without causing those ‘shoulder bumpies’ that can ruin a perfectly good shirt. Many of my clients ask me about ‘huggable hangers’ sold on QVC or HSN. I think they’re good if you wear silk-ish kind of blouses or a lot of tank tops. They’re touted as a space saver because they’re so thin.” —Stacey Agin Murray

“Use clear shoe boxes for hair accessories and lightweight scarves you’ll use throughout the spring and summer. You can even use a clear bin for small tank tops, shorts, etc. Take a Polaroid or cut out a magazine photo and tape it so you know what’s in the box. Those are fun and it will make getting to things so easy.” —Beth Levin
Turn store credit into cash on eBay
“Many stores won’t let you return for cash clothing you loved in the shop but never got around to wearing. However, they are likely to offer you store credit if you insist. So instead of letting unwanted clothes pile up in your closets, a better idea is to return them for store credit and then sell the store credit for cash on eBay. There’s a very vibrant market on eBay for store credit receipts and gift cards, which trade for very close to face value. I’ve seen $200 gift receipts from stores like Macy’s, Tiffany and Bloomingdale’s fetch $180, so you get most of your value back without having to find a buyer for your specific item or dealing with packing and shipping it.” —Dan Nissanoff, author of FutureShop

Short on Space?
“Look around your home for things that are going unused, that might be empty — like file drawers — and store things away in there. I have had a lot of clients that collect old suitcases and use them for storage — those don’t take up much room.” —Ann Bingley Gallops, professional organizer, The Organized Life
Hanger Trick
“Some of my clients love this tip: When you get out your spring clothes, put the hangers in backward on the rod but then when you wear a piece of clothing, hang it up facing the front. At the end of the season you’ll know what you’ve never worn.” —Mary Pankiewicz, professional organizer and author of Clutter-Free & Organized
Buff Up Your Closet
“Before you put your favourite spring things back into the closet, take the opportunity of having empty shelves to replace your shelf paper, vacuum the closet floor, and make the closet fresh and clean.” —Ann Bingley Gallops
Bag-and-Tie Overload?
“Purses on shelves tend to get messy. For those who have wall space in their closets, a great solution would be to purchase belt racks and hang them vertically instead of horizontally. That way, the bottoms of the purses don’t bunch up in the same place. This also works great for ties!” —Beth Levin

Flag It!
“Place Post-it colored flags facing out on each piece of clothing in your closet. Take the Post-it off when you wear an item. At the end of spring/summer, you’ll be able to see what you wore and didn’t. You can then determine whether those items can be donated — you’ll get tax benefits — or consigned for money.” —Beth Levin, professional organizer, Closet Queen
Host a Clothing Swap
“Get together a group of friends to bring clothes they are not using and certainly don’t want to discard — someone’s going to want it! Have a little cocktail party and everyone gets new clothes without spending money … so it’s a win-win situation.” —Ann Bingley Gallops, professional organizer, The Organized Life

Miracle Space Savers
“I grew up in an apartment and we had to get creative with our winter clothing storage. One solution is to purchase Space Bags and then suck the air out of them. The clothes then take up much less space and can be placed under a bed, a couch, or on a high shelf. Also, some local dry cleaners will store winter clothes for people (as long as they’re dry cleaning them for you, too).” —Stacey Agin Murray, professional organizer, Organized Artistry
BY CHANDNI JHUNJHUNWALA, RD.COM
Posted in Products. People. Places.
Tags: Old Fashioned Mom People, Old Fashioned Mom International Company, Magazine Company, Magazine, Old Fashioned Mom Advice, Old Fashioned Mom, New York, Global Company, High Society, Coffee Distributor, 2018, Luxury Living, Hudson Valley, London, Old Fashioned Mom Travel, Old Fashioned Mom Things, Old Fashioned Mom Places, Old Fashioned Mom Dining, Old Fashioned Mom Daily News, Old Fashioned Mom Events, Old Fashioned Mom Real Estate, Old Fashioned Mom Coffee, Top Percent, Summer, Wealthy, World, Old Fashioned Mom Show, Michelle-Marie Heinemann, Palm Beach, Old Fashioned Mom Magazine, New York City

 PHOTO: SHUTTERSTOCK
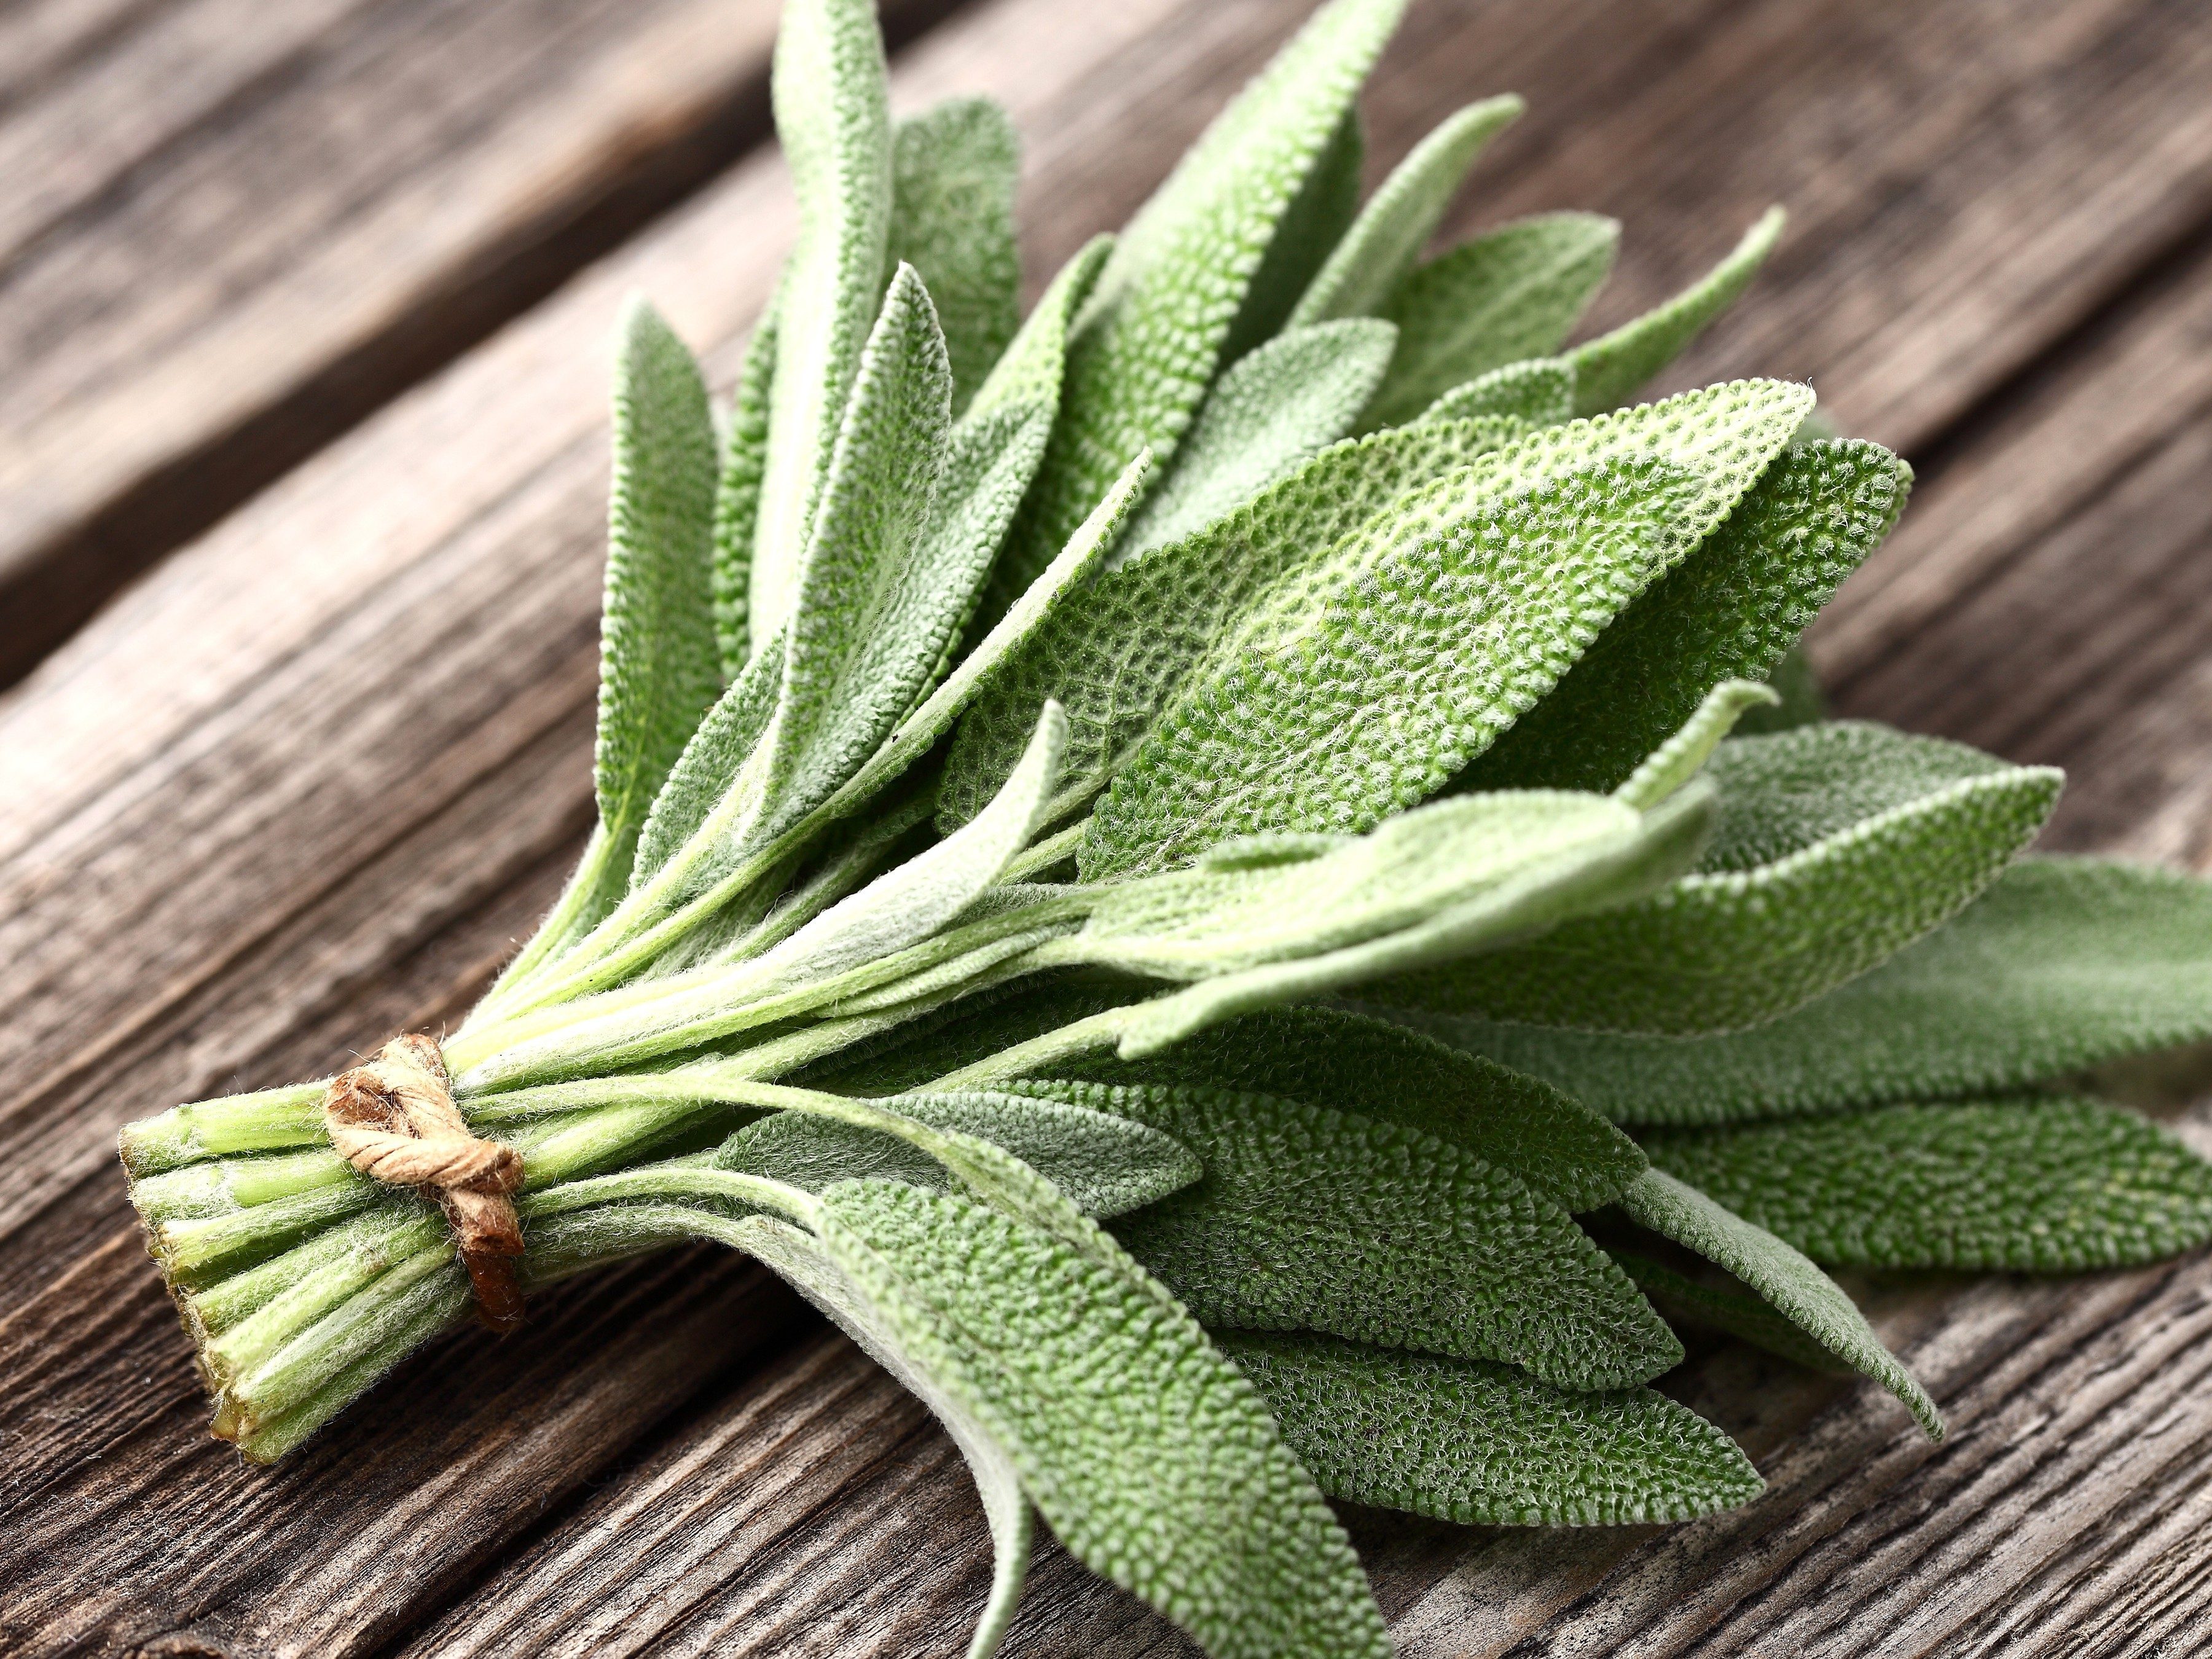 PHOTO: SHUTTERSTOCK
 PHOTO: SHUTTERSTOCK
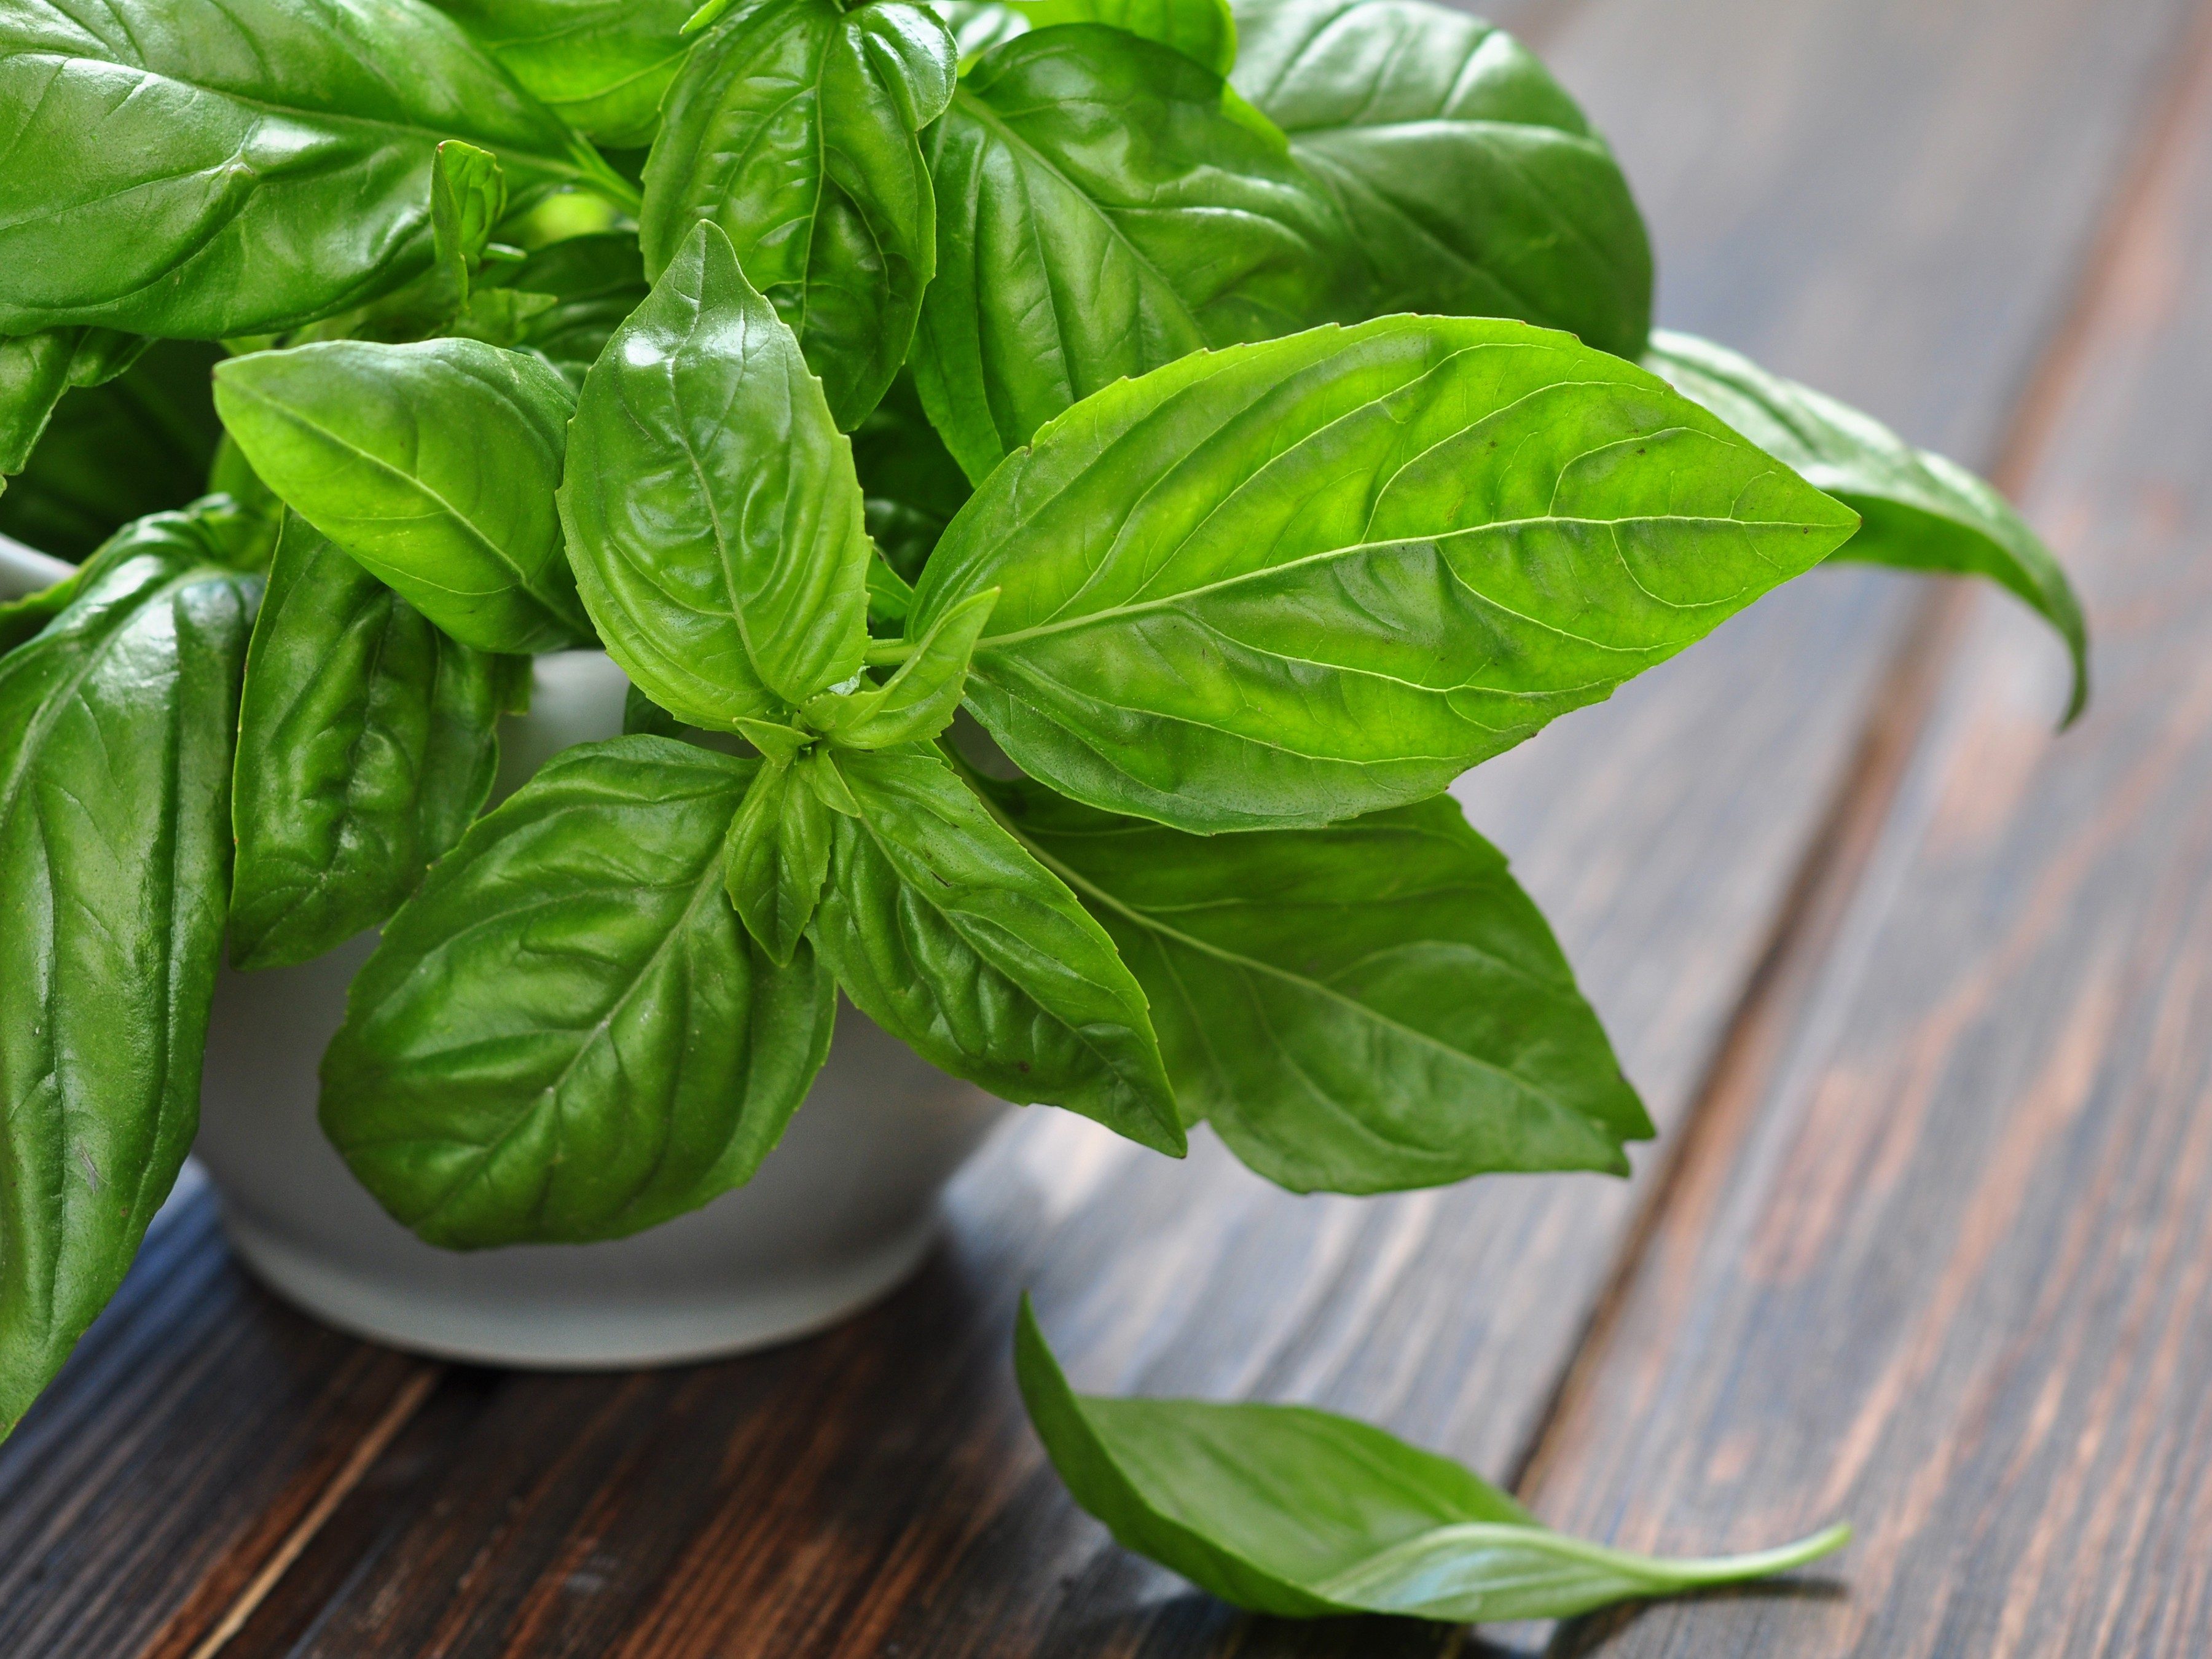 PHOTO: SHUTTERSTOCK
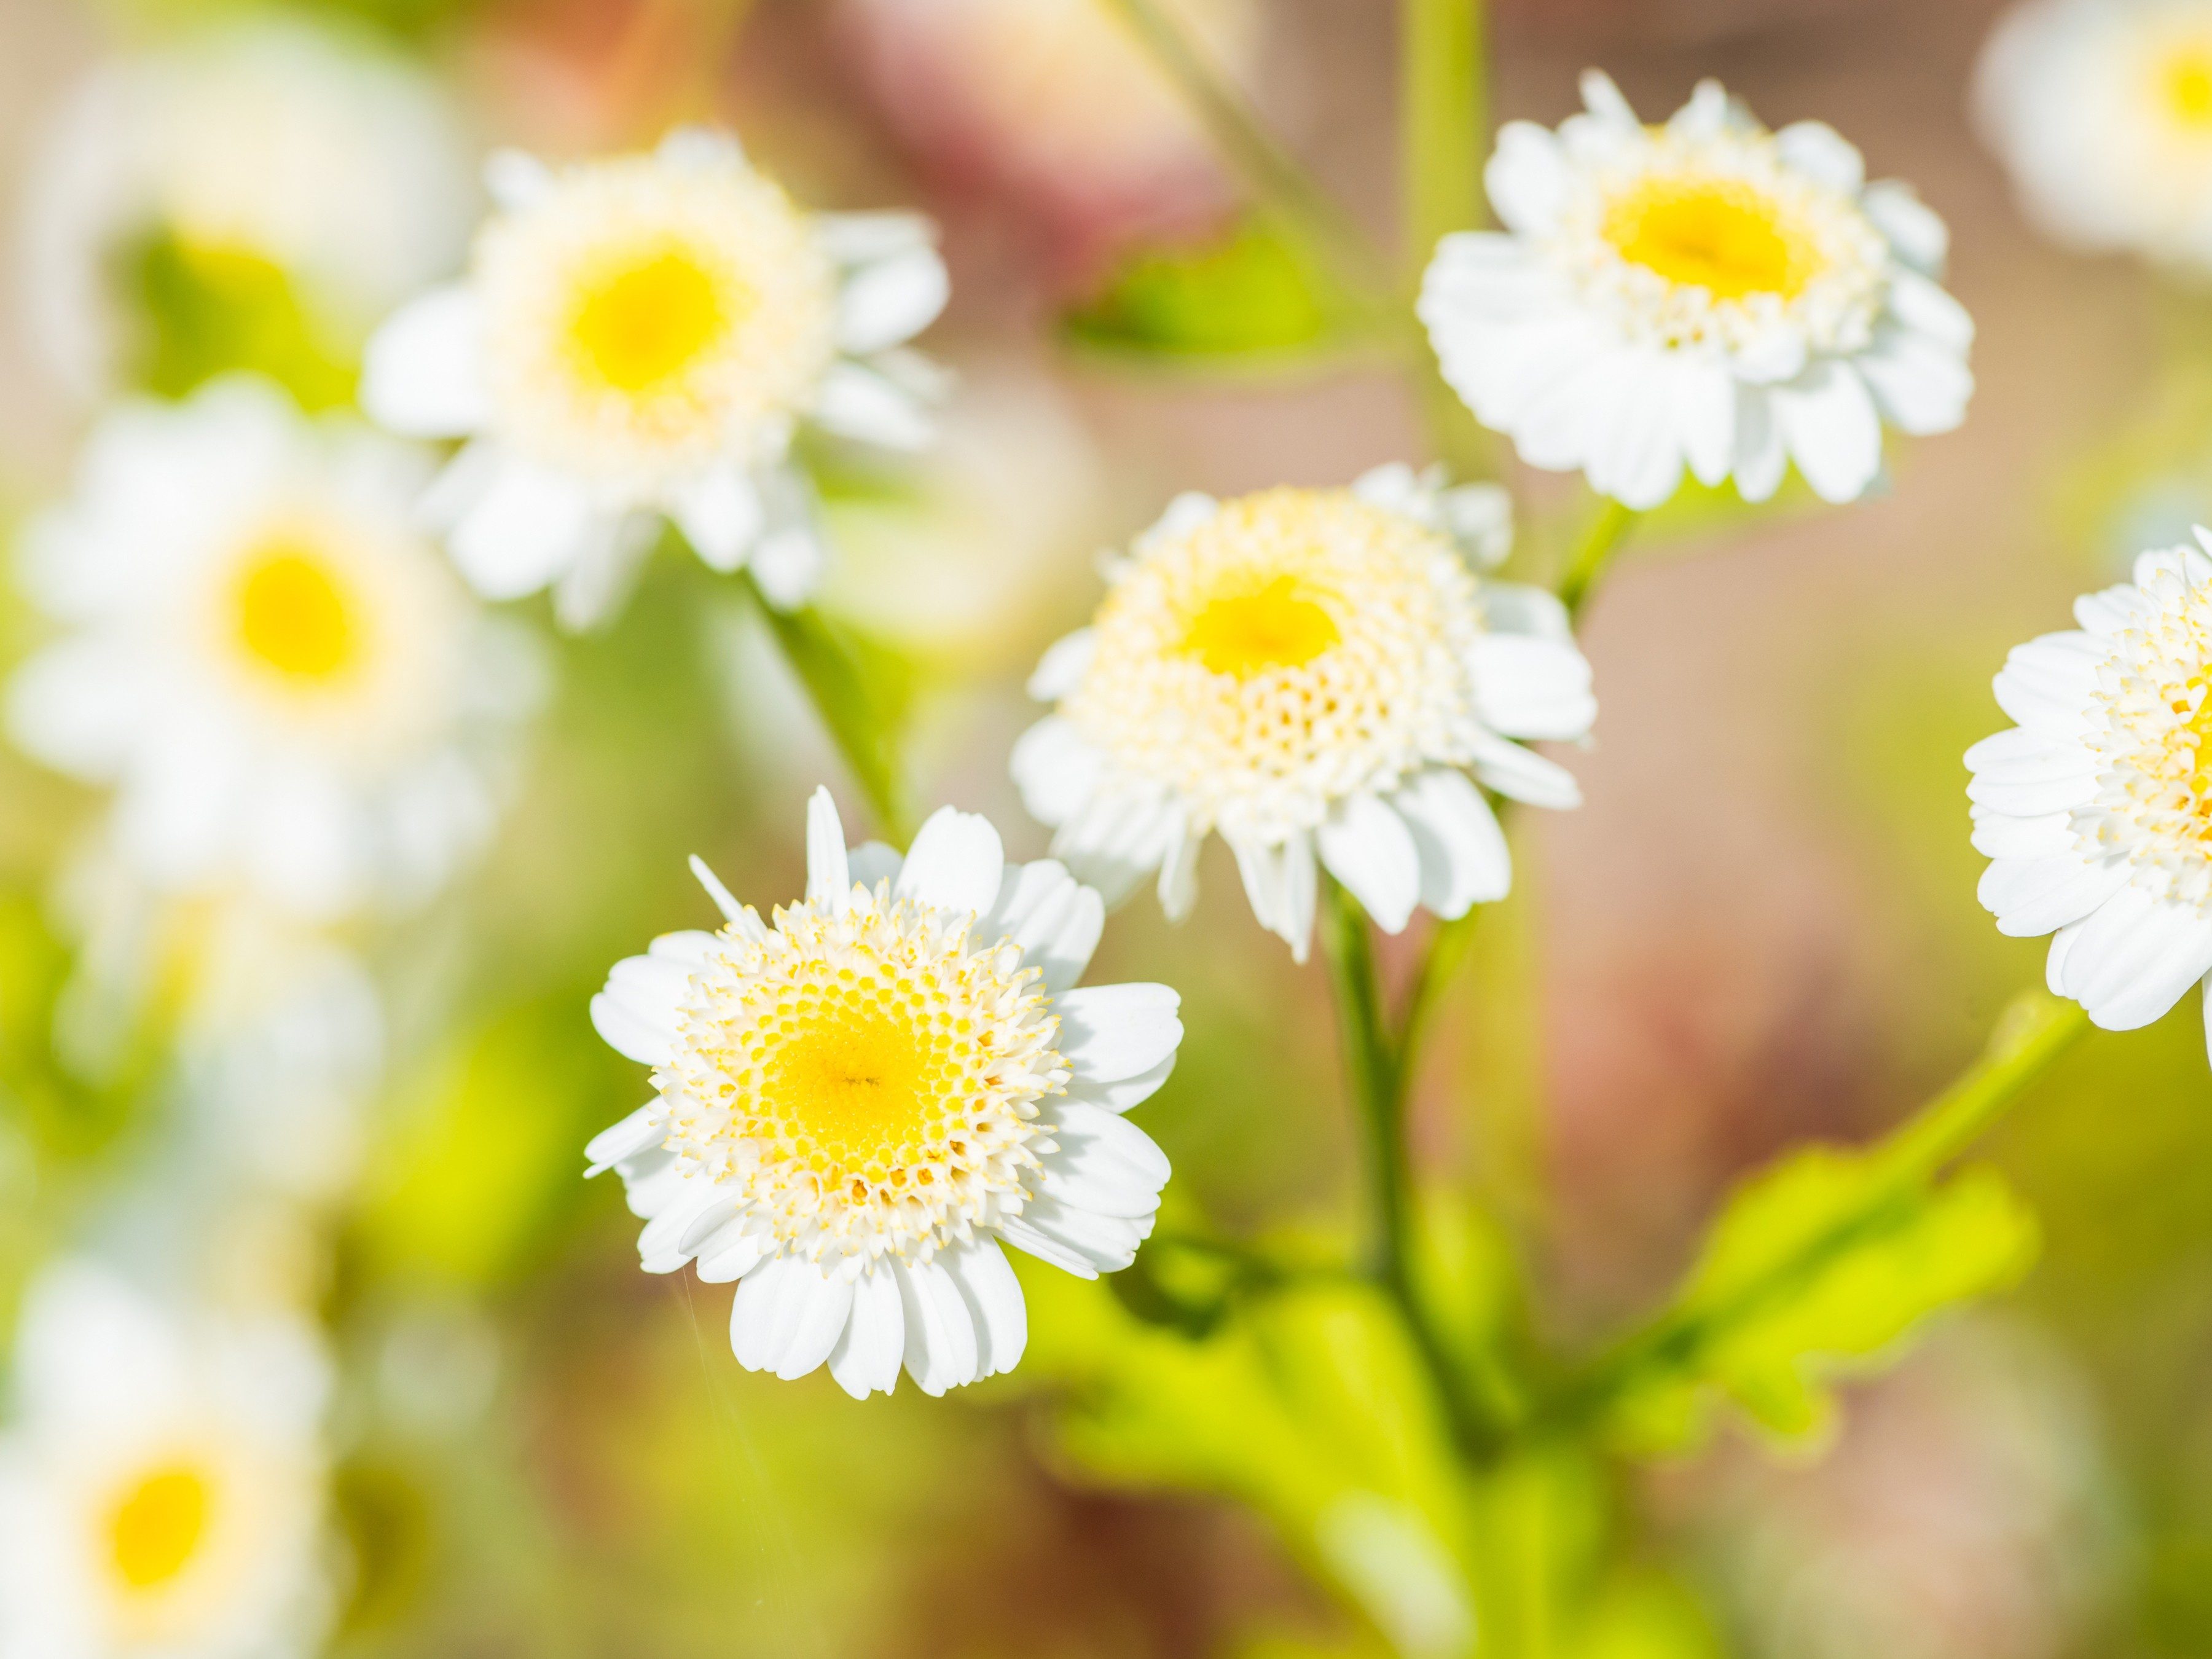 PHOTO: SHUTTERSTOCK
 PHOTO: SHUTTERSTOCK
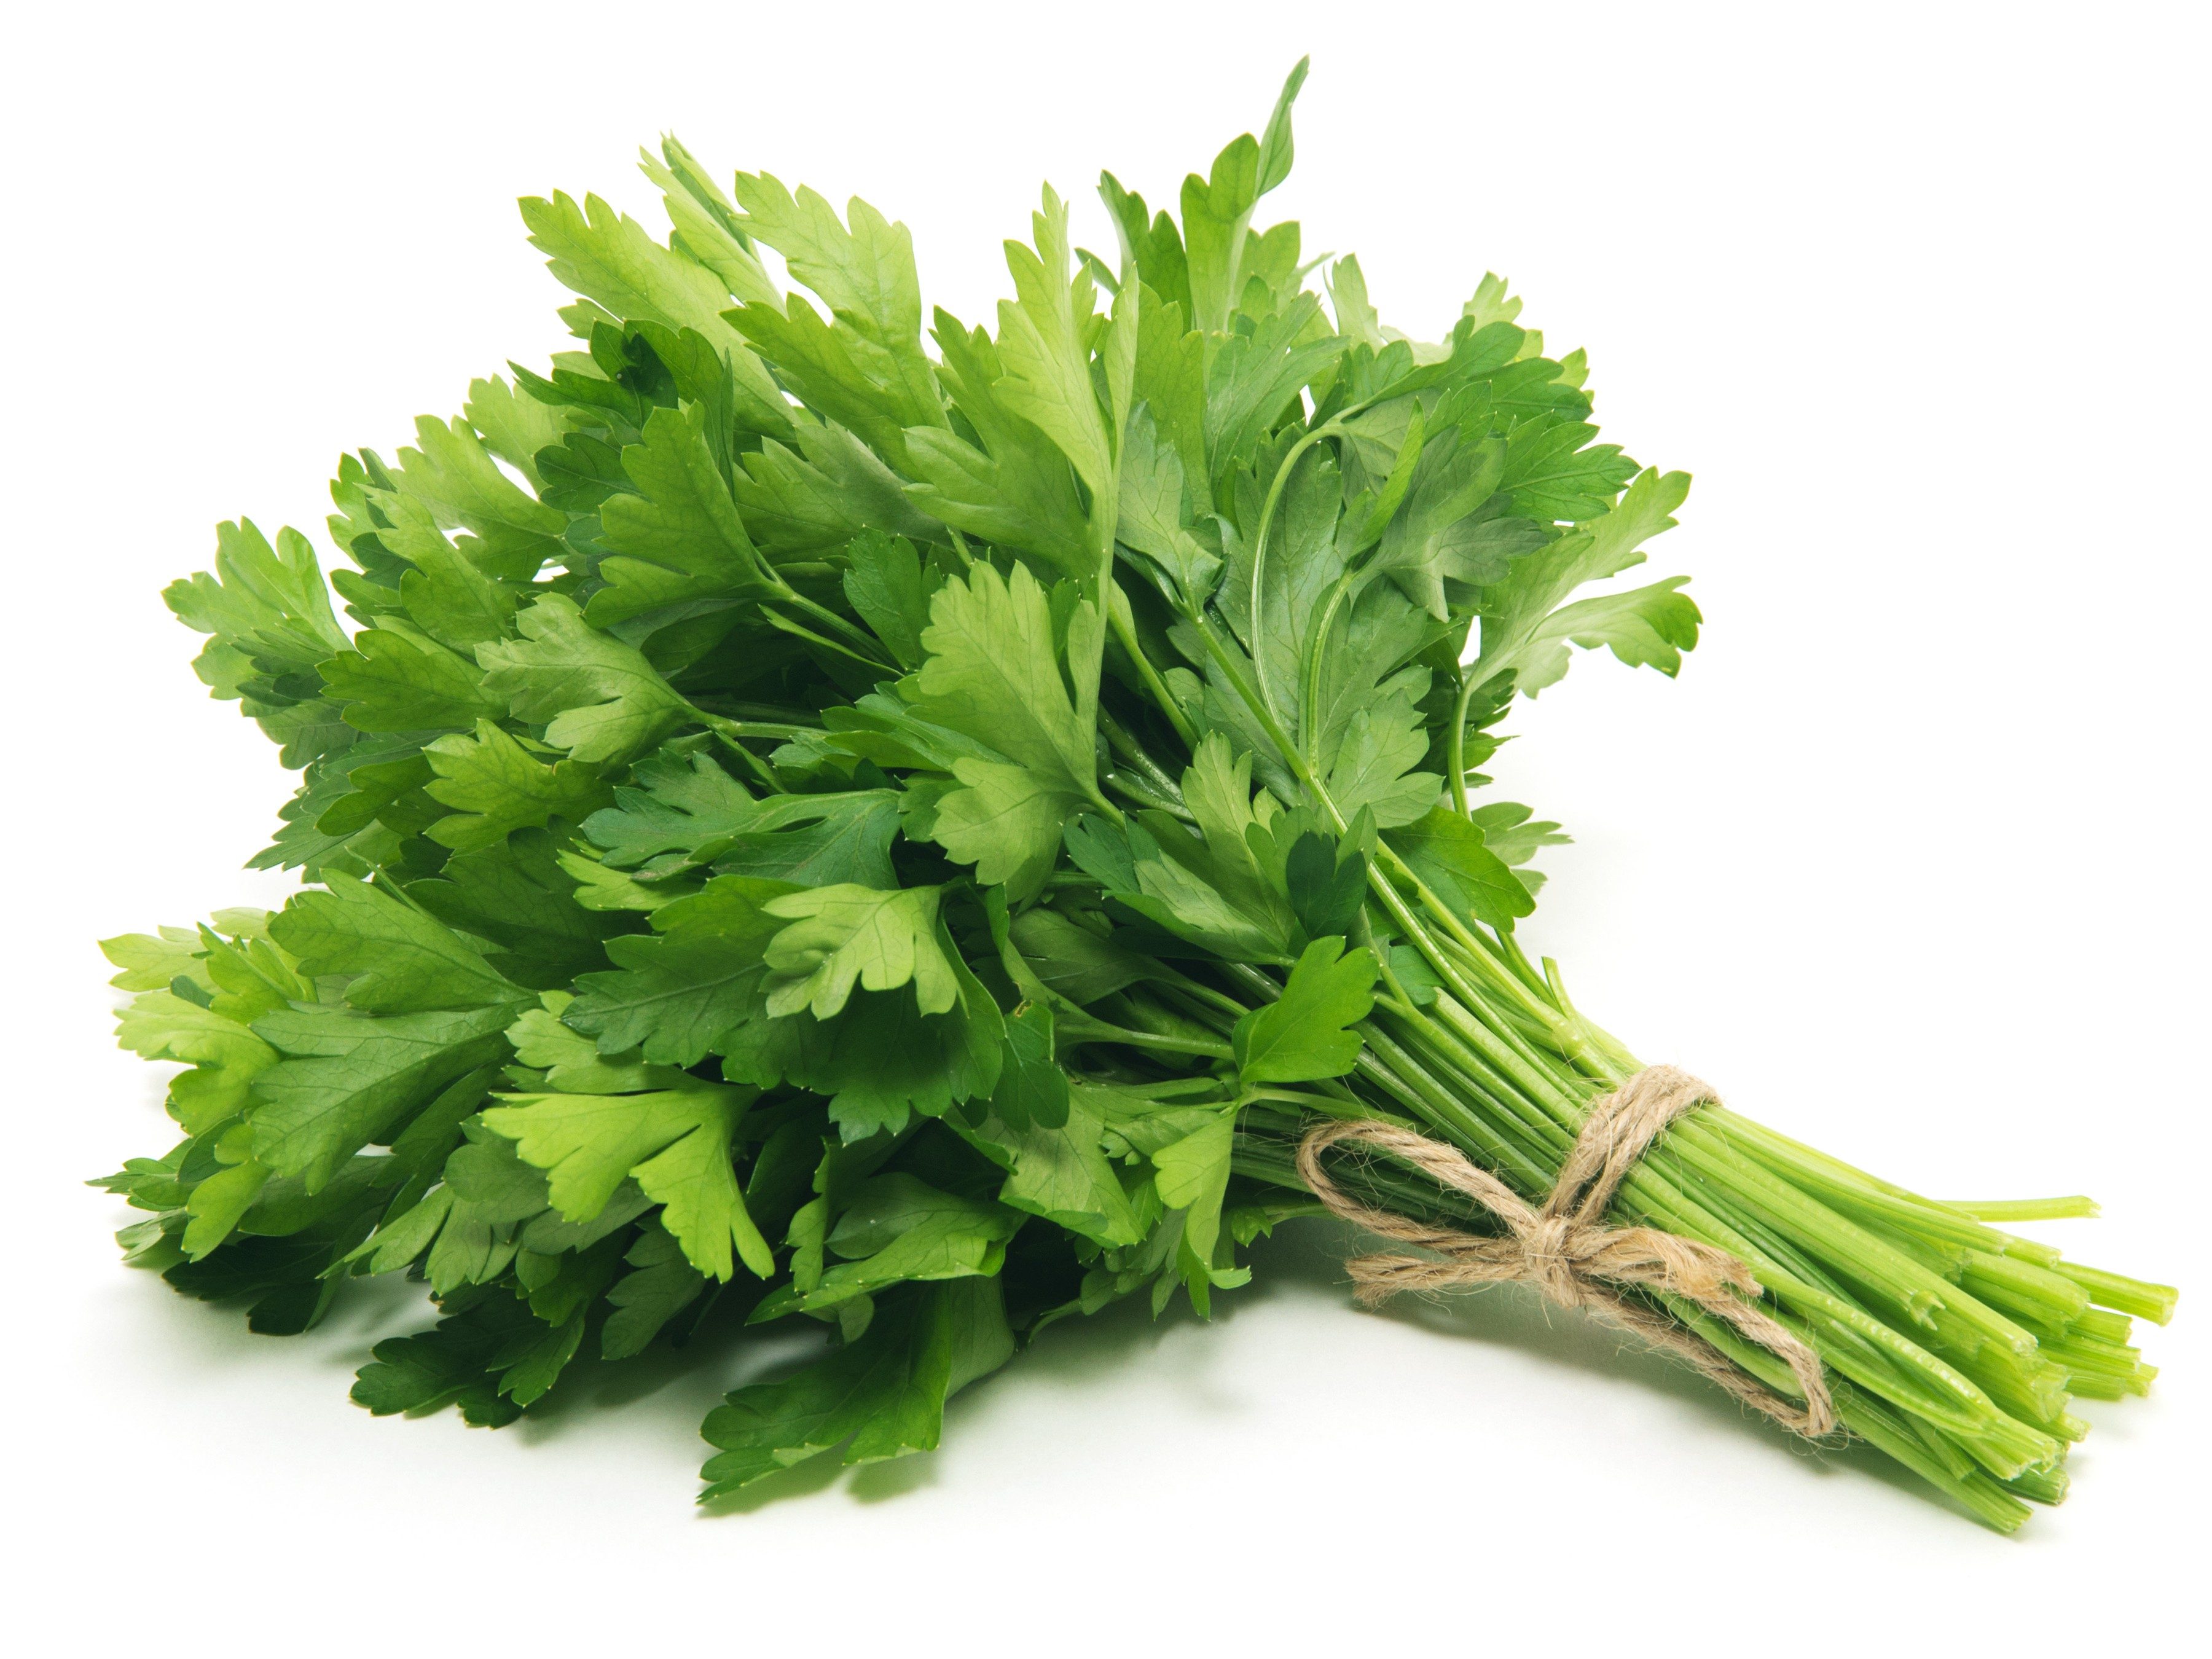 PHOTO: SHUTTERSTOCK
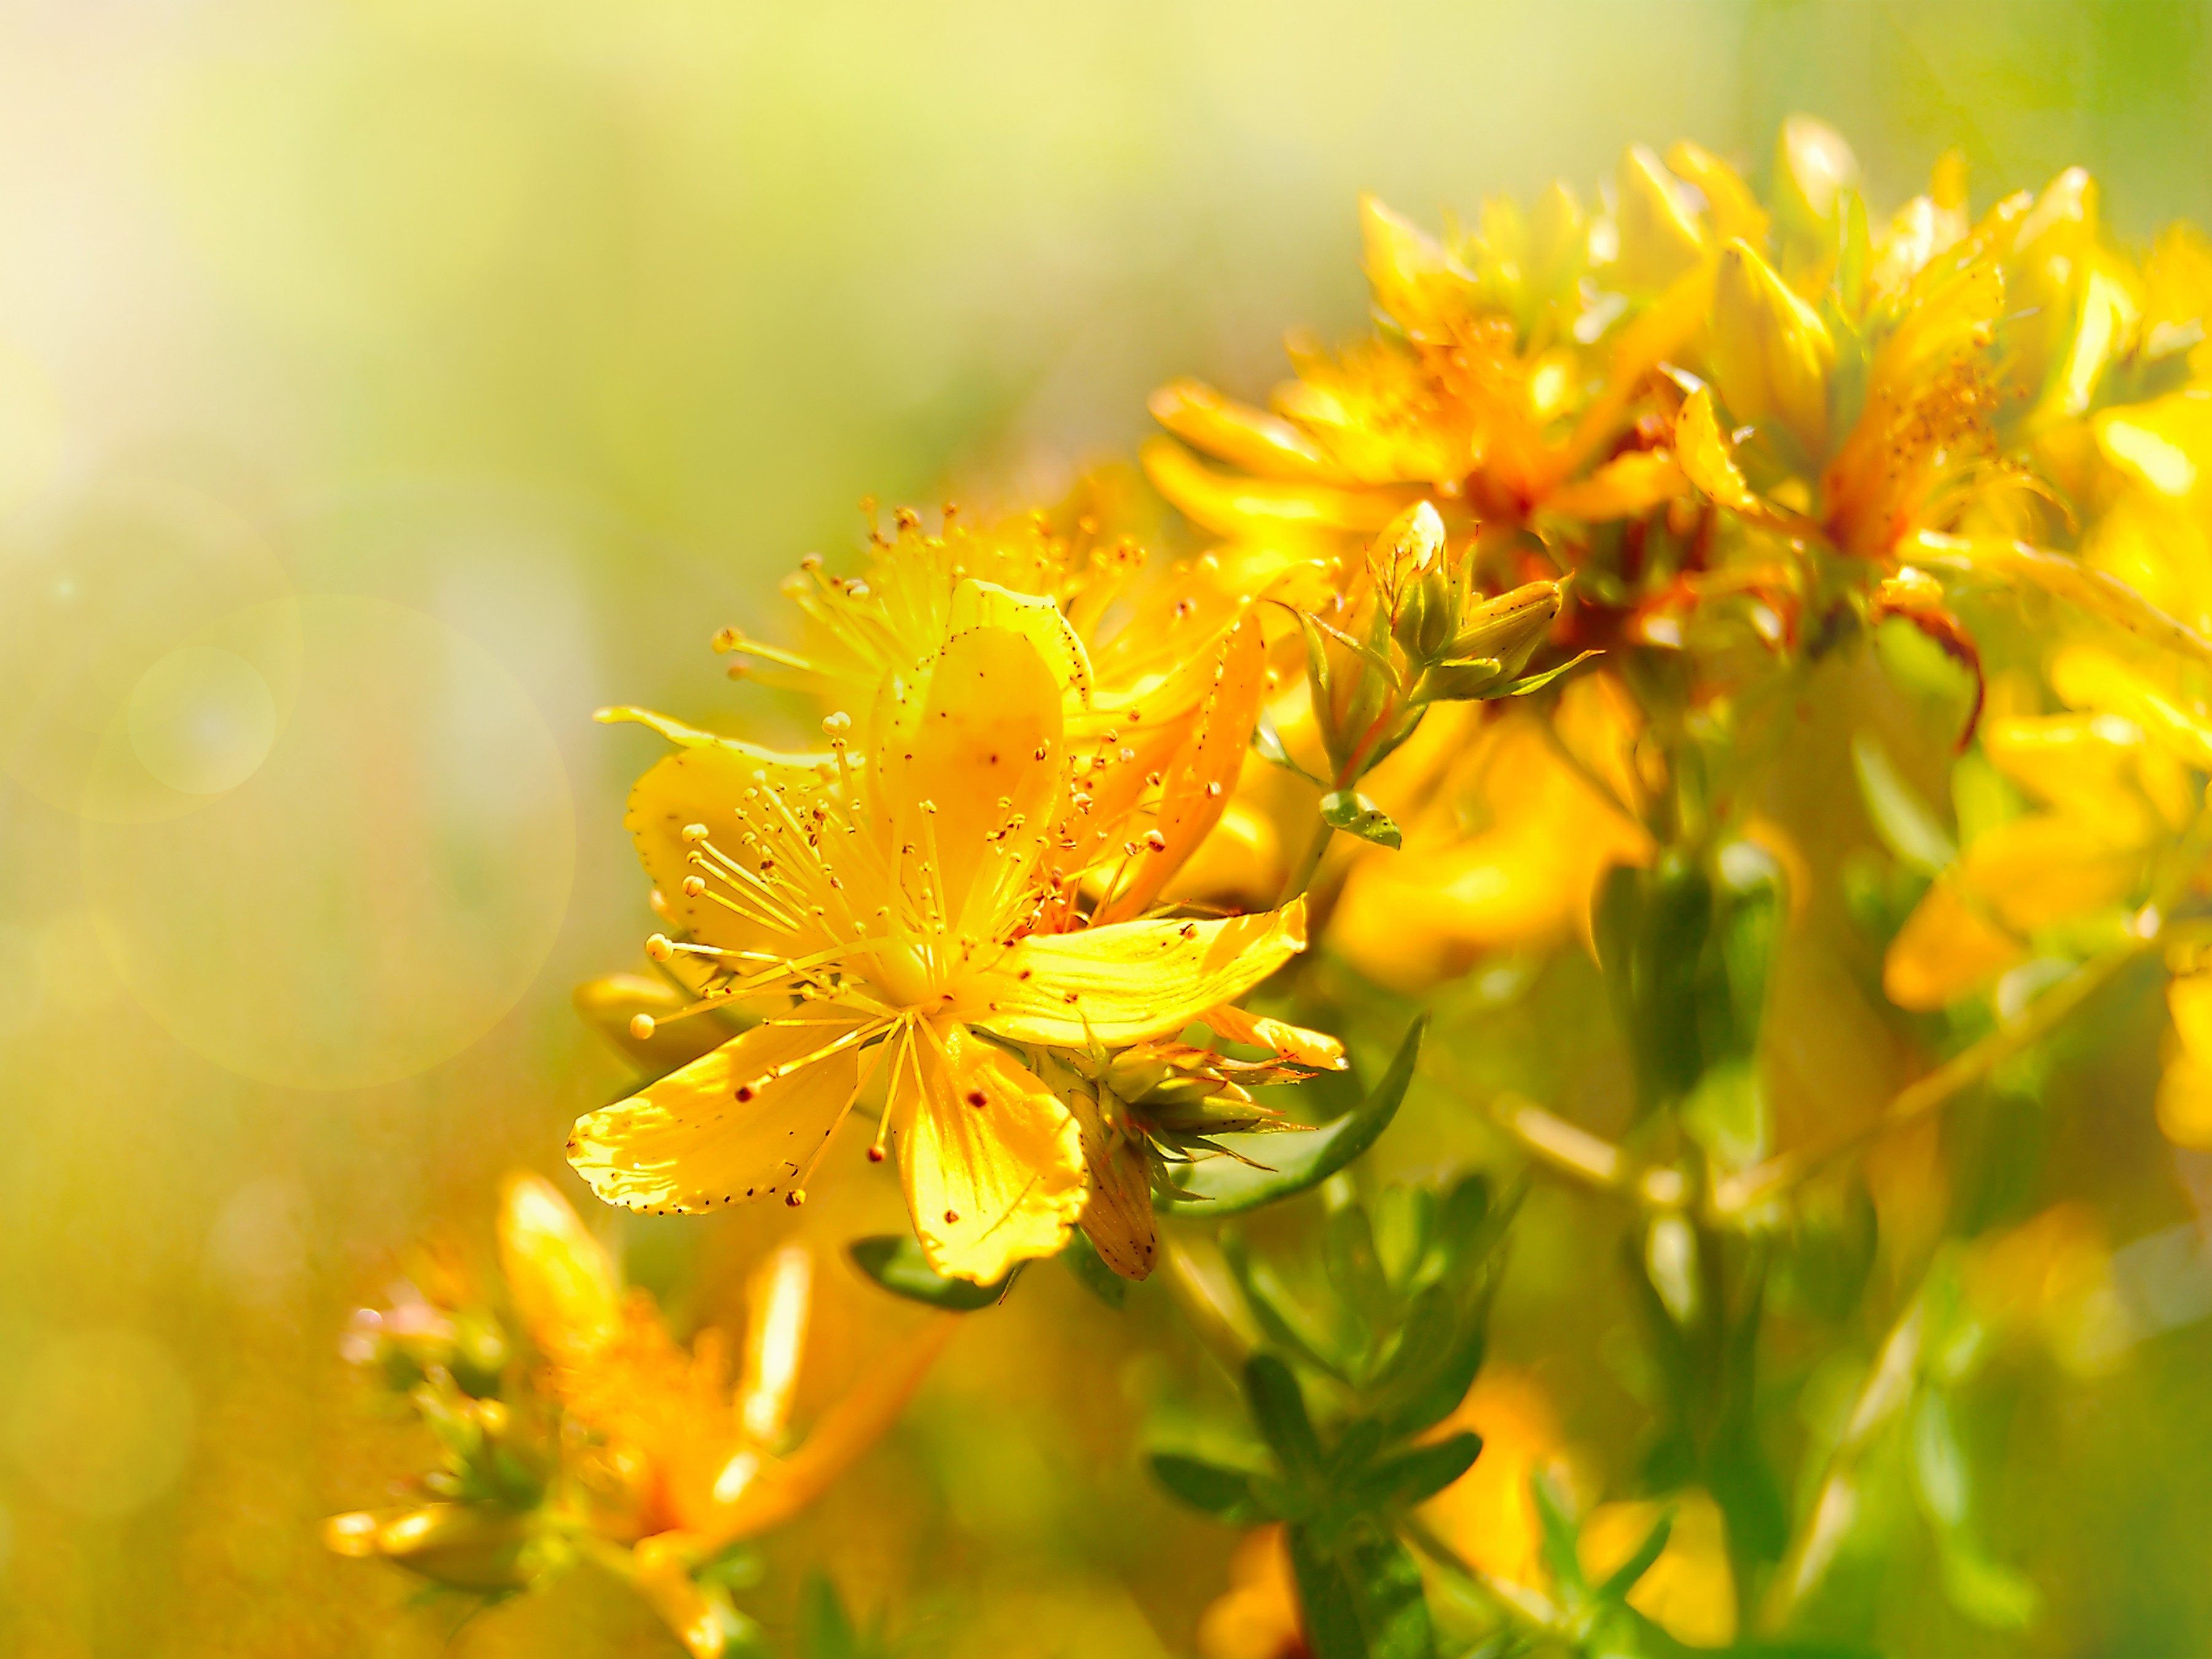 PHOTO: SHUTTERSTOCK
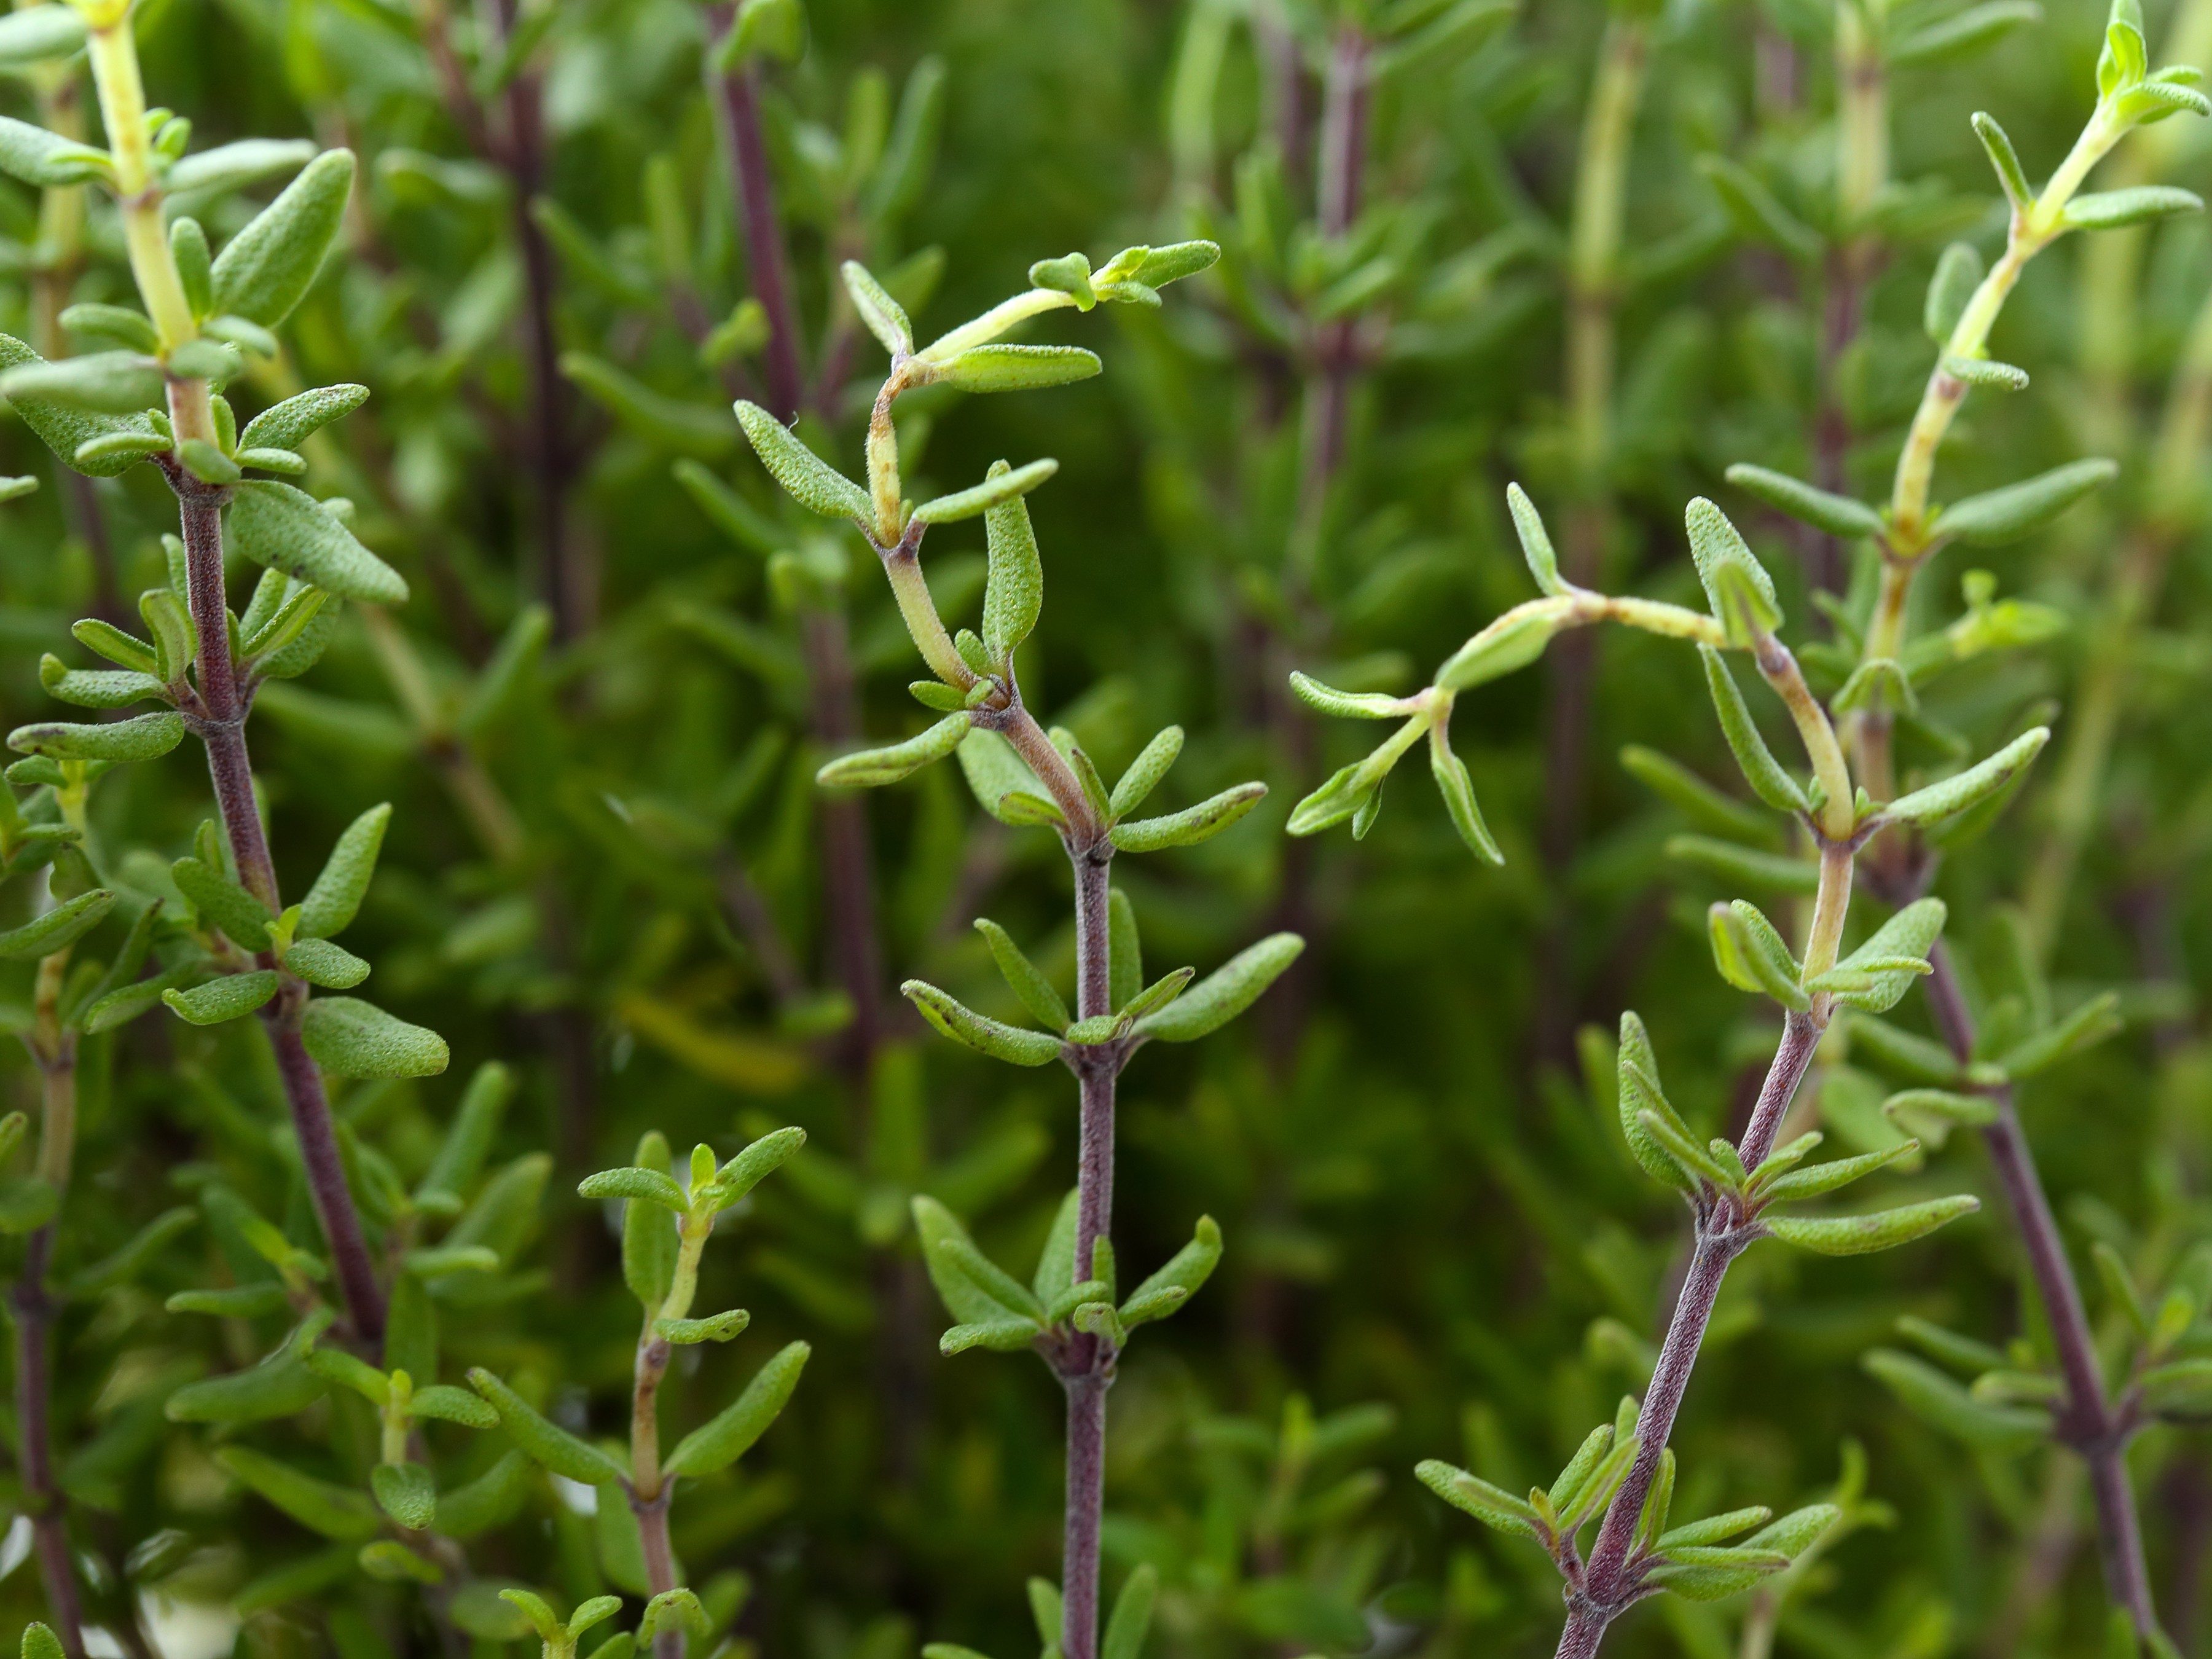 PHOTO: SHUTTERSTOCK